
Beretta V6-173 2.8L (1989)
Valve Body: Service and Repair
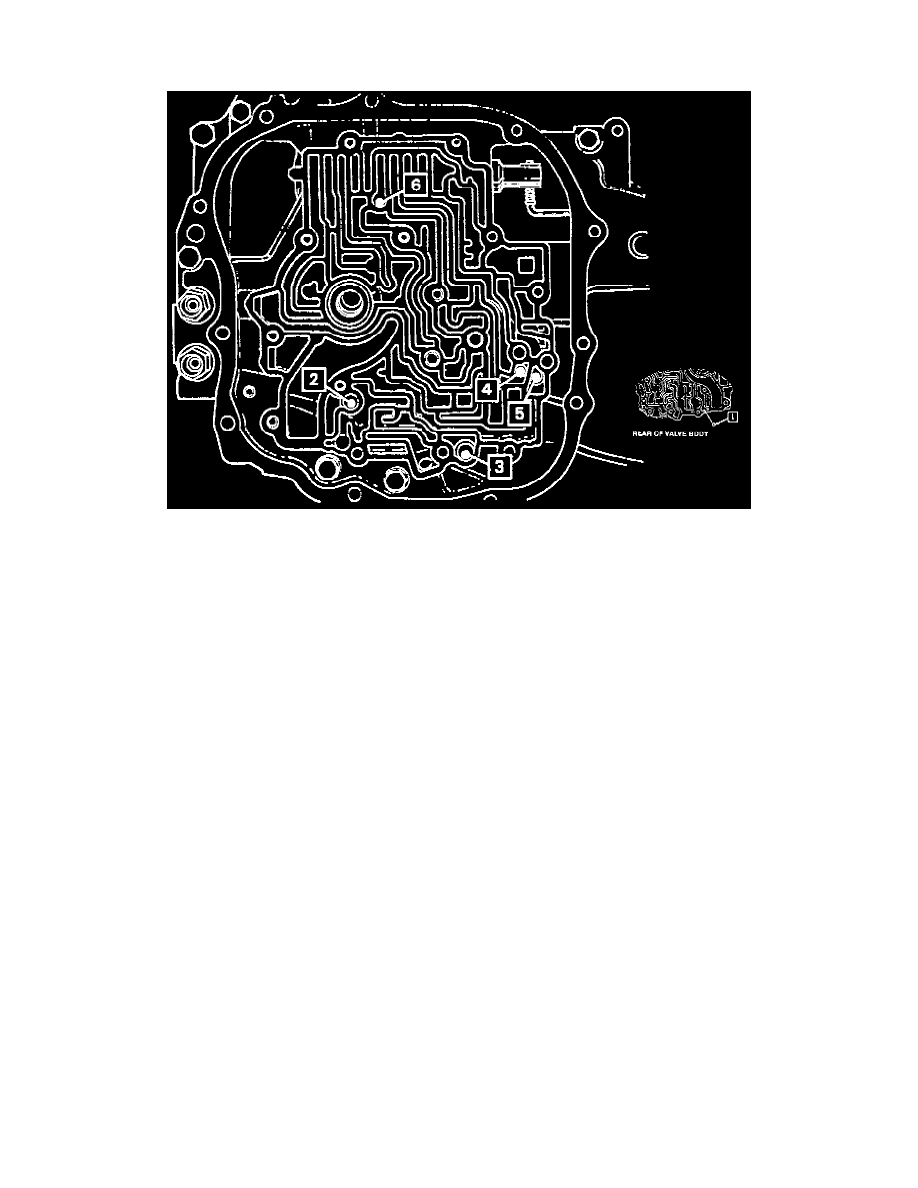
AUXILIARY VALVE BODY, VALVE BODY & OIL PUMP ASSEMBLY 3T40 (125C)
3T40 (125C)
REMOVE OR DISCONNECT
1. Negative battery cable.
2. T.V. cable.
3. Raise vehicle and suitably support.
4. Left front wheel and tire assembly.
5. Valve body cover.
6. Bolt securing TCC solenoid to auxiliary valve body and solenoid. Remove TCC solenoid wiring connector from case connector.
7. TCC wires from 3rd gear pressure switch.
8. Bolt securing T.V. linkage and bracket assembly to valve body and T.V. linkage.
9. Remaining bolts securing valve body to case cover and valve body. Do not lose the six check balls. Do not remove the green bolt.
10. Green bolt and separate auxiliary valve body from valve body.
INSTALL OR CONNECT
1. Auxiliary valve body to valve body with green bolt.
2. Check balls in valve body.
3. If necessary, use petroleum jelly to hold them in place.
4. Valve body to case cover.
5. T.V. bracket and linkage.
6. TCC wires and wiring connectors.
7. TCC solenoid.
8. Valve body cover with a new gasket.
9. Left front wheel and tire assembly.
10. Lower vehicle.
11. T.V. cable.
12. Negative battery cable.
ADJUST
^
T.V. cable.
^
Fluid level.