
Beretta V6-191 3.1L (1990)
3.
Remove wheel and tire, then install drive axle protective cover, tool No. J-28712 or equivalent.
4.
Using steering linkage puller tool No. J-24319 or equivalent, disconnect tie rod from strut assembly.
5.
Remove strut to steering knuckle attaching bolts, then remove strut from vehicle.
6.
Reverse procedure to install. Position flats of strut mounting bolts as shown in Fig. 12. Tighten all nuts and bolts to specifications.
Disassembly/Assembly
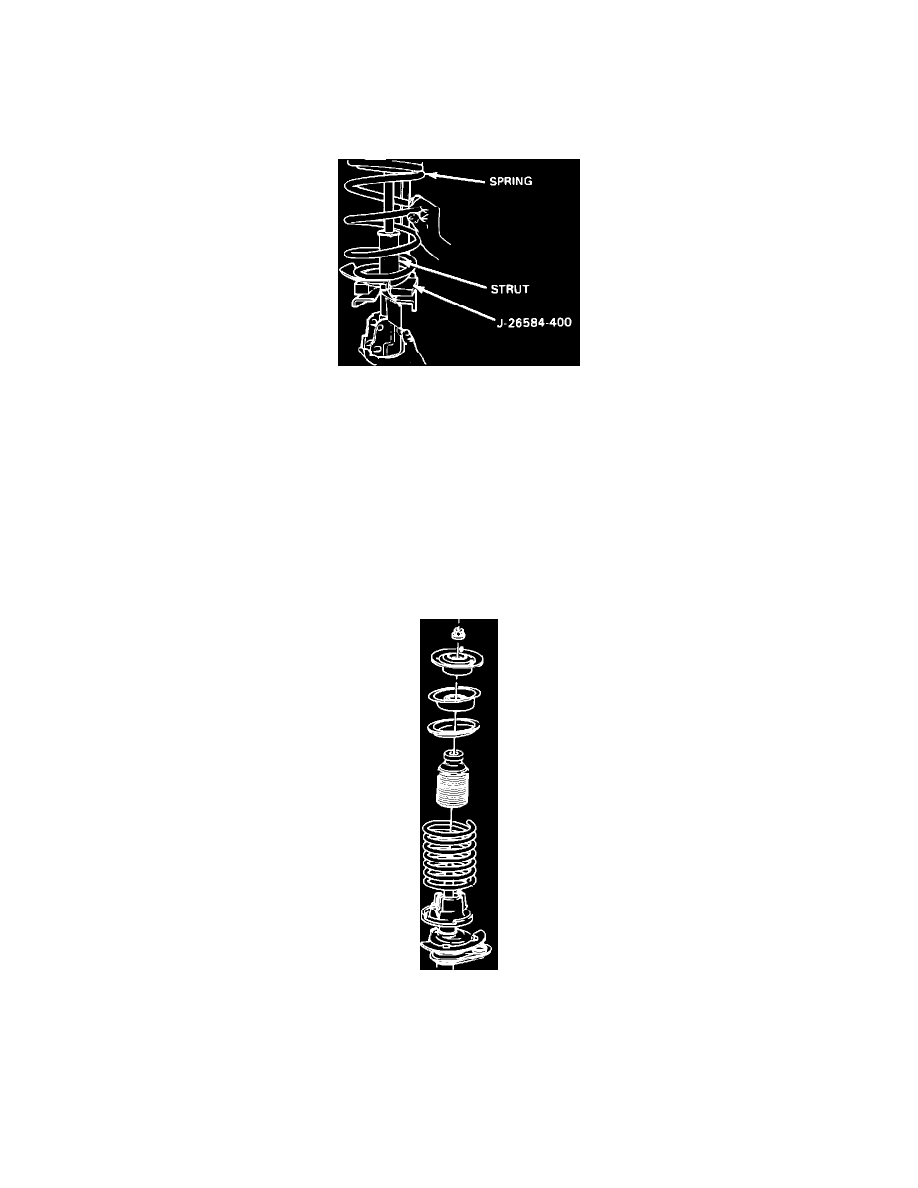
Fig. 13 Removing Damper & Coil Spring From Strut
DISASSEMBLY
Care must be taken not to damage special coating on coil springs. If special coating is damaged, coil spring damage could occur.
1.
Clamp strut compressor tool No. J-26584 in a suitable vise.
2.
Place strut assembly in compressor tool and install bottom adapter tool No. J-26584-400, making sure that adapter captures strut and locating pins
are fully engaged, Fig. 13.
3.
Position top adapter tool No. J-26584-430 on strut cap, aligning mounting holes as necessary.
4.
Rotate compressor forcing screw clockwise until top support flange contacts top adapter. Continue rotating forcing screws until strut spring is
compressed to approximately 1/2 its height. Do not bottom the spring or strut damper rod.
5.
Remove damper top nut, then place alignment rod on strut shaft. Use alignment rod to guide shock shaft through spring cap during removal.
6.
Remove strut components, then relieve compressor tension.
Fig. 14 Strut Coil Spring & Upper Mounting Installation
ASSEMBLY
1.
Perform Steps 1 & 2 as outlined in the Disassembly procedure.
2.
Position spring on strut, making sure spring is properly seated on bottom spring plate.
3.
Install shields, bumpers and insulators on spring seat, then install coil spring seat on top of spring, Fig. 14.
4.
Install bearing cap on spring seat, ensuring they are centered together and properly aligned.
5.
Rotate spring as necessary to have upper end of spring located within 10 mm from end of groove in upper insulator and lower end of spring