
Blazer 2WD V6-4.3L VIN X (2004)
Hood Latch Release Cable: Service and Repair
Hood Latch Release Cable Replacement
Removal Procedure
1. Open and support the hood.
2. Disconnect the negative battery cable.
3. Remove the windshield wiper washer reservoir.
4. Remove the screws securing the underhood fuse block in order to pull the unit away from the fender.
Important: Block the hood latch in order to prevent the hood from locking until you have installed the hood latch release cable.
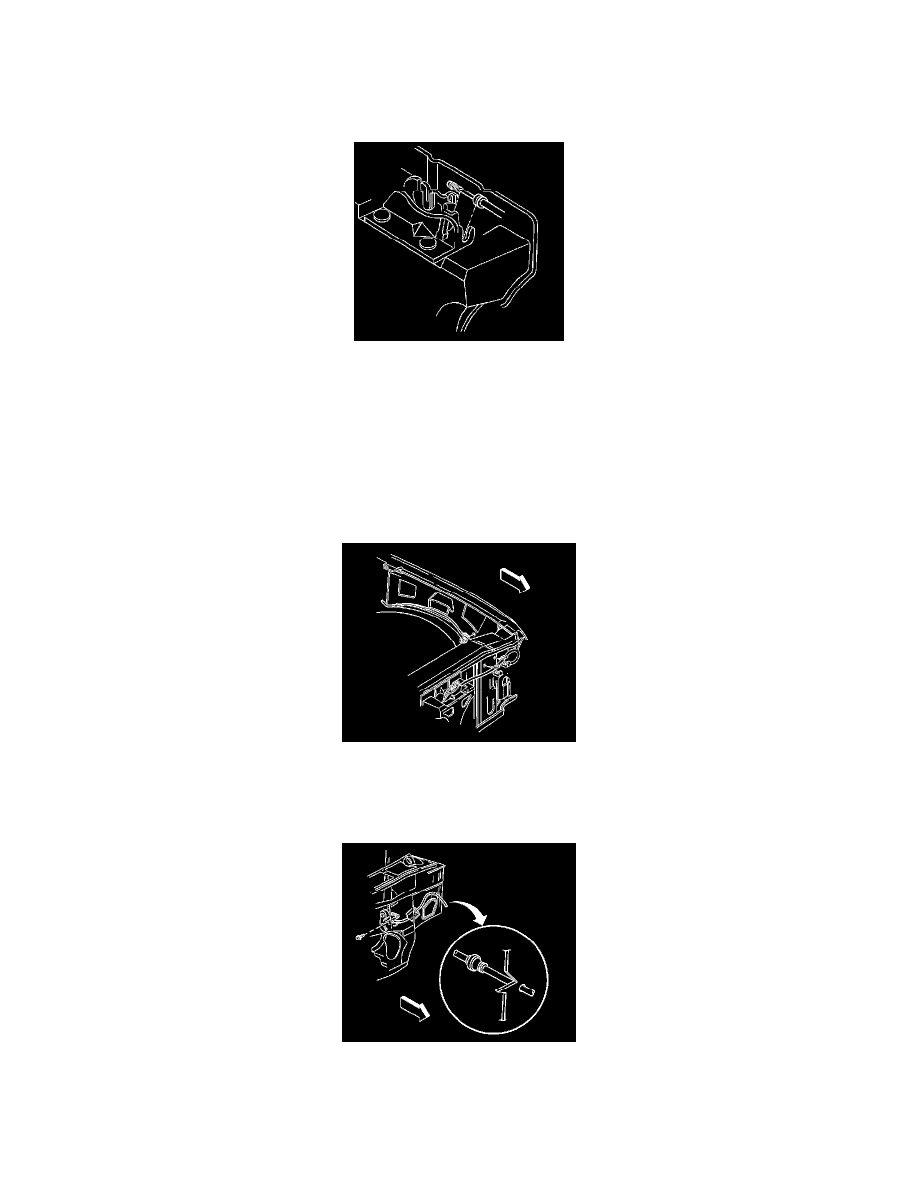
5. Disconnect the hood latch cable from the primary latch assembly.
Use a flat-bladed tool in order to release the clip and lift the cable assembly from the primary latch.
6. In order to aid in installation, tie a mechanic's wire to the end of the cable.
7. Remove the clips that retain the hood release cable.
Pry open the clips with a flat-bladed tool.
8. Pull the cable back through the opening between the radiator support and the left fender.
9. Pull the cable back from behind the antilock brake module.
10. Remove the body hinge trim panel.
11. Remove the hood release cable grommet.
12. Remove the adhesive tape securing the release cable to the side of the cowl.
13. Remove the hood release cable and the lever bolts from the cowl side panel.
14. Remove the hood latch cable assembly from the vehicle.