
Blazer 2WD V6-4.3L VIN X (2004)
Trunk / Liftgate Latch: Adjustments
Latch Adjustment - Rear Lift Window Panel
Removal Procedure
1. Perform the following steps in order to inspect the window latch assembly for proper adjustment:
1. Hold the outside window handle.
2. Try to move the window in and out.
If the latch is misaligned to the striker, a rattle condition will exist.
3. Inspect the window for a snug fit against the top and the sides of the body opening.
2. If the latch is misaligned and/or the window is not snug against the weatherstrip, adjust the latch using the following procedure.
3. Remove the endgate or the liftgate trim panel.
4. Remove the endgate cover.
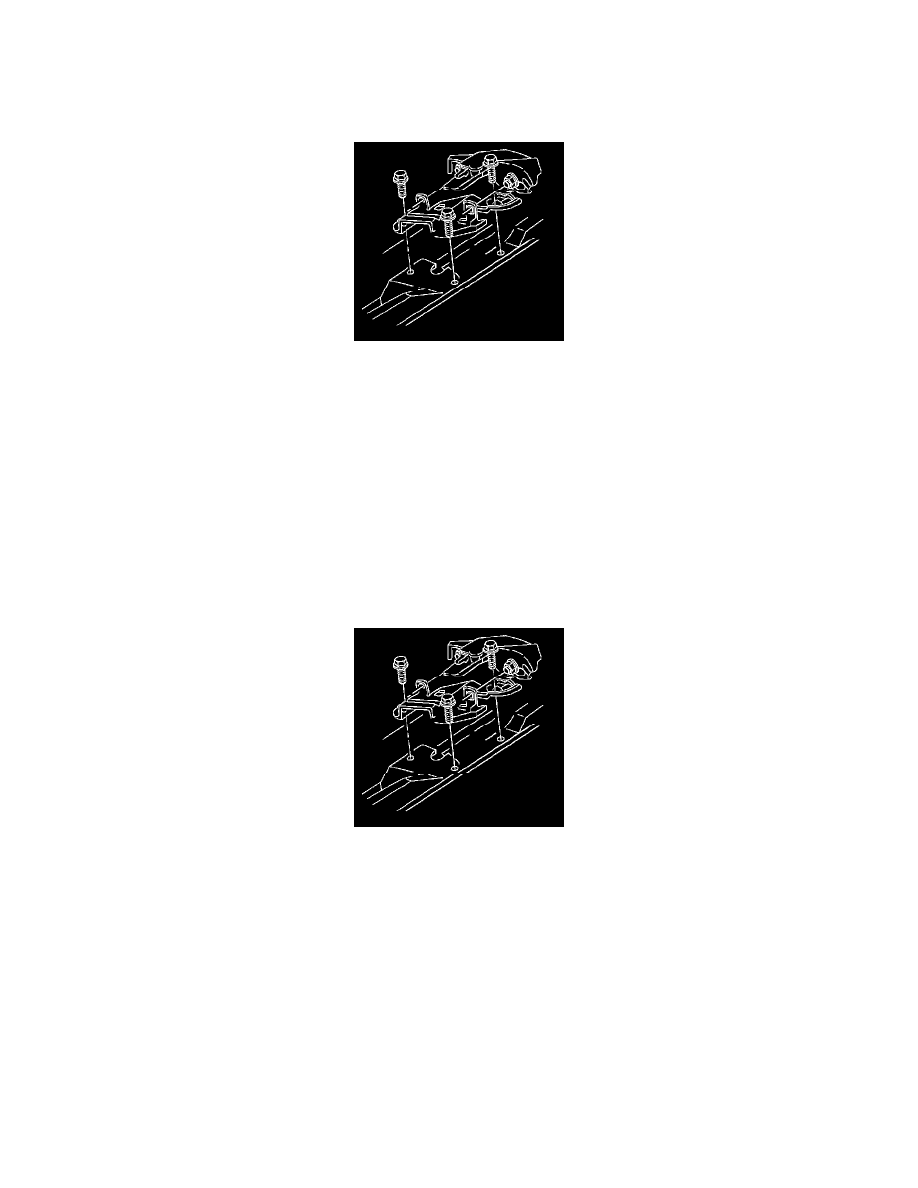
5. Use a flat-bladed tool in order to carefully pry the window latch forward and backward.
This will help to loosen the window latch nut.
6. Adjust the latch assembly location.
Installation Procedure
Notice: Refer to Fastener Notice in Service Precautions.
1. Install the latch assembly nut or nuts.
Tighten the nuts to 10 N.m (89 lb in).
Inspect the window panel for proper operation.
2. Install the endgate cover (if removed).
3. Install the endgate or the liftgate trim panel.