
Blazer 2WD V6-4.3L VIN X (2004)
4. Install the switch to the motor/actuator cover.
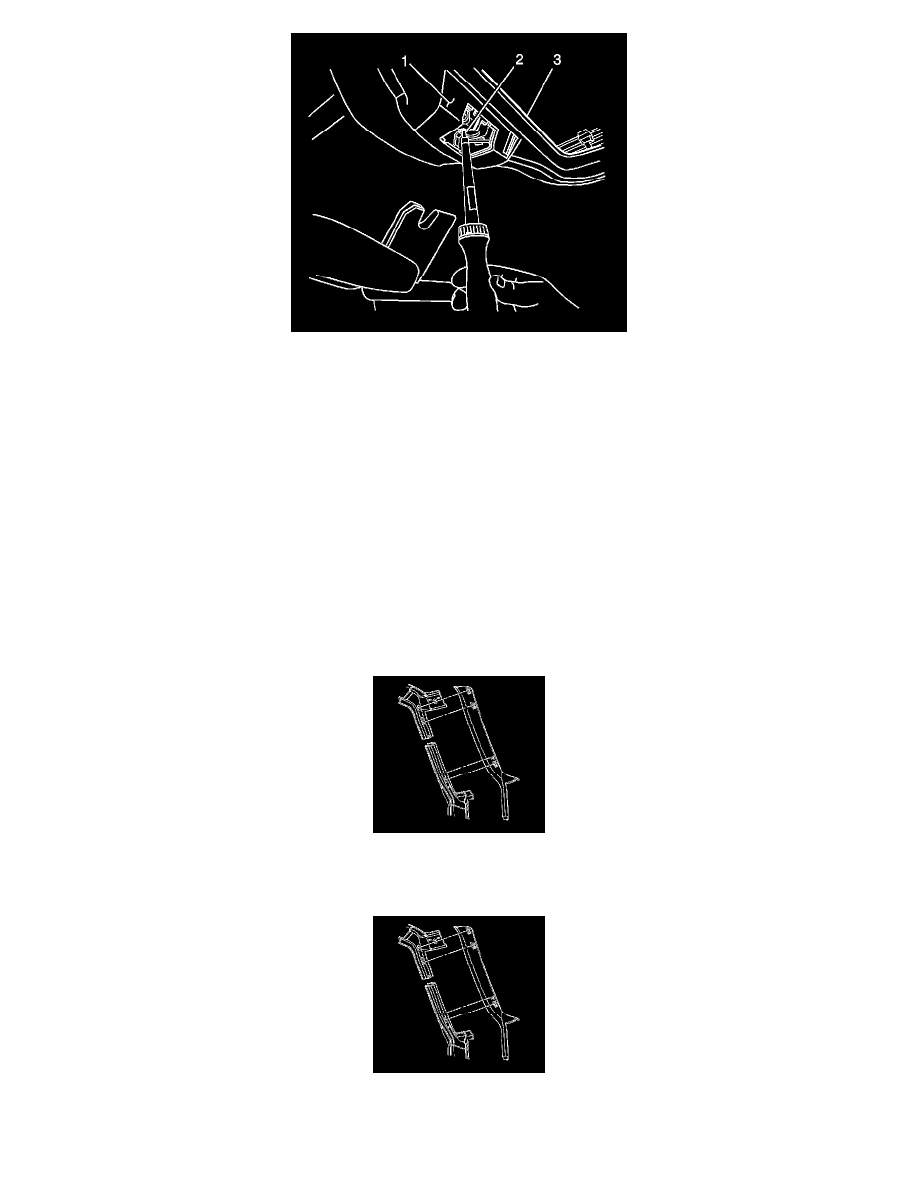
5. Install the motor/actuator cover (1) to the garnish molding.
6. Install the screw (2).
Tighten the screw to 4 N.m (35 lb in).
7. Connect the electrical connector.
8. Install the motor/actuator service cover.
Garnish Molding Replacement - Windshield Pillar
Garnish Molding Replacement - Windshield Pillar
Tools Required
J 38778 Door Trim Pad and Garnish Clip Remover
Removal Procedure
Use the J 38778 in order to remove the windshield garnish molding from the windshield pillar. Pull the molding away from the pillar and then up.
Installation Procedure
Install the windshield molding to the windshield pillar. Align the retainer clips with the slots and press the molding into place.
Trim Panel Replacement - Body Side (Crew Cab)