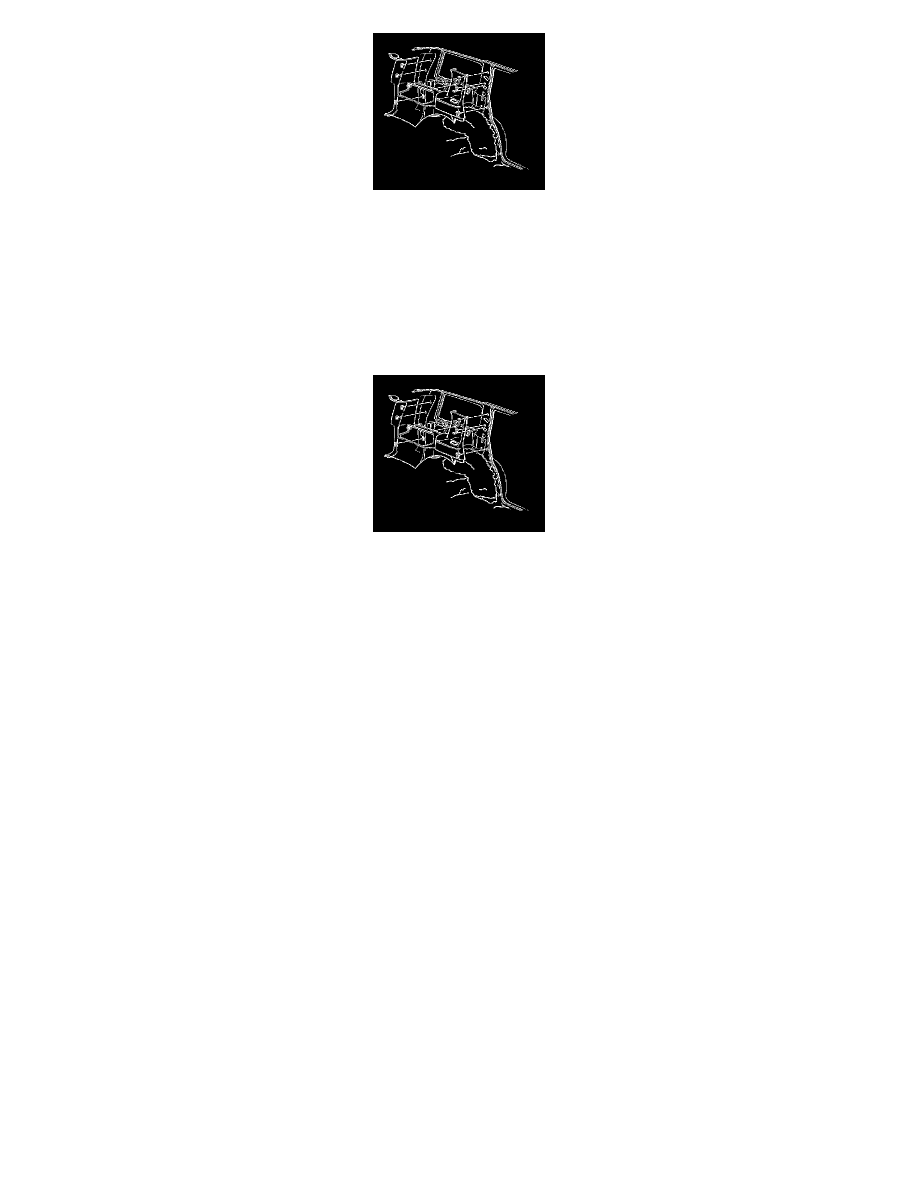
Blazer 2WD V6-4.3L VIN X (2004)

1. Remove the upper and lower rear seat belt anchor bolts.
2. Remove the endgate or the liftgate opening door sill trim plate.
3. Remove the jack storage cover (driver side only).
4. Remove the screws that retain the body side trim panel to the vehicle (driver side only).
5. Remove the spare tire and the carrier assembly (if equipped).
6. Remove the left and right body side trim panel from the vehicle.
7. Feed the seat belt through the trim panel.
Installation Procedure
1. Install the body side trim panel to the vehicle.
2. Feed the seat belt through the trim panel.
Notice: Refer to Fastener Notice in Service Precautions.
3. Install the screws that retain the body side trim panel to the vehicle (left side only).
Tighten the screws to 1.9 N.m (17 lb in).
4. Install the spare tire and the carrier assembly (if equipped).
5. Install the jack storage cover (left side only).
6. Install the endgate or liftgate opening door sill trim plate.
7. Install the upper and lower rear seat belt anchor bolts.
*
Tighten the upper bolts to to 70 N.m (52 lb ft).
*
Tighten the lower bolts to to 80 N.m (59 lb ft).
Trim Panel Replacement - Body Side (4-Door)
TRIM PANEL REPLACEMENT - BODY SIDE (4-DOOR)
REMOVAL PROCEDURE
