
Blazer 2WD V6-4.3L VIN X (2004)
5. Remove the engine camshaft.
5.1.
Install the three 5/16-18 x 4.0 inch bolts into the engine camshaft front bolt holes.
5.2.
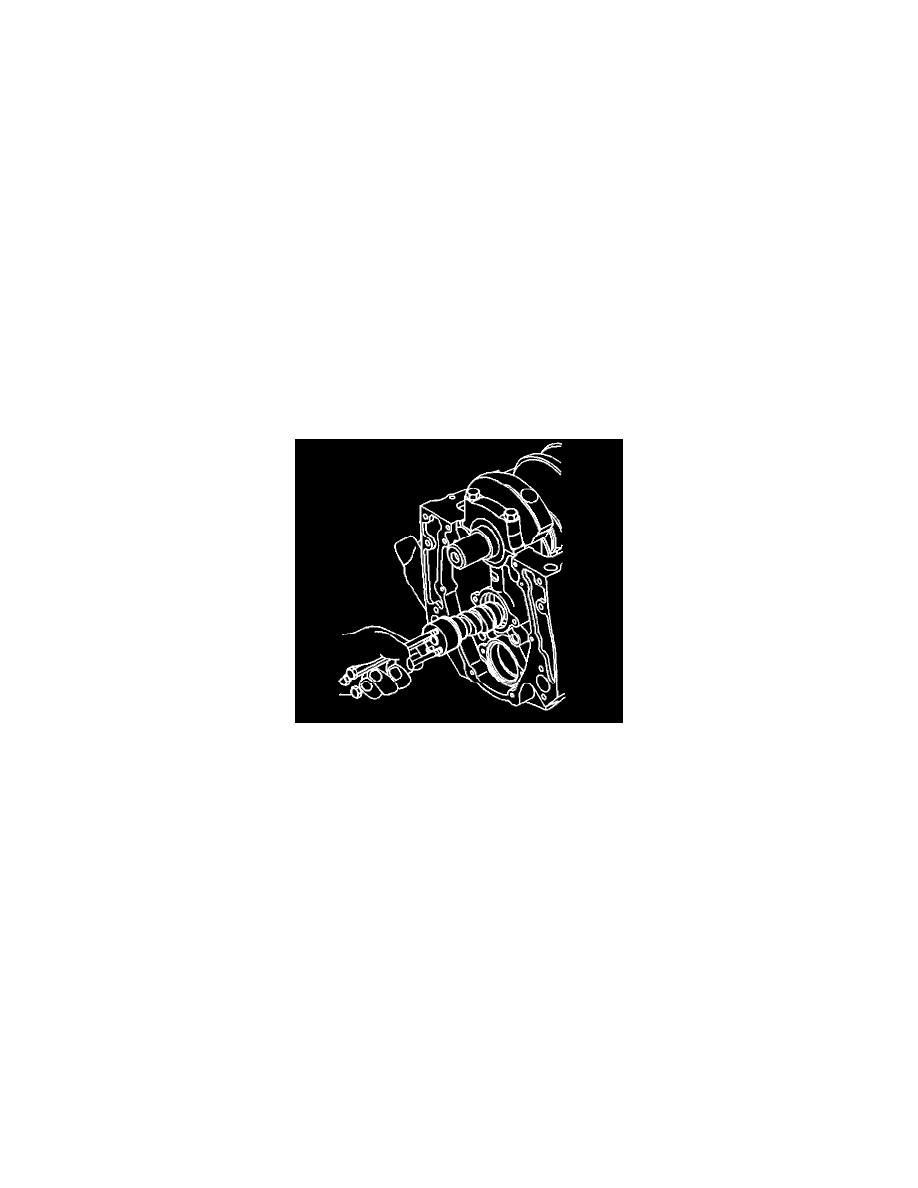
Using the bolts as a handle, carefully rotate and pull the engine camshaft out of the camshaft bearings.
5.3.
Remove the bolts from the front of the engine camshaft.
5.4.
Clean and inspect the camshaft and the bearings.
Installation Procedure
Important: Whenever a new camshaft is installed, do the following procedures:
^
Change the engine oil.
^
Change the engine oil filter.
^
Add GM Engine Oil Supplement GM P/N 1052367 (Canadian P/N 992869) or the equivalent to the engine oil.
1. Apply clean engine oil GM P/N 12345610 (Canadian P/N 993193) or equivalent, or engine oil supplement GM P/N 1052367 (Canadian P/N
992869) or equivalent to the following components:
^
The engine camshaft lobes
^
The camshaft bearing journals
^
The camshaft bearings
2. Install three 5/16-18 x 4.0 inch bolts into the engine camshaft front bolt holes.
Notice: All camshaft journals are the same diameter, so care must be used in removing or installing the camshaft to avoid damage to the camshaft
bearings.
3. Use the bolts as a handle in order to install the engine camshaft.
4. Remove the 3 bolts from the front of the engine camshaft.
Notice: Refer to Fastener Notice in Service Precautions.
5. If reusing the fasteners, apply threadlock GM P/N 12345382 (Canadian P/N 10953489) or equivalent to the threads of the camshaft retainer bolts.