
Blazer 2WD V6-4.3L VIN X (2004)
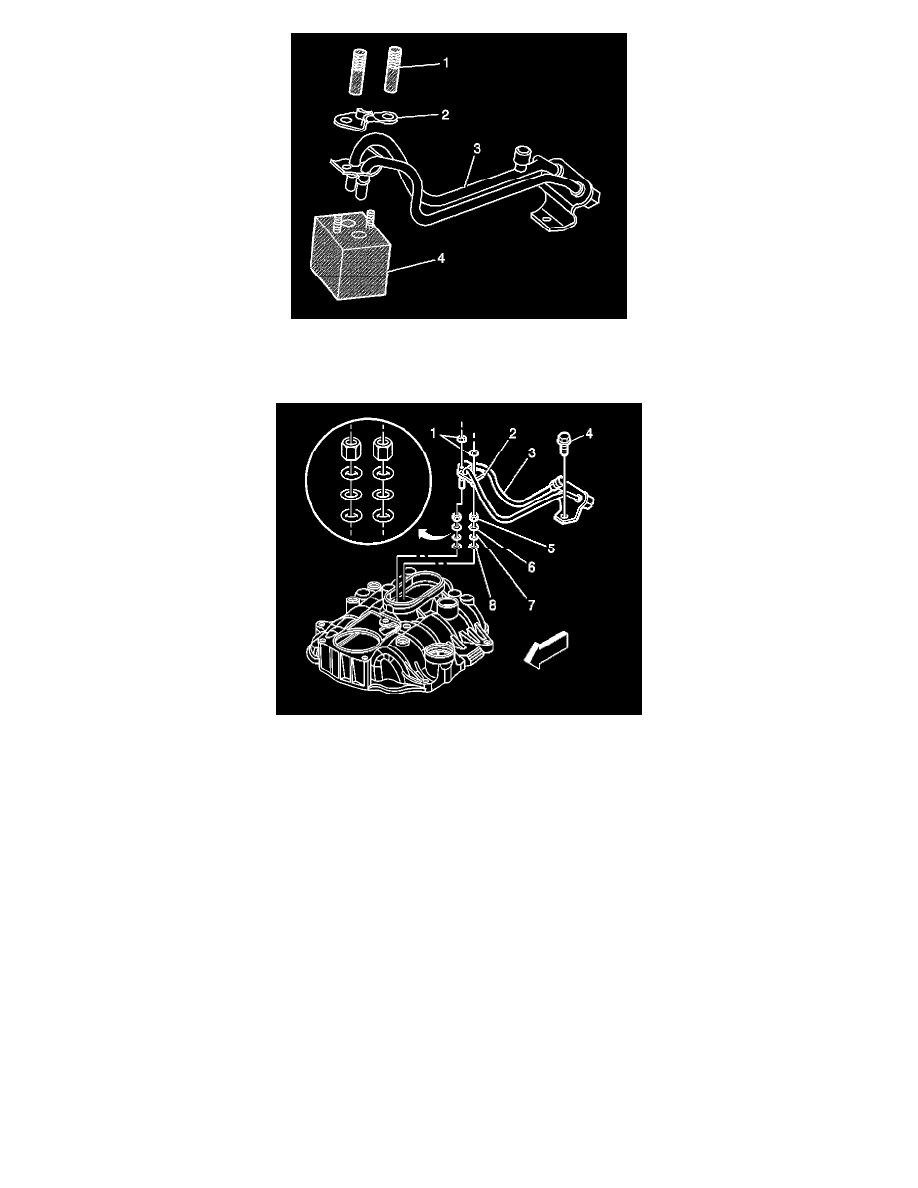
48. Remove J 44466-13 (1), clamp (2) and J 44466-11 (4) from the fuel pipe (3).
IMPORTANT: Make sure that all of the O-rings (6 and 8), washers (7), and spacers (5) are present and in proper position.
49. Install the fuel pipe (3) to the metering body.
NOTE: Refer to Fastener Notice in Service Precautions.
50. Install the clamp (2) and nuts (1).
Tighten
Tighten nuts to 3 N.m (27 lb ft).
51. Apply threadlock GM P/N 12345382 or equivalent to the threads of the fuel pipe bolt (4).
52. Install the fuel pipe bolt.
Tighten
Tighten the bolt to 6 N.m (53 lb ft).
53. Install the brake booster vacuum hose and connector to the intake manifold.
54. Install the resonator and air inlet duct to the throttle body.
55. Install the PCV clean air tube to the inlet duct.
56. Install brake booster vacuum hose and connector to the intake manifold.
57. Install ignition wires 1, 3, and 5 to the distributor cap.
58. Add one (1) ounce of Port Fuel Injector Cleaner GN P/N 12345104 (in Canada P/N 12345515) to the vehicle fuel tank for each gallon of gasoline
estimated to be in the tank.
IMPORTANT: Instruct the customer to add the remainder of the bottle of Port Fuel Injector Cleaner to the vehicle fuel tank at the next fill up.