
Blazer 2WD V6-4.3L VIN X (2004)
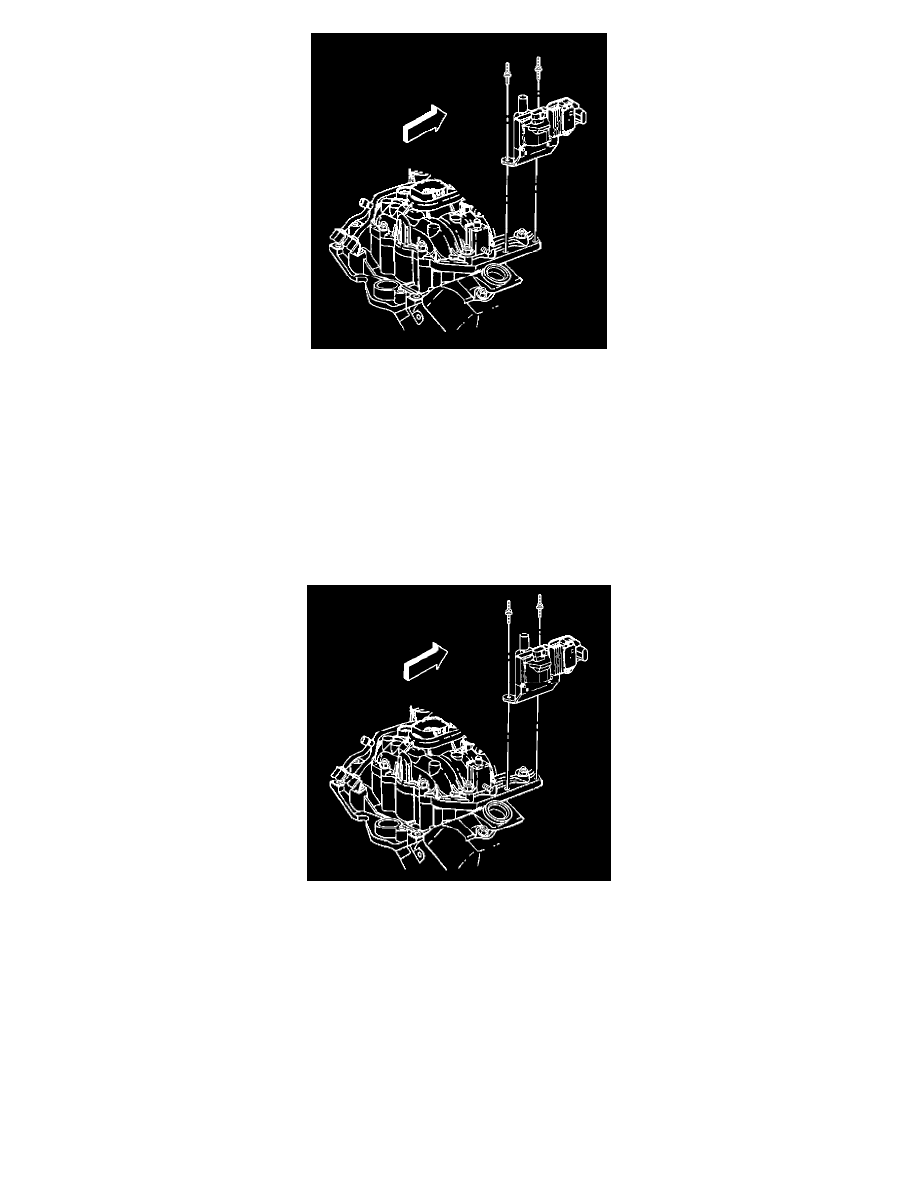
5. Remove the studs holding the bracket and the ignition coil to the intake manifold.
6. Remove the bracket and the ignition coil.
7. Drill and punch out the two rivets holding the ignition coil to the bracket.
8. Remove the ignition coil from the bracket.
INSTALLATION PROCEDURE
IMPORTANT: A replacement ignition coil kit comes with 2 screws in order to attach the ignition coil to the bracket.
1. Install the ignition coil to the bracket with the 2 screws.
NOTE: Refer to Fastener Notice in Service Precautions.
2. Install the ignition coil and the bracket to the intake manifold with studs.
Tighten
Tighten the studs to 11 N.m (97 lb in).