
Blazer 2WD V6-4.3L VIN X (2004)
Shackle: Service and Repair
Shackle Bushing Replacement
Shackle Bushing Replacement
^
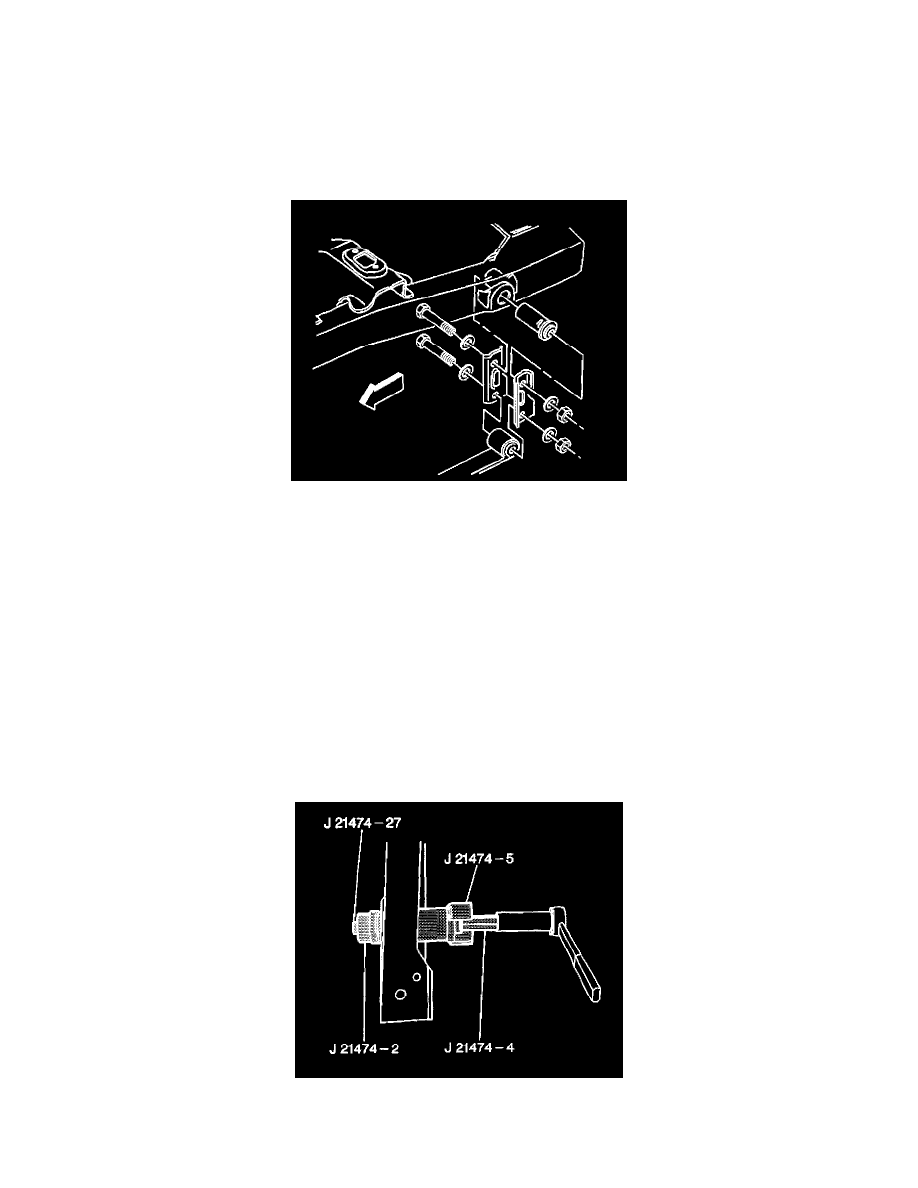
Tools Required
-
J 21474-01 Control Arm Bushing Service Kit
Removal Procedure
1. Raise and support the vehicle. Refer to Vehicle Lifting.
2. Remove the fuel tank (2-door utilities only).
3. Remove the EVAP canister (2-door utilities only).
4. Remove spare tire on, if necessary.
5. Disconnect rear exhaust hangers and lower exhaust system, if necessary.
6. Support the rear axle.
7. Remove the spring shackle to frame mounting nut and bolt.
8. Loosen the lower spring shackle mounting bolt at the leaf spring. Leave the bolt attached.
9. Lower the axle until there is enough clearance to remove the spring shackle bushing.
10. Use a blunt punch to straighten out the bushing flange that comes through the inner frame.
Important: Replace both of the spring shackle bushings while the fuel tank is removed from the vehicle.
11. Remove the spring shackle bushing using J 21474-01.
12. Repeat steps 7 through 11 for other spring shackle bushing.
Installation Procedure
1. Install the new spring shackle bushing using J 21474-01.
2. Pull the spring shackle bushing into the frame rail until the flanged portion of the spring shackle bushing is flush with the rail.
3. Stake the spring shackle bushing inner flange.