
Blazer 2WD V6-4.3L VIN X (2004)
Constant Velocity Joint Boot: Service and Repair
Inner Joint and Seal Replacement
Wheel Drive Shaft Inner Joint and Seal Replacement
Tools Required
^
J41048 Swage Clamp Tool
^
J35566 Drive Axle Seal Clamp Plier
^
J8059 Snap Ring Pliers
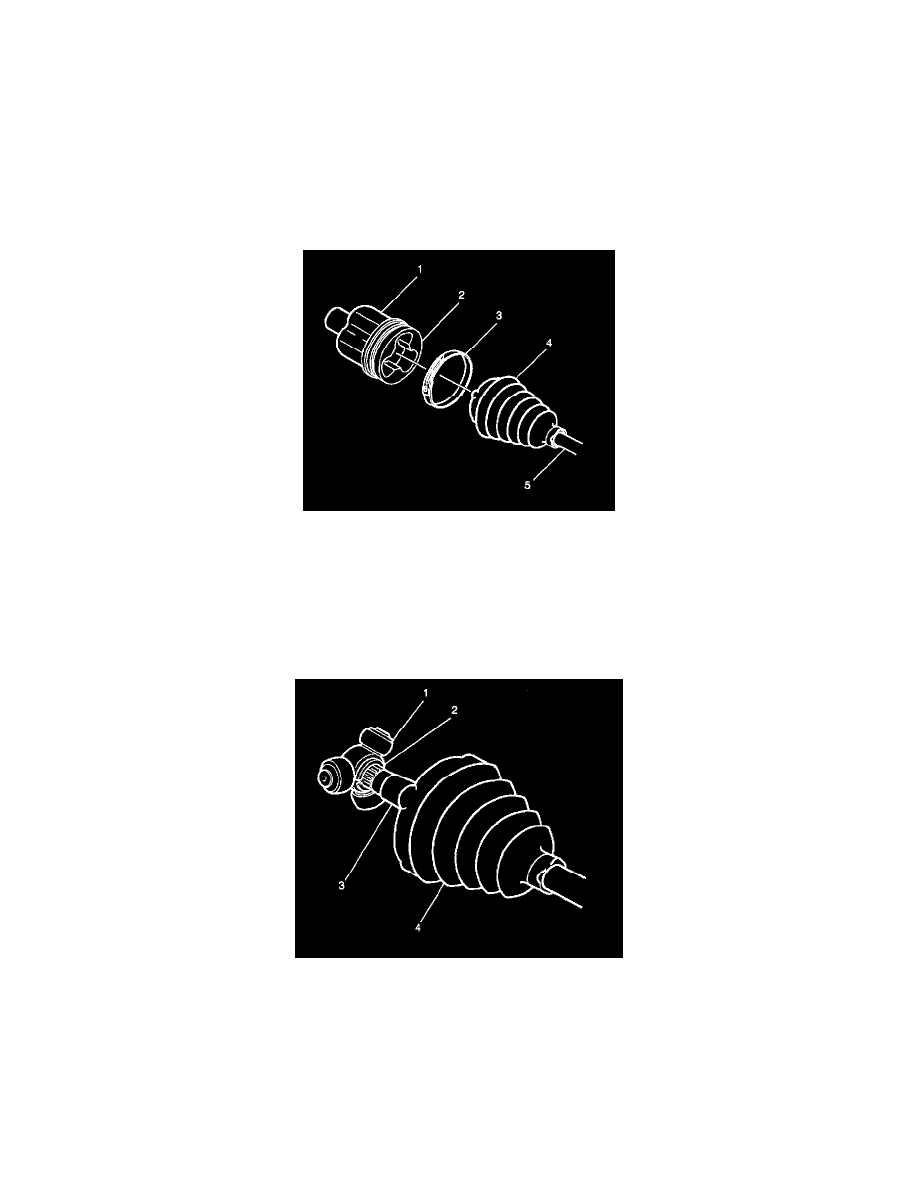
Disassembly Procedure
1. Remove the clamp from the boot with a pair of side cutters.
Important: Do not damage the tripot housing (1).
2. Use a hand grinder to cut through the swage ring.
3. Remove the tripot housing (1) and the tri-lobal tripot bushing (2) from the halfshaft bar (5).
4. Thoroughly degrease the housing (1) and the spider assembly.
5. Discard the tripot bushing.
6. Use 320 grit 3M cloth (or equivalent) to remove any evident corrosion in the transmission sealing surface.
7. Allow the housing (1) and the spider assembly to dry.
Important: Handle the tripot spider assembly (1) with care. Tripot balls and needle rollers may separate from the spider trunnion if the tripot balls
and needle rollers are not handled carefully.
8. Compress the tripot boot (4) onto the halfshaft bar (3), away from the spider assembly (1).