
Blazer 4WD V6-4.3L VIN X (2005)
Trunk / Liftgate Striker: Service and Repair
Lock Striker Replacement - Endgate (Utility)
Removal Procedure
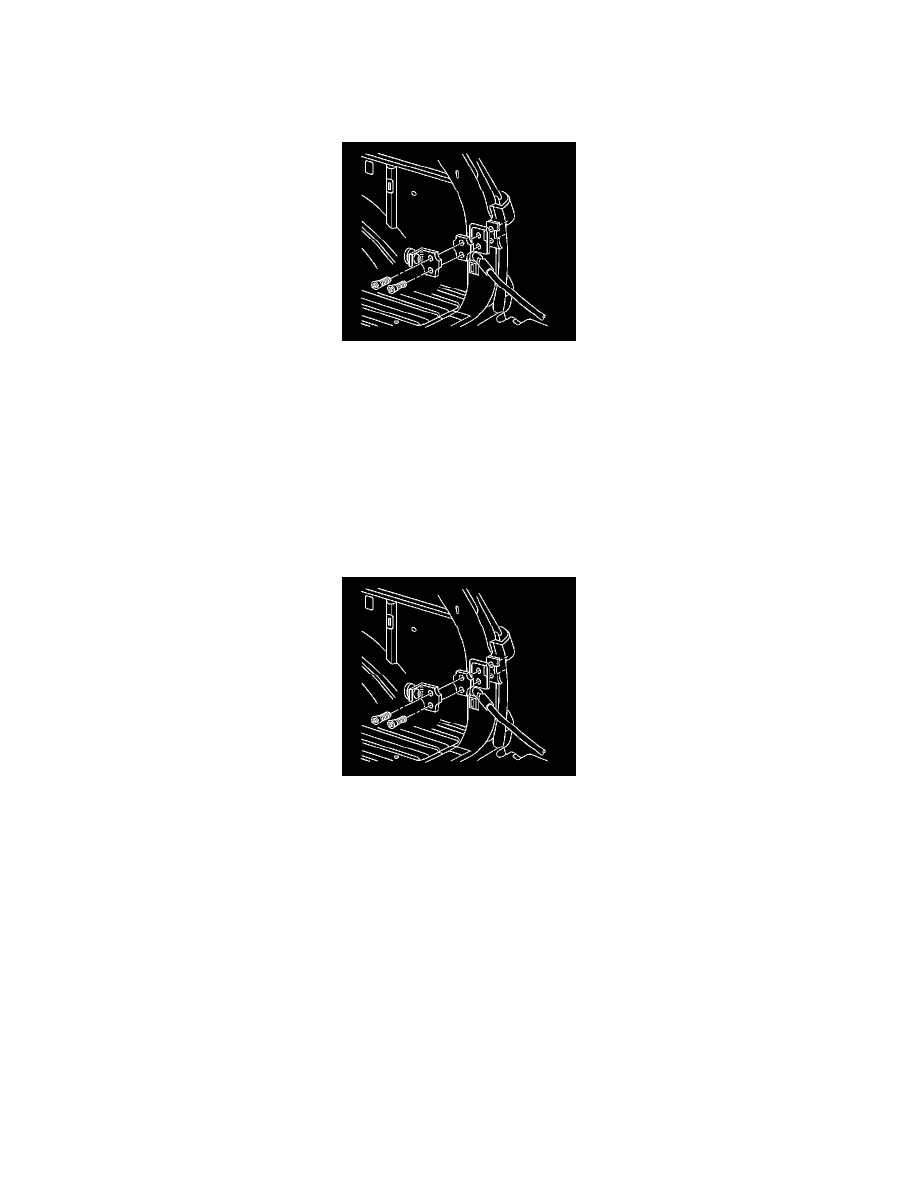
Important: Do not remove both endgate striker bolts at the same time in order to prevent the striker backing plate from falling into the
body.
1. Remove the lower striker bolt.
2. Loosen the upper striker bolt in order to rotate the striker and the spacer (if equipped) away from the lower bolt hole.
3. Install the lower striker bolt.
4. Tighten the lower striker bolt in order to hold the striker backing plate in place.
5. Remove the upper striker bolt.
6. Remove the spacer (if equipped).
7. Remove the striker.
Installation Procedure
1. Install the striker.
2. Install the spacer (if equipped).
3. Install the upper striker bolt.
Rotate the lower striker bolt until the upper threaded hole is properly aligned in order to ensure that the backing plate is in the correct position.
4. Remove the lower bolt.
5. Rotate the striker and the spacer (if equipped) in order to align the lower threaded hole in the striker backing plate.
Notice: Refer to Fastener Notice in Service Precautions.
6. Install the lower striker bolt.
Tighten the bolts to 22 N.m (16 lb ft).