Blazer 4WD V6-4.3L VIN X (2005)

^
Tighten the bolts to 25 Nm (18 ft. lbs.).
2. Install the J 23523-F forcing screw into the plate.
3. Rotate the J 23523-F forcing screw clockwise in order to remove the crankshaft balancer.
7. Remove the J 23523-F from the crankshaft balancer.
8. Note the position and length of any front groove pins (crankshaft balancer) (if applicable).
9. Clean the crankshaft balancer in cleaning solvent.
10. Dry the crankshaft balancer with compressed air.
11. Inspect the crankshaft balancer for the following:
^
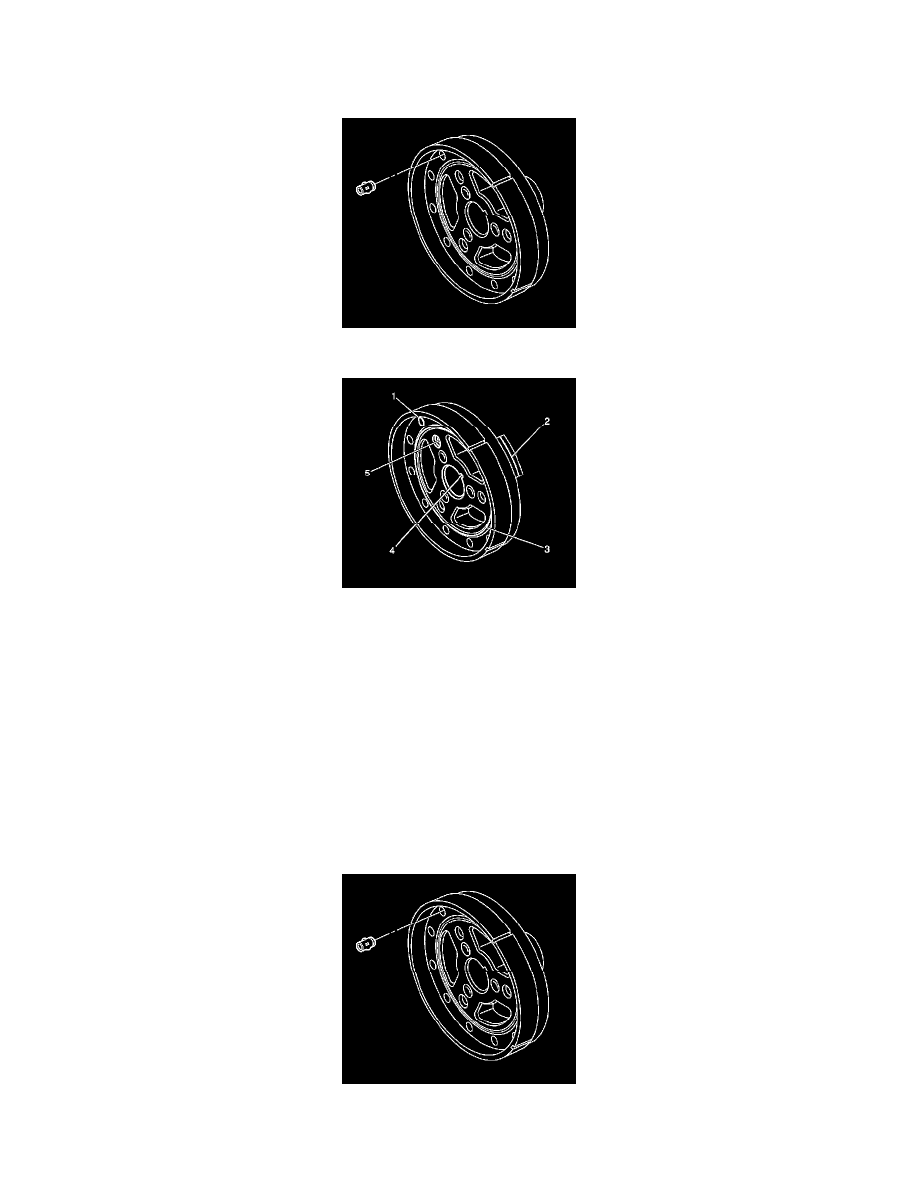
Loose or improperly installed front groove pin (1) (crankshaft balancer)A properly installed front groove pin should be installed until flush or
below flush with the face of the crankshaft balancer.
^
Important: A crankshaft front oil sealing surface with excessive scoring, grooves, rust, or other damage must be replaced.
Worn, grooved, or damaged crankshaft front oil sealing surface (2) Minor imperfections on the crankshaft balancer crankshaft front oil seal
surface may be removed with a polishing compound or fine grade emery cloth.
^
Worn, chunking, or deteriorated rubber (3) between the hub and the outer ring
^
Worn or damaged keyway (4)
^
Worn or damaged bolt hole threads (5)
Installation Procedure
1. Apply a small amount of grease to the crankshaft front cover oil seal sealing surface if reusing the seal. Look to ensure that the front groove pin
(crankshaft balancer) is installed in the proper location (if applicable).The length and location of the pins must be the same as the original length
