Blazer 4WD V6-4.3L VIN X (2005)

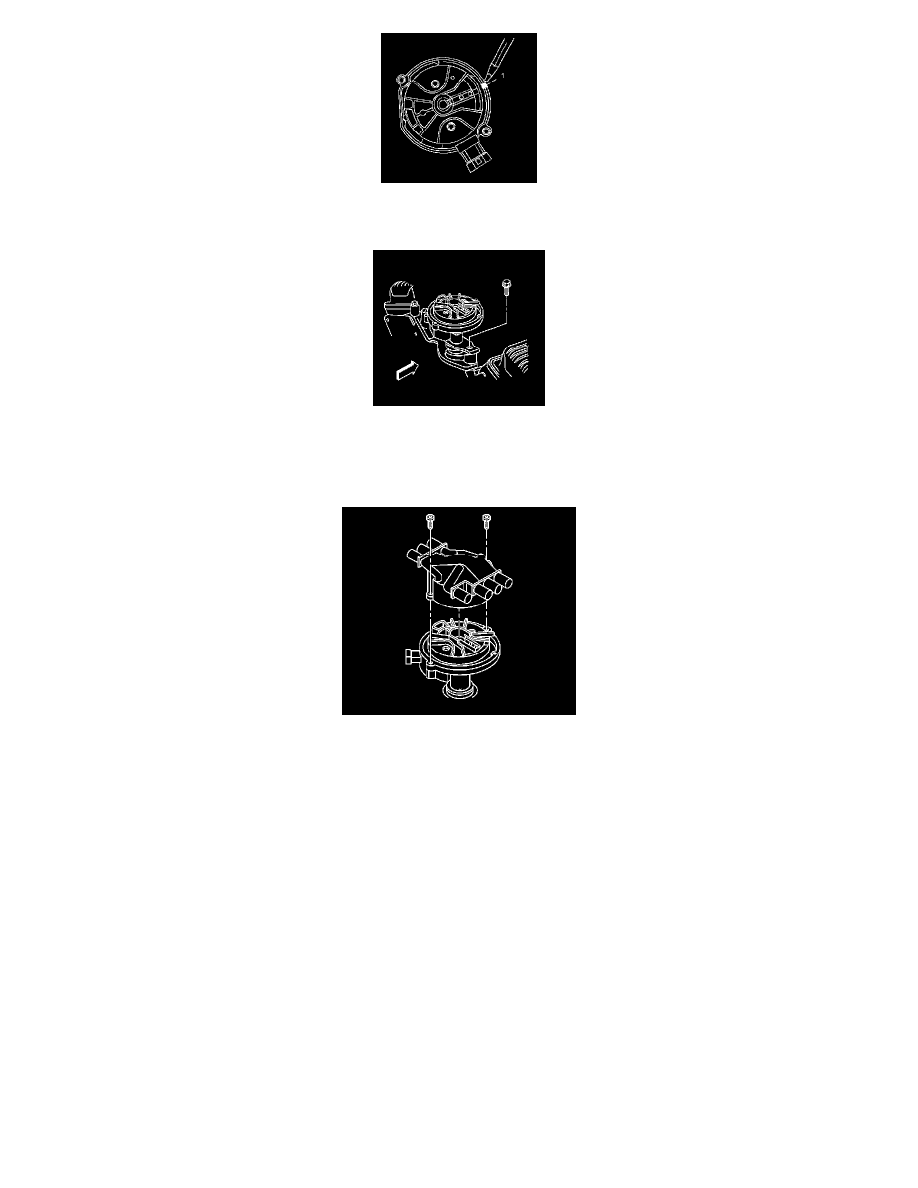
5. Align the hole in the distributor hold-down base over the mounting hole in the intake manifold.
6. As the distributor is being installed, observe the rotor moving in a clockwise direction about 42 degrees.
7. Once the distributor is completely seated, the rotor segment should be aligned with the mark on the distributor base (1).
-
If the rotor segment is not aligned with the number 1 mark, the driven gear teeth and the camshaft have meshed one or more teeth out of
alignment.
-
In order to correct this condition, remove the distributor and reinstall the distributor.
8. Install the distributor mounting clamp bolt.
NOTE: Refer to Fastener Notice in Service Precautions.
Tighten the distributor clamp bolt to 25 N.m (18 lb ft).
9. Install the distributor cap.
10. Install 2 new distributor cap screws.
Tighten the screws to 2.4 N.m (21 lb in).
11. Install the electrical connector to the distributor.
