
Blazer 4WD V6-4.3L VIN X (2005)
Ball Joint: Service and Repair
Upper Ball Joint Replacement
Upper Ball Joint Replacement (4WD)
Removal Procedure
1. Raise and suitably support the vehicle with safety stands. Refer to Vehicle Lifting.
2. Remove the tire and wheel.
3. Unload the torsion bar.
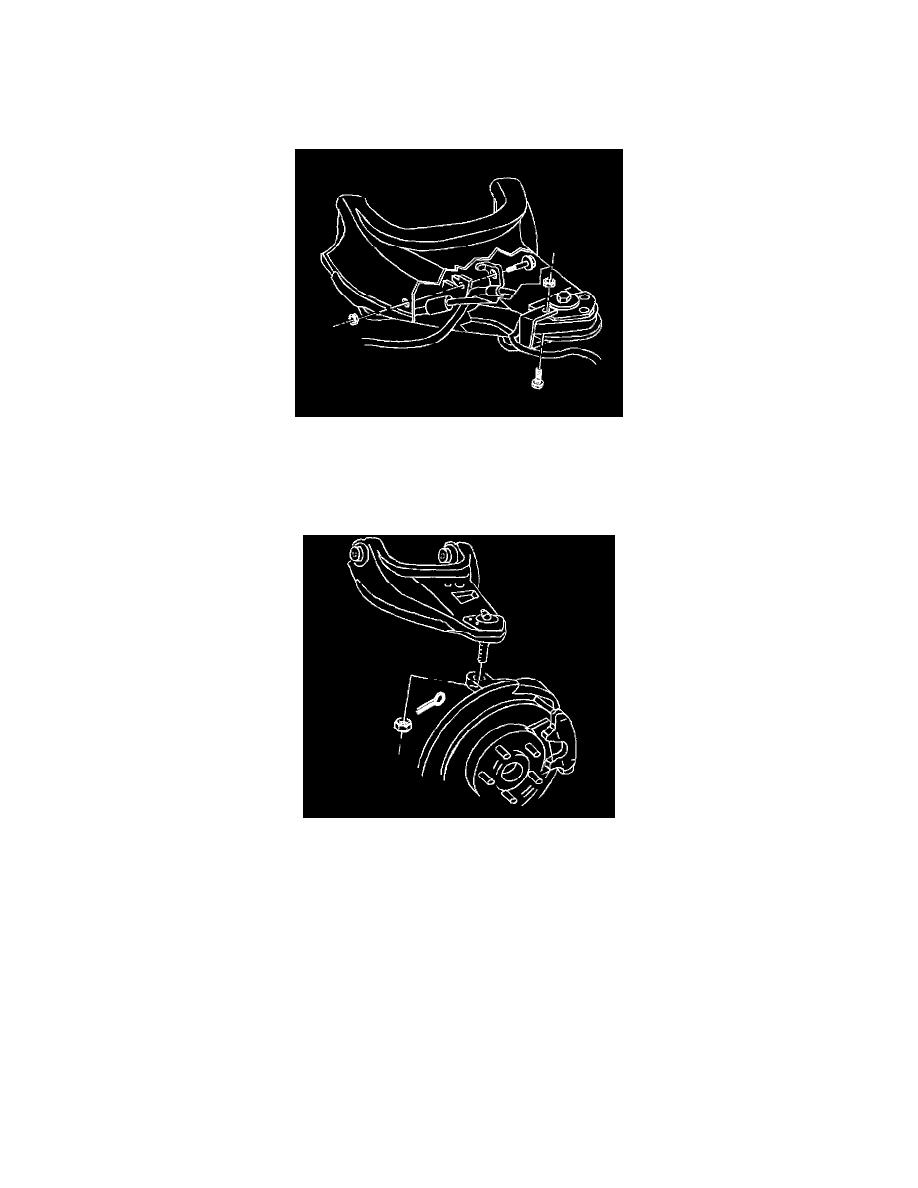
4. Remove the wheel speed sensor wiring harness bracket and brake hose bracket mounting bolt and nut from the upper control arm.
5. Disconnect the wheel speed sensor wiring harness bracket and brake hose bracket from the upper control arm.
6. Remove the cotter pin from the upper ball joint retaining nut.
7. Remove the upper ball joint retaining nut.
8. Using a pry bar, placed under the upper control arm and on top of the frame, pry upward.
9. With the aid of a helper, carefully hammer on the steering knuckle in the area of the upper ball joint stud in order to release the stud from the
steering knuckle.
10. Disconnect the upper ball joint from the steering knuckle.
10.1.
Place a block under the upper control arm to keep the control arm and the steering knuckle out of the way.
10.2.
Suspend the steering knuckle to prevent straining the brake line.