
Blazer 4WD V6-4.3L VIN X (2005)
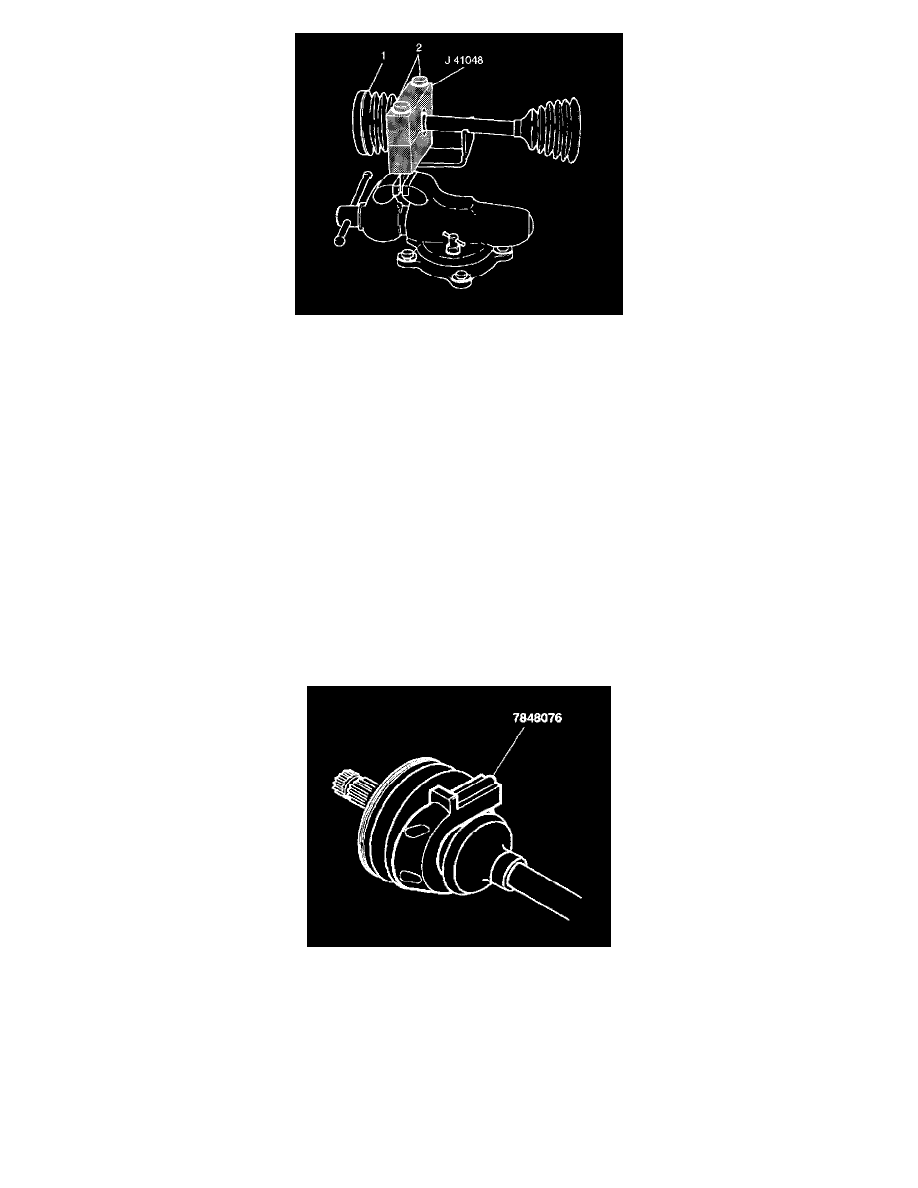
6. Place the top half of the J41048 on the bottom half.
7. Inspect to make sure there are no pinch points on the boot before proceeding.
8. Insert the bolts (2).
9. Tighten the bolts (2) by hand until snug.
Notice: Refer to Fastener Notice in Service Precautions.
10. Align the following items:
^
The boot
^
The halfshaft bar
^
The swage clamp
Each bolt 180 degrees at a time, using a ratchet wrench. Alternate between each bolt until both sides are bottomed.
11. Loosen the bolts.
12. Separate the dies.
Important: If deformities exist in the swage clamp, place the swage clamp back into J41048. Ensure the swage clamp covers the whole swaging area.
Re-swage the swage clamp.
13. Inspect the swage clamp for any "lip" deformities.
Important: Assemble the joint with the convolute retainer in the correct position. Assemble the joint to meet the specified dimension to avoid boot
damage.
14. Install the convolute retainer over the boot capturing four convolutions.