
C 1500 Suburban 2WD V8-5.3L VIN T (2001)
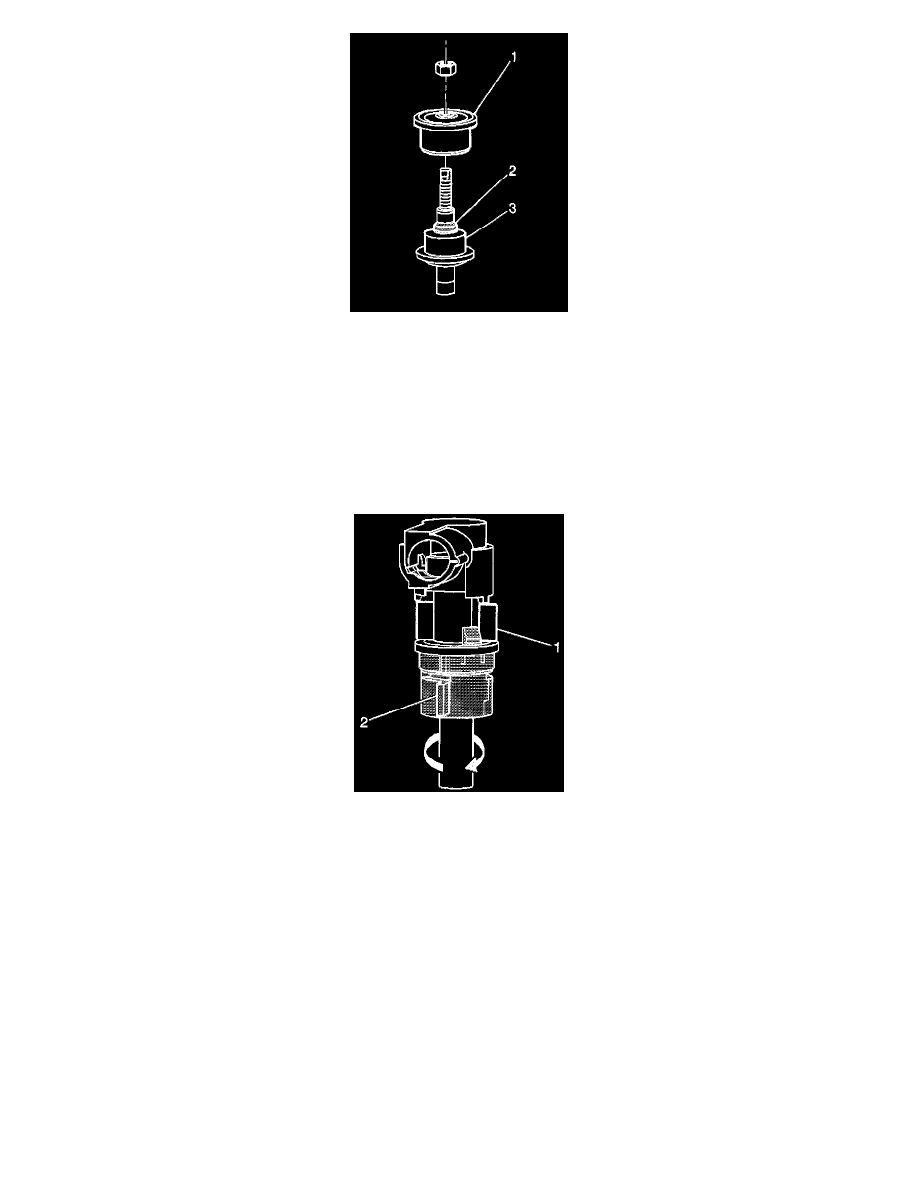
Important: The upper insulators are substantially larger that the lower insulators. The upper insulator (1) must be installed above the shock mounting
bracket on the frame. The plastic pilot ring (2) will assist the alignment of the isolators.
5. Install the upper insulator to the shock absorber.
6. Install the nut to the tennon end. Do not tighten the nut.
7. Connect the RTD link rod to the sensor (if equipped). Refer to Front Position Sensor Link Assembly Replacement - Electronic Suspension.
8. Remove the safety stands.
9. Lower the vehicle.
10. Hold the tennon end with a wrench while torquing the nut.
-
Tighten the nut to 20 Nm (15 ft. lbs.).
11. Connect the electrical connector using the following procedure if equipped with selectable ride.
11.1.
Verify that the connector is unlocked.
11.2.
Align the connector so that the tabs (1 ) are perpendicular to the wrench flats on the tennon end.
11.3.
Engage the connector to the tennon by firmly pushing the connector down.
11.4.
Grasp the connector lock tabs (1, 2). Rotate the connector counterclockwise.