
C 1500 Suburban 2WD V8-6.5L DSL Turbo VIN F (1997)
Connecting Rod: Service and Repair
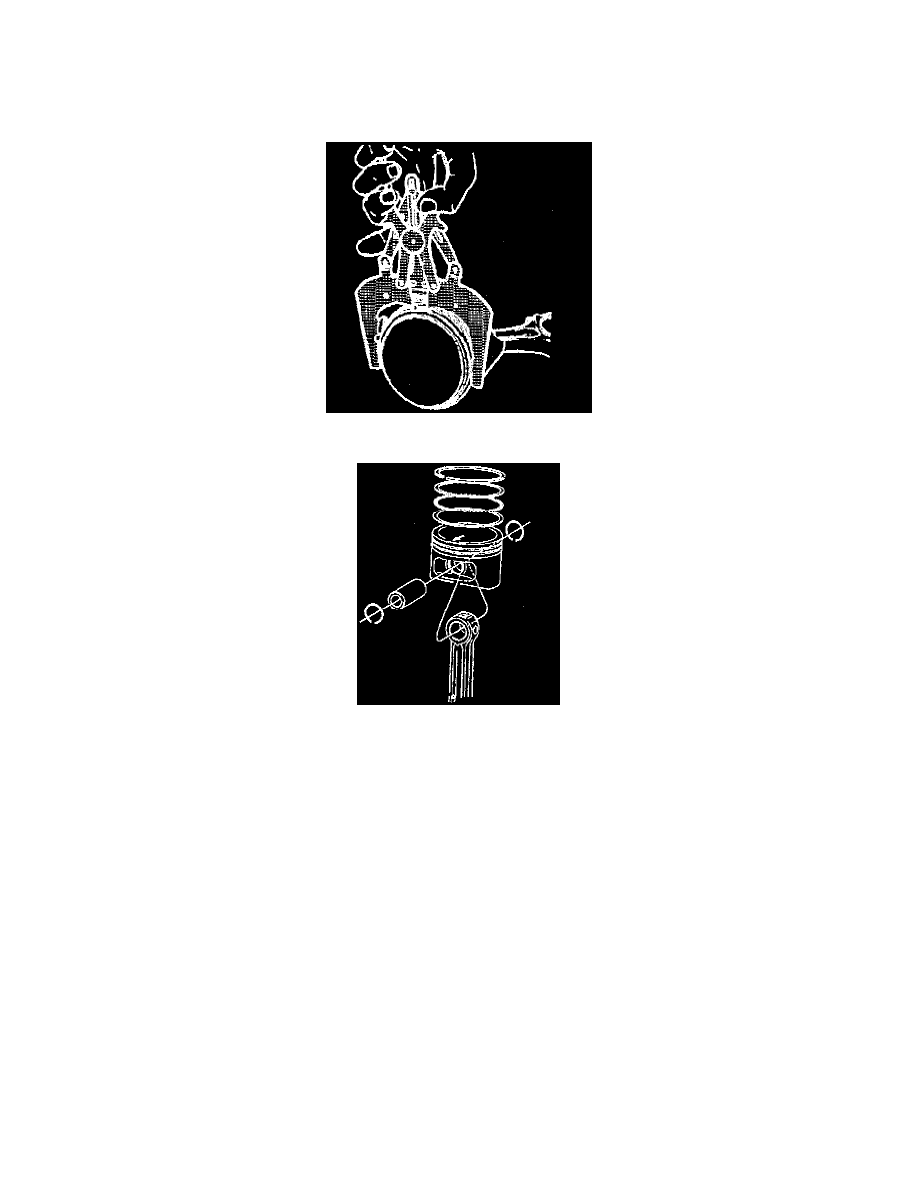
DISASSEMBLE
NOTE: Mark the piston according to its cylinder position during removal. This is to ensure Installation of the piston in its original cylinder during
assembly. This step is necessary when removing the pistons from the connecting rods.
1. Remove the piston rings. Discard rings if worn or damaged.
2. Remove the connecting rod bearings. If the bearings are to be reused, place them in a rack so that they may be reinstalled with the original
connecting rod and cap.
3. Pry out the pin retainer with a small screwdriver or a scribe with a rounded end.
4. Remove the piston pin. The pin is a full-floating style and should slide from the piston.
5. Remove the piston from the connecting rod.
ASSEMBLE
-
Tools Required
-
J 39507 Piston Retaining Ring Installer, Or Equivalent