
C 1500 Suburban 2WD V8-6.5L DSL Turbo VIN F (1997)
Crankshaft Balancer: Service and Repair
Crankshaft Balancer Replacement
-
Tools Required
-
J 39046 Crankshaft Balancer Remover
-
J 22102 Seal Installer
-
Or Equivalents
1. Disconnect the negative battery cables.
2. Remove the accessory drive belt.
3. Remove the upper radiator upper shroud. Refer to Cooling System.
4. Remove the bolts.
5. Remove the crankshaft pulley.
6. Remove the crankshaft balancer bolt and washer.
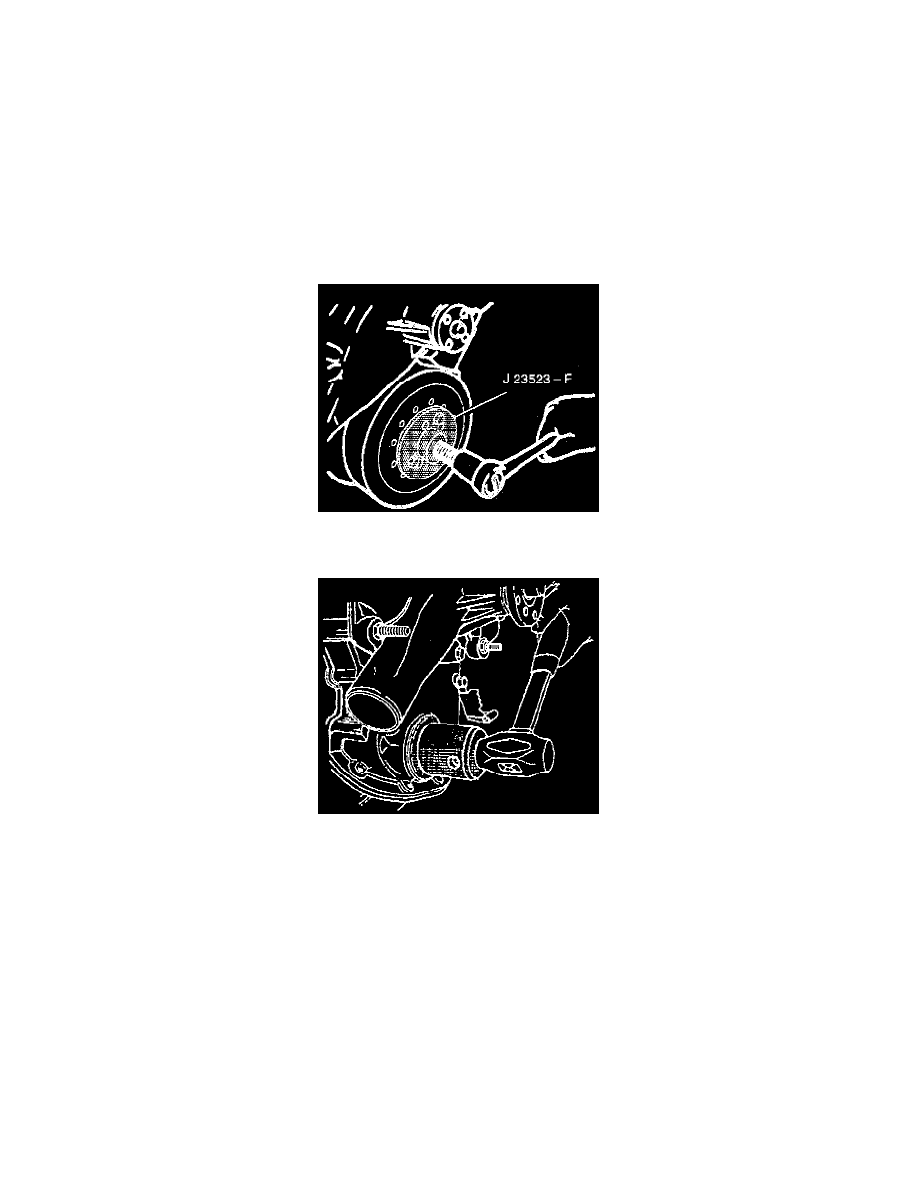
7. Remove the crankshaft balancer. Use the J 39046.
8 Remove the engine front cover oil seal. Pry out the oil seal with a screwdriver.
INSTALLATION
1. Install the new engine front cover oil seal. Use the J 22102.Lubricate the sealing area with engine oil. Apply clean engine oil to the crankshaft.
3. Inspect the crankshaft balancer sealing surface for grooving or roughness. Replace the crankshaft balancer if necessary.
4. Install the crankshaft balancer. Tap into place with a mallet and make sure the balancer is all the way on the crankshaft.
5. Install the crankshaft balancer bolt and washer.
-
Tighten the bolt to 270 Nm (200 ft. lbs.).
6. Install the crankshaft pulley and bolts.
-
Tighten the bolts to 40 Nm (30 ft. lbs.).
7. Install the accessory drive belt.
8. Connect the negative battery cables.