
C 1500 Suburban 2WD V8-6.5L DSL Turbo VIN F (1997)
Rocker Arm Cover: Service and Repair
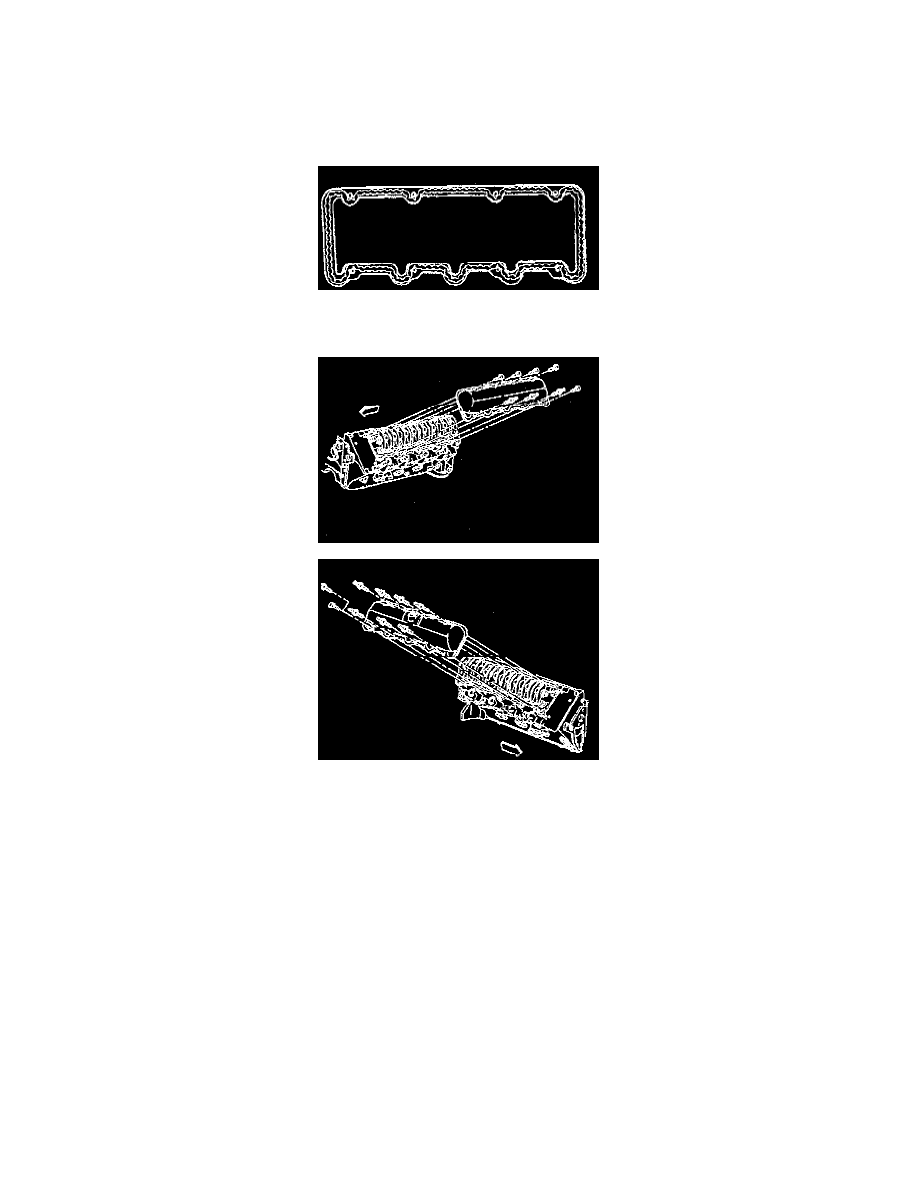
Installation
INSTALLATION
CAUTION: Do not allow the RTV sealant into the valve rocker arm cover bolt holes. This may cause a Valve locks condition, when the bolts are
tightened, damaging the cylinder head casting.
1. Apply a 5 mm (3/16 inch) bead of RTV sealant GM P/N 12345739 to the valve rocker am, covers, inboard of the bolt holes. The sealer must be
wet to the touch when the bolts are tightened.
2. Install the valve rocker arm cover.
-
Tighten the bolts to 22 Nm (16 ft. lbs.).
3. Install the wiring harness.
4. Install the turbocharger heat shield (right side).
5. Install the fuel return lines.
6. Install the oil level indicator tube and the bracket (left side).
7. Install the heater hose (right side).
8. Install the ground strap.
9. Install the long pencil brace to the turbocharger (right side).
10. Install the CDR valve and hose (right side).
11. Install the fuel injection lines and clips to their original location as marked during removal.
12. Install the intake manifold.