
C 1500 Suburban 2WD V8-6.5L DSL Turbo VIN F (1997)
Oil Pan: Service and Repair
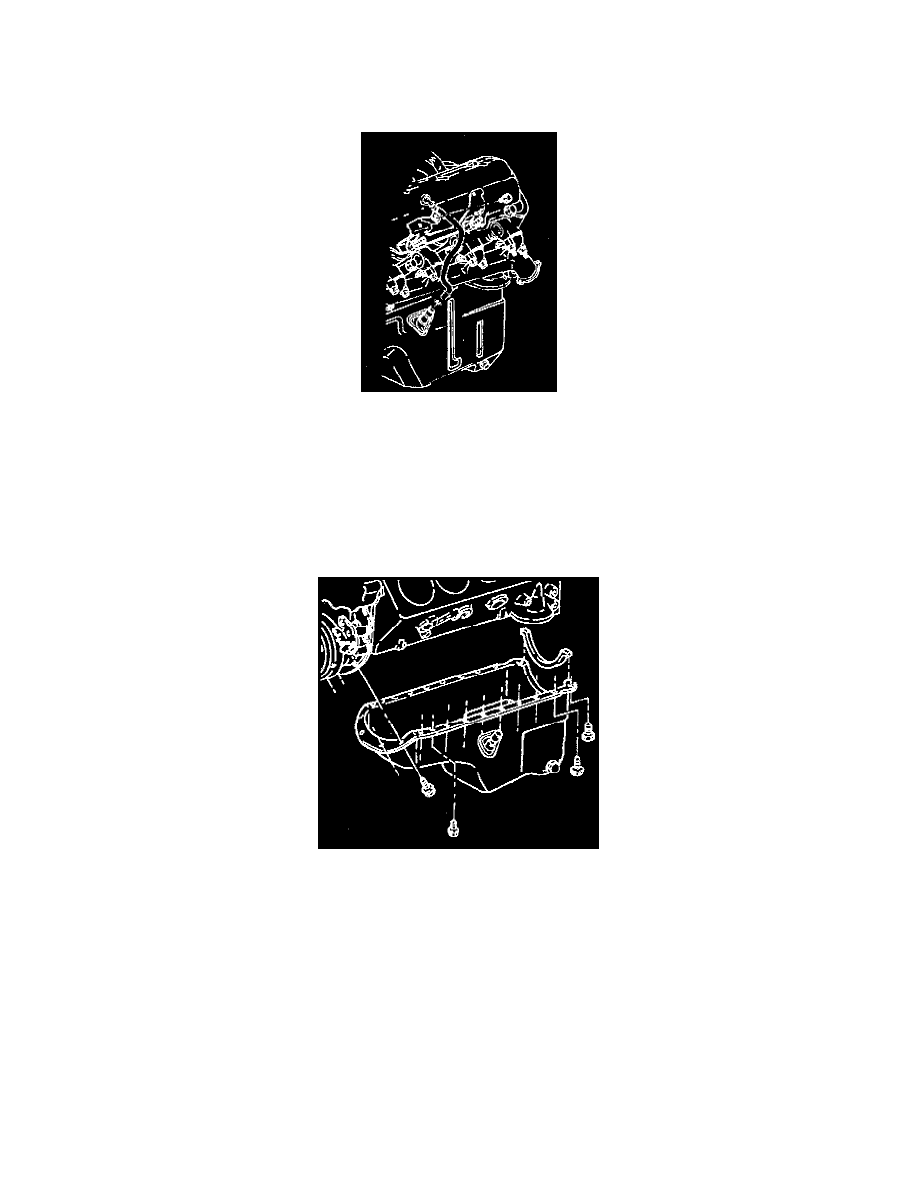
Replacement
REMOVAL
1. Disconnect the negative cables.
2. Remove the oil level indicator.
3. Raise the vehicle.
4. Support the vehicle with safety stands.
5. Drain the engine oil.
6. Remove the flywheel cover.
7. Remove the oil cooler line clip.
8. Remove the front propeller shaft (if equipped). Refer to Transmission and Drivetrain.
9. Roll the front axle (if equipped).
10. Remove the oil pan bolts.
11. Remove the oil pan.
12. Remove the oil pan rear oil seal.
13. Clean the old RTV from the oil pan and the block.
14. Clean all the oil and grease from the gasket surfaces.
INSTALLATION
1. Apply a 2 mm (1/16 inch) bead of RTV sealant GM P/N 12345739 or equivalent to the oil pan rear seal at the inside corners where the seal meets
the rear main bearing cap on the block.
2. Install the oil pan rear seal to the rear main bearing cap before the sealer starts to dry.
3. Install the oil pan rear oil seal.
4. Install the oil pan to the engine.
5. Install the oil pan bolts.
-
Tighten all except the rear two bolts to 10 Nm (89 inch lbs.).
-
Tighten the rear two bolts to 23 Nm (17 ft. lbs.).
NOTE: If the oil cooler lines were disconnected from the quick connector or block, replace the fastener clip when reconnecting.