
C 1500 Truck 2WD V6-4.3L VIN W (1996)
Fuel Tank Unit: Service and Repair
Remove and Install
REMOVAL PROCEDURE
1. Disconnect the negative battery cable.
2. Relieve the fuel system pressure. Refer to Fuel Pressure Relief Procedure. See: Service and Repair
3.
Drain the fuel tank. Refer to Draining Fuel Tank. See: Fuel Tank/Service and Repair
4.
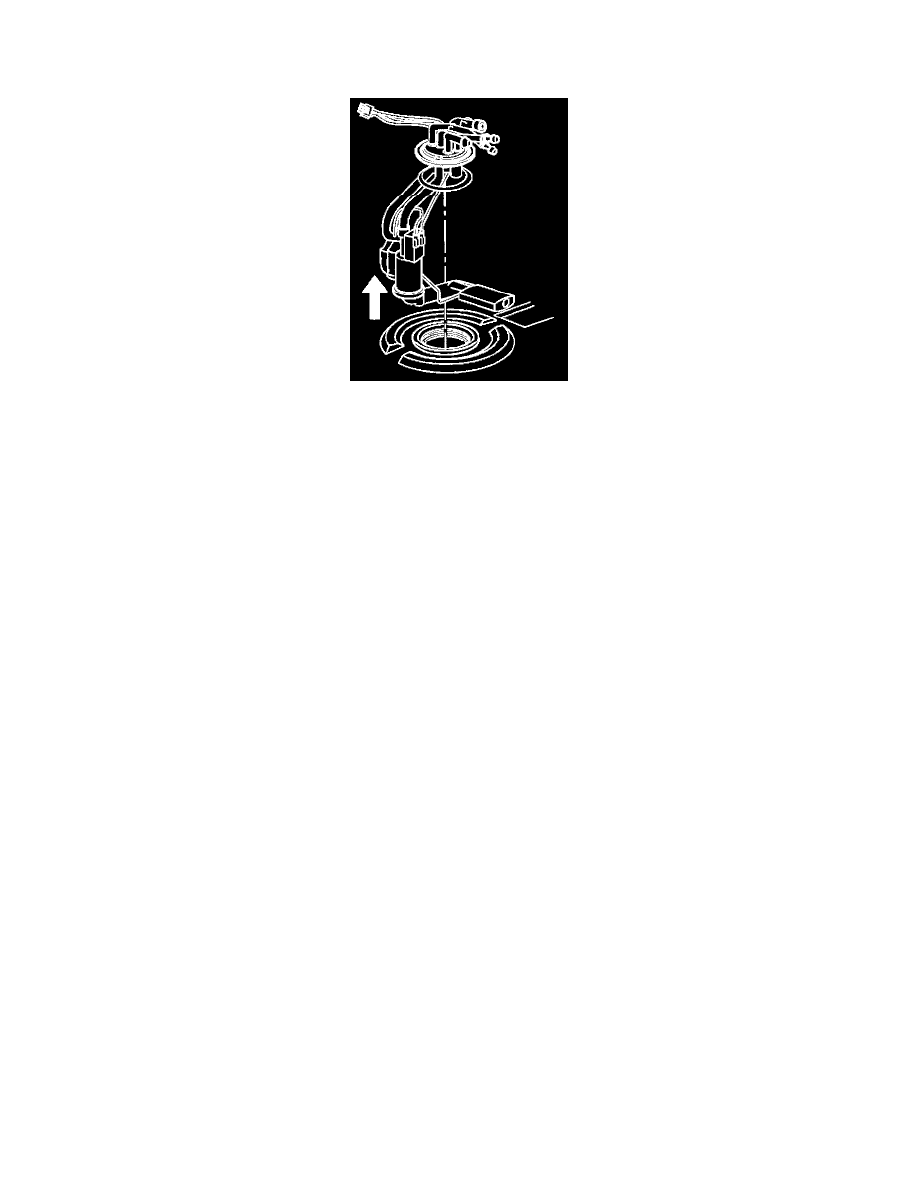
Remove the fuel tank and sender assembly. Refer to Fuel Tank Assembly. See: Fuel Tank/Service and Repair
INSTALLATION PROCEDURE
1. Install a new seal, sending assembly and lock ring. Make sure the lock ring alignment holes fit over the tabs on the tank.
2. Install the cam lock assembly. Turn the cam lock clockwise to lock it.
3. Install the fuel tank. Refer to Fuel Tank Assembly. See: Fuel Tank/Service and Repair
4. Add fuel removed from the tank.
5. Connect the negative battery cable.
6. Check for fuel leaks.
6.1.
Turn the ignition ON for 2 seconds.
6.2.
Turn OFF the ignition for 10 seconds.
6.3.
Again, turn the ignition switch to the ON position.
6.4.
Check for fuel leaks.