
C 1500 Truck 2WD V6-4.3L VIN X (2003)
Lower Side Moulding / Trim: Service and Repair
Molding Replacement - Rear Body Side - Lower Front
Molding Replacement - Rear Body Side - Lower Front
Tools Required
J 25070 Heat Gun
Removal Procedure
Important: Be careful not to scratch or chip the paint.
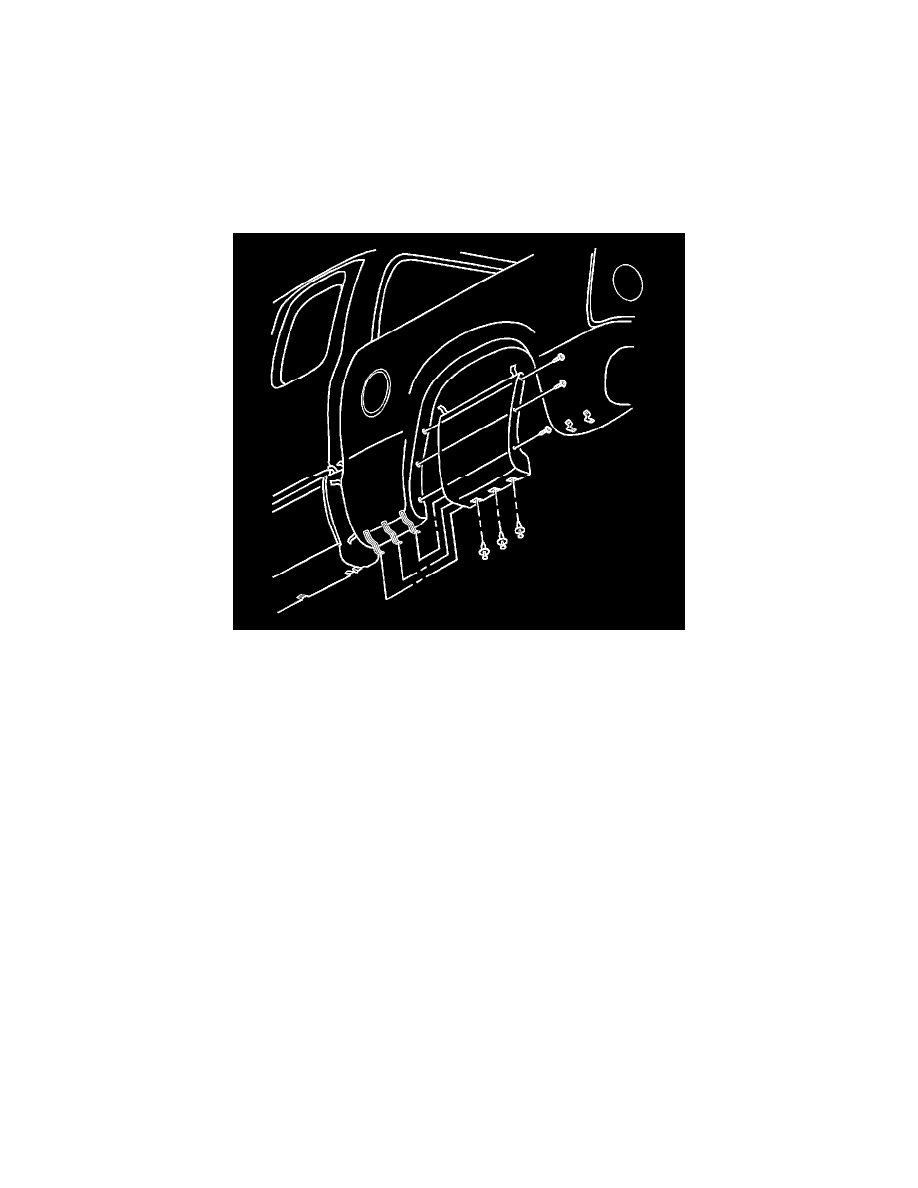
1. Remove the 3 screws.
2. Remove the 3 push-pins.
3. Heat the body side molding using the J 25070. Hold the J 25070 approximately 152 mm (6 in) from the surface.
Apply heat using a circular motion for about 30 seconds.
4. Starting from one end of the molding, peel off the body off the molding from the panel surface using a flat-bladed tool.
5. Remove all adhesive from the body panel using a 3M(TM) ScotchBrite molding adhesive remover disk, P/N 07501, or equivalent.
Installation Procedure