C 1500 Truck 2WD V6-4.3L VIN X (2003)

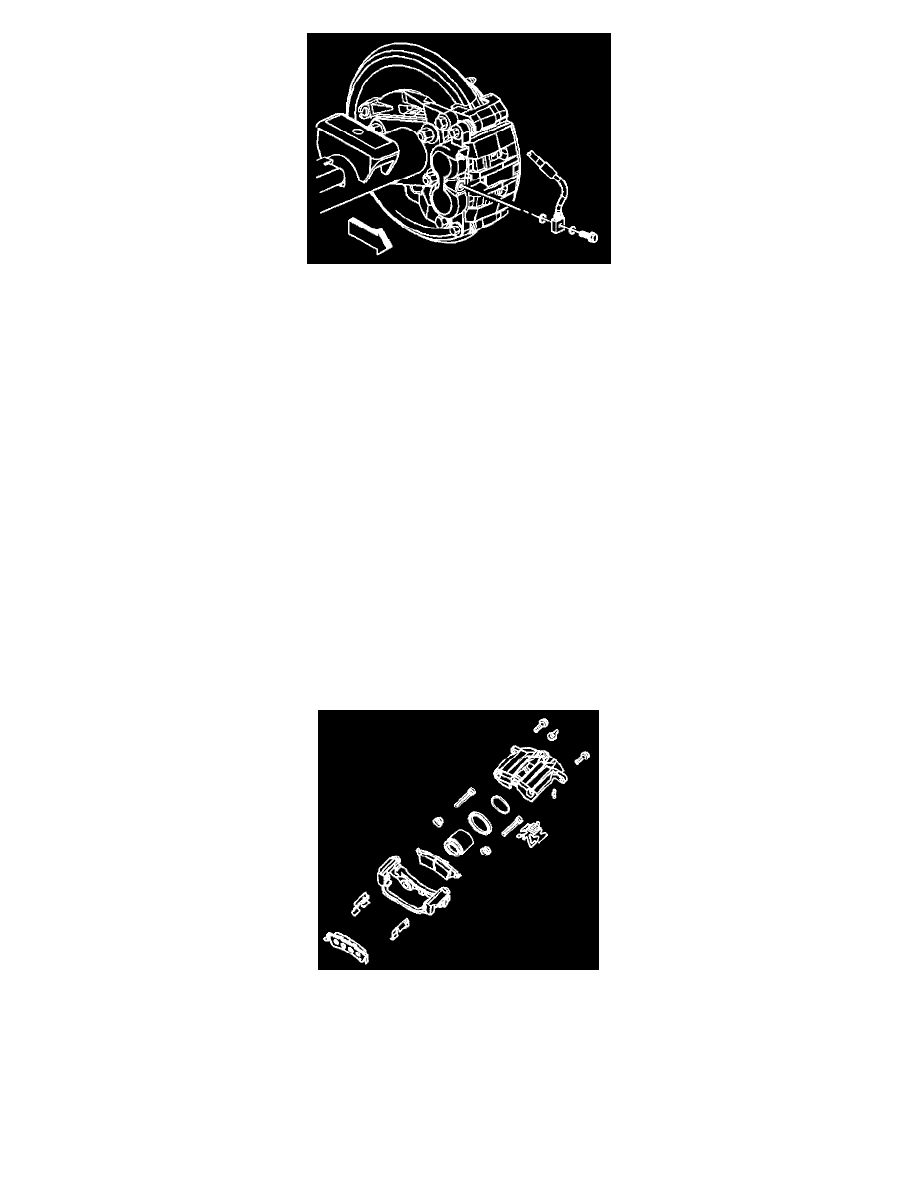
10. Connect the brake hose at the caliper by installing the brake hose to caliper bolt.
-
Tighten the bolt to 40 N.m (30 lb ft).
11. Bleed the hydraulic brake system. Refer to Hydraulic Brake System Bleeding (Manual) Hydraulic Brake System Bleeding (Pressure) in Hydraulic
Brakes.
12. Install the tire and wheel assembly. Refer to Tire and Wheel Removal and Installation in Tires and Wheels.
13. Lower the vehicle.
14. Fill the master cylinder reservoir to the proper level with clean brake fluid. Refer to Master Cylinder Reservoir Filling in Hydraulic Brakes.
Brake Caliper Overhaul - Rear (15 Series)
Brake Caliper Overhaul - Rear (15 Series)
Caution: Refer to Brake Dust Caution in Cautions and Notices.
Caution: Refer to Brake Fluid Irritant Caution in Cautions and Notices.
Disassembly Procedure
Important:
- Replace all the components included in the repair kits used to service this brake caliper.
- Lubricate the rubber parts with clean brake fluid to make assembly easier.
- The torque values specified are for dry, non lubricated fasteners.
- Perform the service operations on a clean bench free from all mineral oil materials.
1. Remove the brake caliper from the vehicle. Refer to Brake Caliper Replacement - Rear (All except 3500 Series) Brake Caliper Replacement - Rear
(3500 Series).
Caution: Do not place your fingers in front of the piston in order to catch or protect the piston while applying compressed air. This could result
in serious injury.
2. Place a thin piece wood in front of the piston in order to prevent damage. Remove the piston by directing compressed air into the brake hose inlet
fitting port of the brake caliper housing.
