
C 1500 Truck 2WD V8-305 5.0L VIN M SFI (1997)
container.
22. After filling the transmission with automatic transmission oil, start the engine and run for 30 seconds. This will remove any residual moisture from
the oil cooler and cooler lines, protect all components from corrosion, and check the flow rate through the cooler. A minimum of 2 quarts must be
obtained during this 30 second run. If oil flow is insufficient, check the oil flow out of the transmission by disconnecting the oil cooler feed line at
the radiator and restarting the engine.
-
Insufficient Feed Flow: Inspect the transmission for cause.
-
Sufficient Feed Flow: Inspect oil cooler lines and fittings for restrictions or leaks and repeat the oil cooler flushing procedure. Repeat the check
of oil flow out the return line and if flow is still inhibited, replace the oil cooler.
23. Remove the discharge hose, reconnect the cooler return pipe to the transmission and refill the unit to the proper oil level.
24. Disconnect the water supply hose from the tool.
25. Bleed air pressure from the can, remove the fill cap, return any unused solution to the container, and rinse the can out with water. Do not store the
tool with solution in the tank.
26. Loosen the large coupling nut and remove the plumbing from the tank.
27. Remove the screen from the plumbing and wash it with water.
28. Use the cleaning pin to remove any material in the solution orifice. The orifice is located in the plumbing below the screen.
29. Reconnect the plumbing and fill the can half with water, secure the fill cap, and pressurize the can to 550-700 kPa (80-100 psi).
30. Aim the tool into the 5 gallon pail or floor drain and depress the trigger to allow the water from the can to flow through the solution orifice for 30
seconds to ensure proper cleaning.
31. Bleed air pressure from can, remove the fill cap, and empty the can.
32. Reconnect fill cap to the flushing tool.
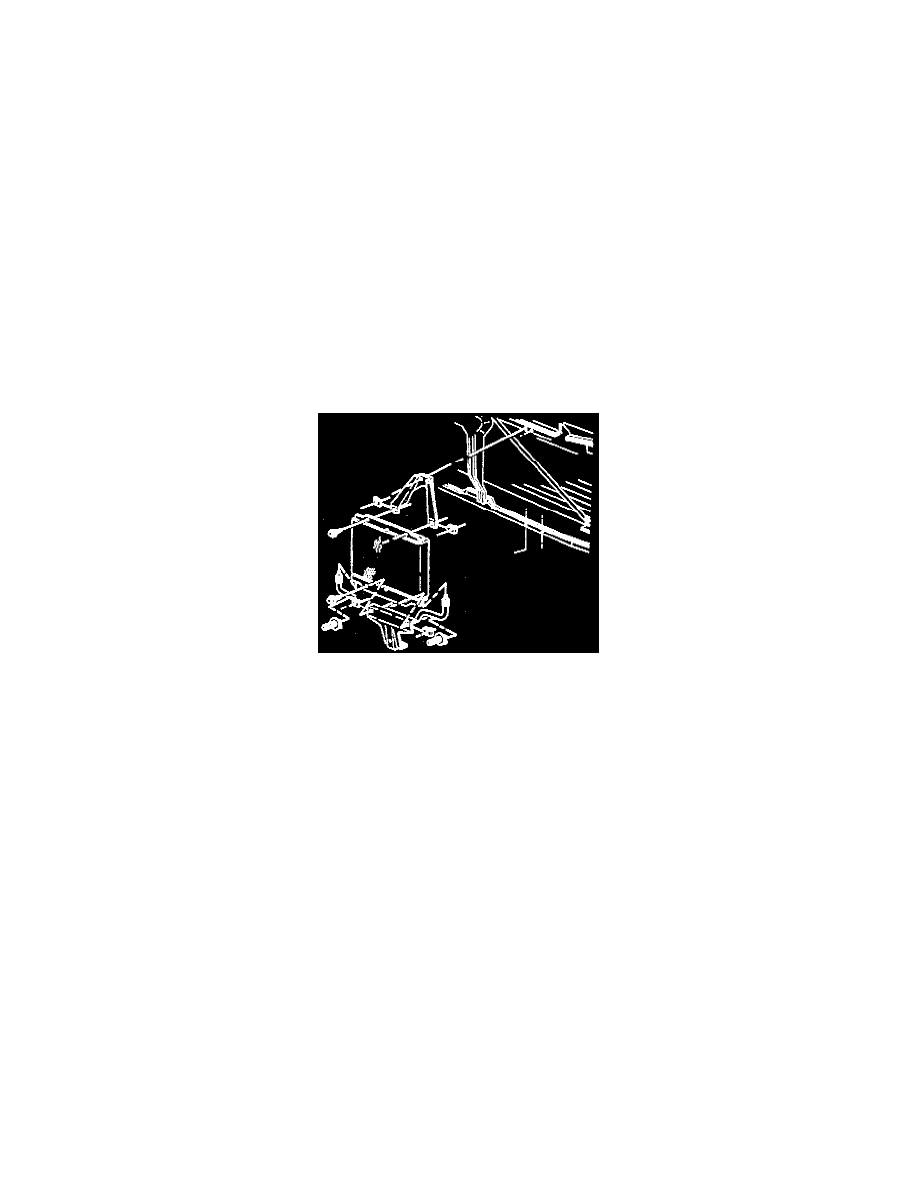
Auxiliary Oil Cooler Replacement
REMOVE OR DISCONNECT
1. Cooler line from the auxiliary oil cooler.
2. Bolts securing the oil cooler brackets to the radiator.
3. Bolts and nuts securing the oil cooler to the two brackets.
INSTALL OR CONNECT
1. Bolts and nuts securing the auxiliary oil cooler to the two brackets.
-
Tighten bolts securing the auxiliary oil cooler to two brackets to 6 Nm (53 inch lbs.).
2. Bolts securing the oil cooler brackets to the radiator.
-
Tighten bolts securing the oil cooler to the radiator to 10 Nm (89 inch lbs.).
3. Cooler line to the auxiliary oil cooler.