
C 1500 Truck 2WD V8-393 6.5L DSL Turbo (1994)
Removing And Installing Seal And O-Ring (One Piece Seal)
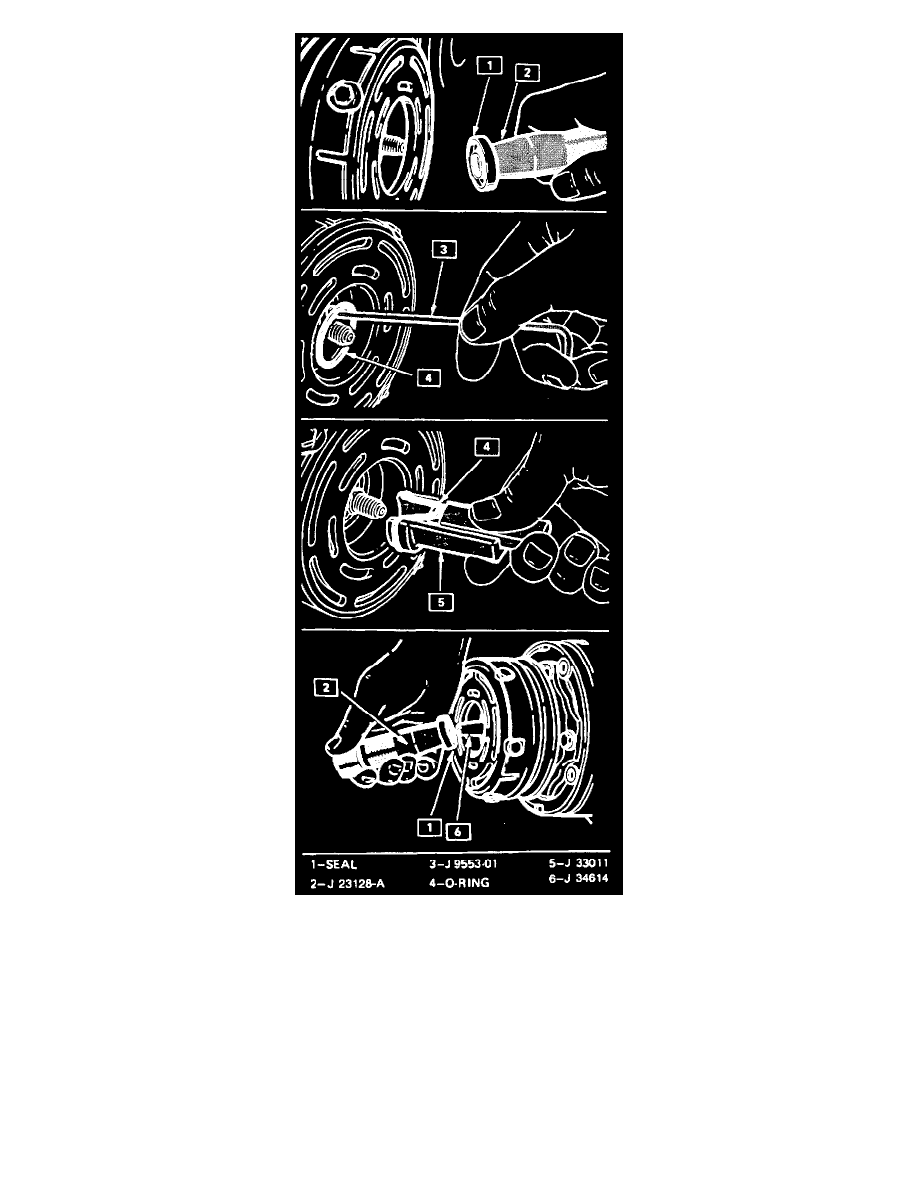
Fully engage the knurled tangs of Seal Remover-Installer J 23128-A into the recessed portion of the Seal by turning the handle clockwise. Remove
the Seal from the compressor with a rotary-pulling motion. Discard the Seal. The handle must be hand-tightened securely. Do not use a wrench or
plier.
7. Remove and discard the seal seat O-ring from the compressor. neck using O-ring Remover J 9553-01.
8. Recheck the shaft and inside of the compressor neck and O-ring groove for dirt or foreign material and be sure these areas are perfectly clean
before installing new parts.
Inspection
Seals should not be reused. Always use a new specification service seal kit on rebuild. Care should be taken to prevent damage to the lip of the one piece