C 1500 Truck 2WD V8-4.8L VIN V (2001)

9. Install the stud, GM P/N 15017230, supplied with the service hinge, into the wire end. Pull the stud into position.
10. Hold the stud in position with the hinge and remove the fish wire.
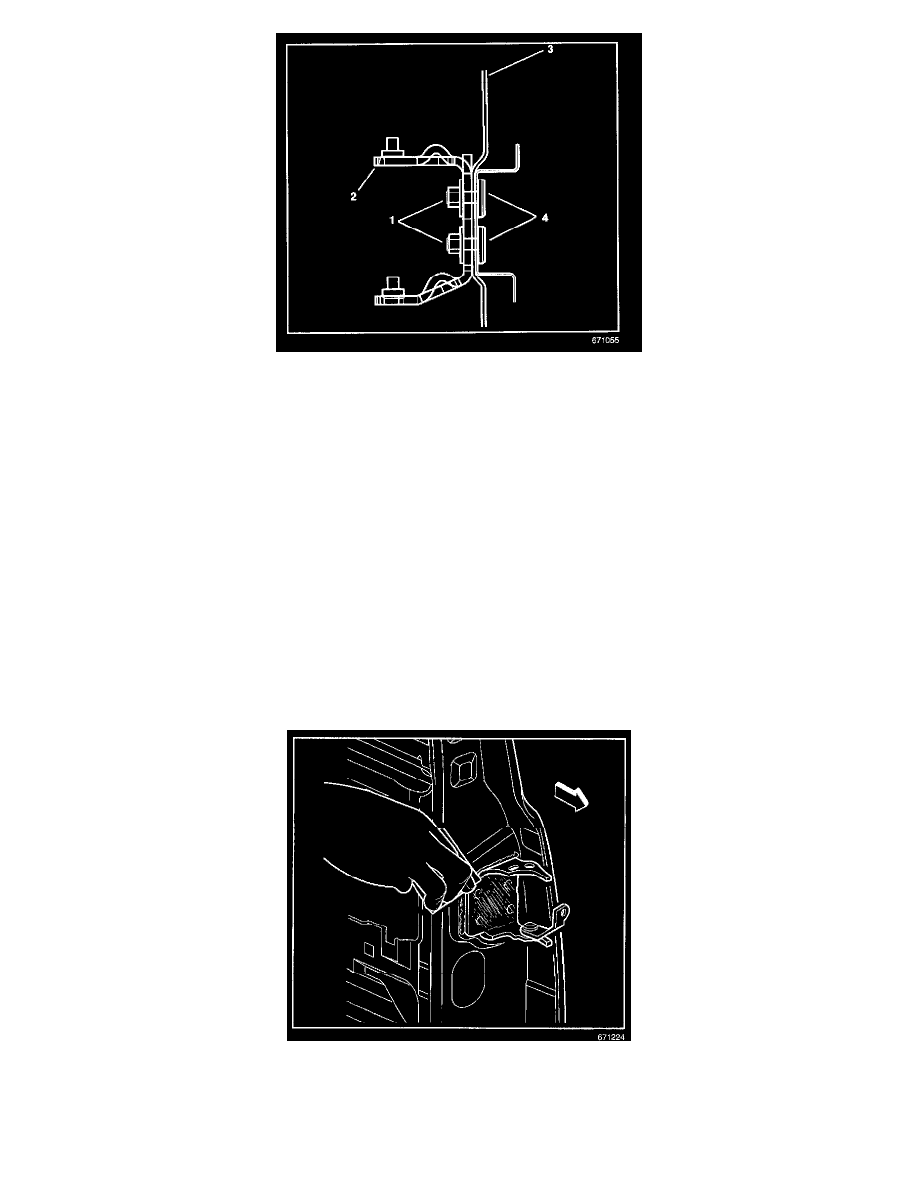
11. Draw the stud (4) tight through the pillar. Use the nuts GM P/N 11516746, supplied.
12. Repeat steps 7 through 10 on the remaining stud locations.
13. Remove each service nut.
14. Apply a full-bodied caulk to the entire hinge mounting surface in order to ensure a proper seal.
15. Install the hinge (2) to the pillar (3). Use the supplied nuts (1).
NOTE: Refer to Fastener Notice in Service Precautions.
16. Install the hinge (2) to the pillar (3). Use the supplied nuts (1).
Tighten
Tighten the hinge nuts (4) to 25 N.m (18 lb ft).
17. Clean and prepare all of the surfaces as necessary for refinishing.
18. Apply the sealers. Refinish the surfaces as necessary.
19. Install and align all of the related panels and the components.
Hinge Replacement - Rear Door - Door Side
REMOVAL PROCEDURE
1. Remove all of the related panels and components.
2. Remove any excess sealer surrounding the existing hinge and scribe the location of the hinge on the hinge pillar.
3. Lightly hand-sand the existing hinge with 100 grit or finer sandpaper in order to locate the 4 welds that attach the hinge to the pillar.
IMPORTANT: It is critical to punch the center of the weld so that as much of the weld as possible is removed during the drilling.
