C 1500 Truck 2WD V8-4.8L VIN V (2001)

Body Emblem: Service and Repair
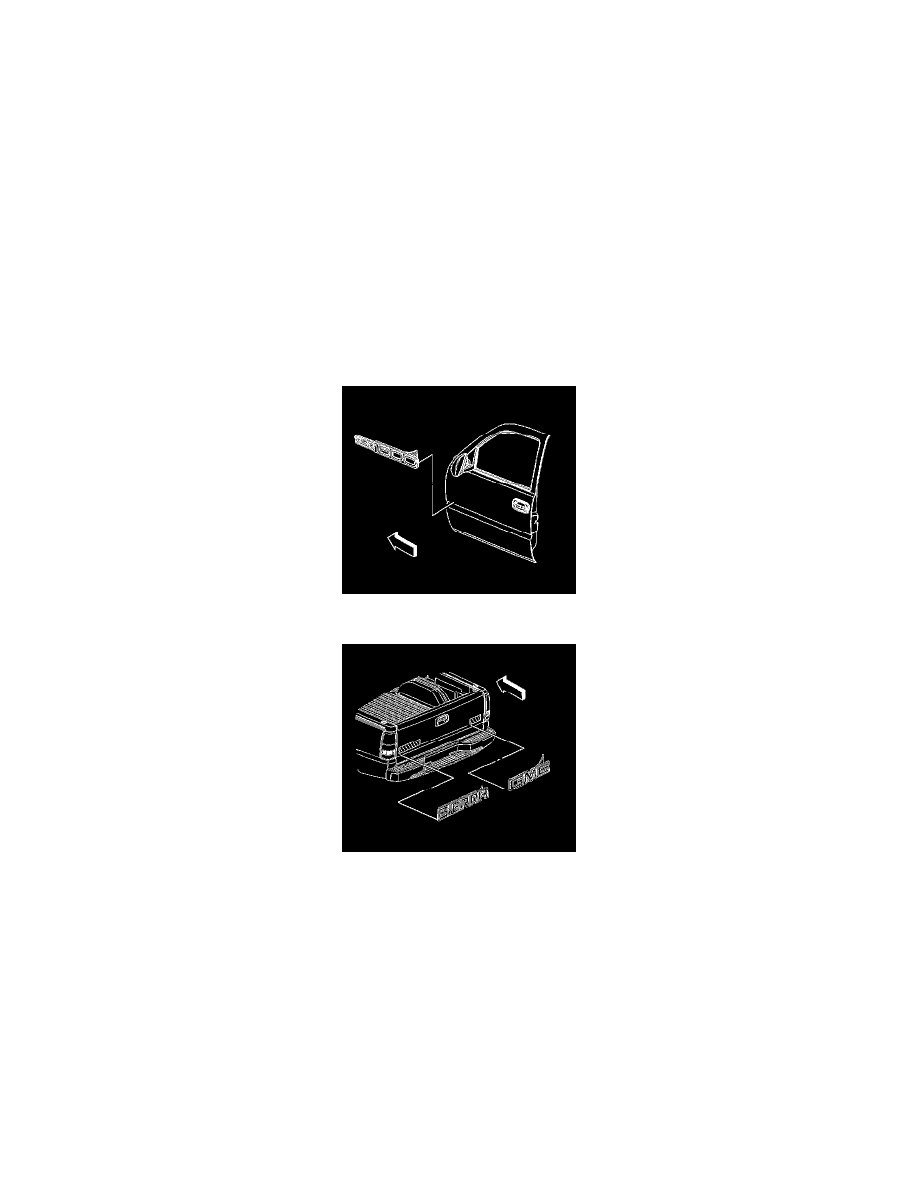
Emblem/Nameplate Repair
Emblem/Nameplate Repair
Tools Required
J 25070 Heat Gun
Important: Apply emblems in an environment that is free from dust or other dirt that can come in contact with the sticky backing. The dirt can
cause improper adhesion.
1. Clean the area where you will mount the molding or the emblem.
Use a suitable solvent, such as mixture of 50 percent alcohol and 50 percent water or an equivalent mixture, in order to clean the areas.
2. Dry the areas thoroughly.
3. Ensure that the area is at room temperature 17-32°C (60-90°F).
4. Ensure that the moldings are at room temperature 17- 32°C (60-90°F). Place the moldings or the emblem, with the adhesive side down, on a heated
surface or use a heat gun or a heat lamp if needed.
5. Remove the protective liner from the back of the molding or the emblem.
6. Apply pressure to the nameplate/emblem in order to wet out the adhesive.
7. Apply the rear emblem to the body surface.
8. Apply equal pressure along the molding or the emblem in order to uniformly bond the item to the body surface. Use a wallpaper roller in order to
assist in proper wet-out.
