C 1500 Truck 2WD V8-4.8L VIN V (2001)

Important: Do not apply the (black #3) primer to the existing bead of the urethane adhesive. Apply only to nicks, scratches or the primed
surfaces.
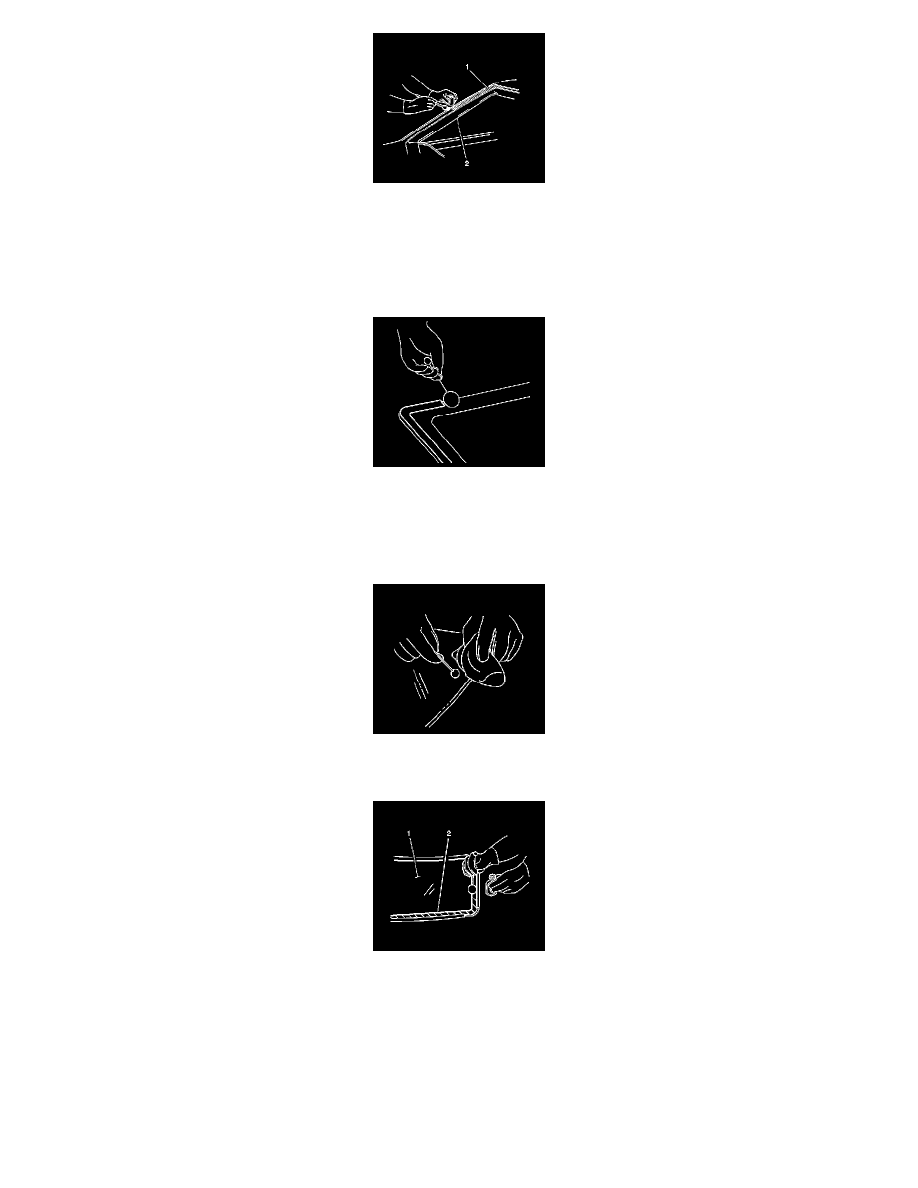
11. Shake the pinchweld primer (black #3) for at least 1 minute.
12. Use a new dauber to apply the primer to the surface of the pinchweld flange.
13. Allow the pinchweld primer to dry for approximately 10 minutes.
Important: Use care when applying prep (clear #1) on the window. This primer dries almost instantly, and may stain the viewing area of
the window if not applied evenly.
14. Use a new dauber in order to apply glass prep (clear #1) to the area approximately 10-16 mm (3/8-5/8 in) around the entire perimeter of the
window inner surface.
15. Apply a second coat of the glass prep number (clear #1) to the same area of the glass.
16. Wipe the glass primed area immediately with a clean lint free cloth.
17. Shake the glass primer (black #2) for at least 1 minute.
The glass primer (black #2) is good up to 8 hours after applying it to the glass. The primed surface of the glass must be kept clean.
18. Use a new dauber in order to apply the glass primer (black #2) to the same areas (2) that glass prep (clear #1) was applied.
19. Allow the glass primer to dry for approximately 10 minutes.
