
C 1500 Truck 2WD V8-6.5L DSL Turbo VIN F (1998)
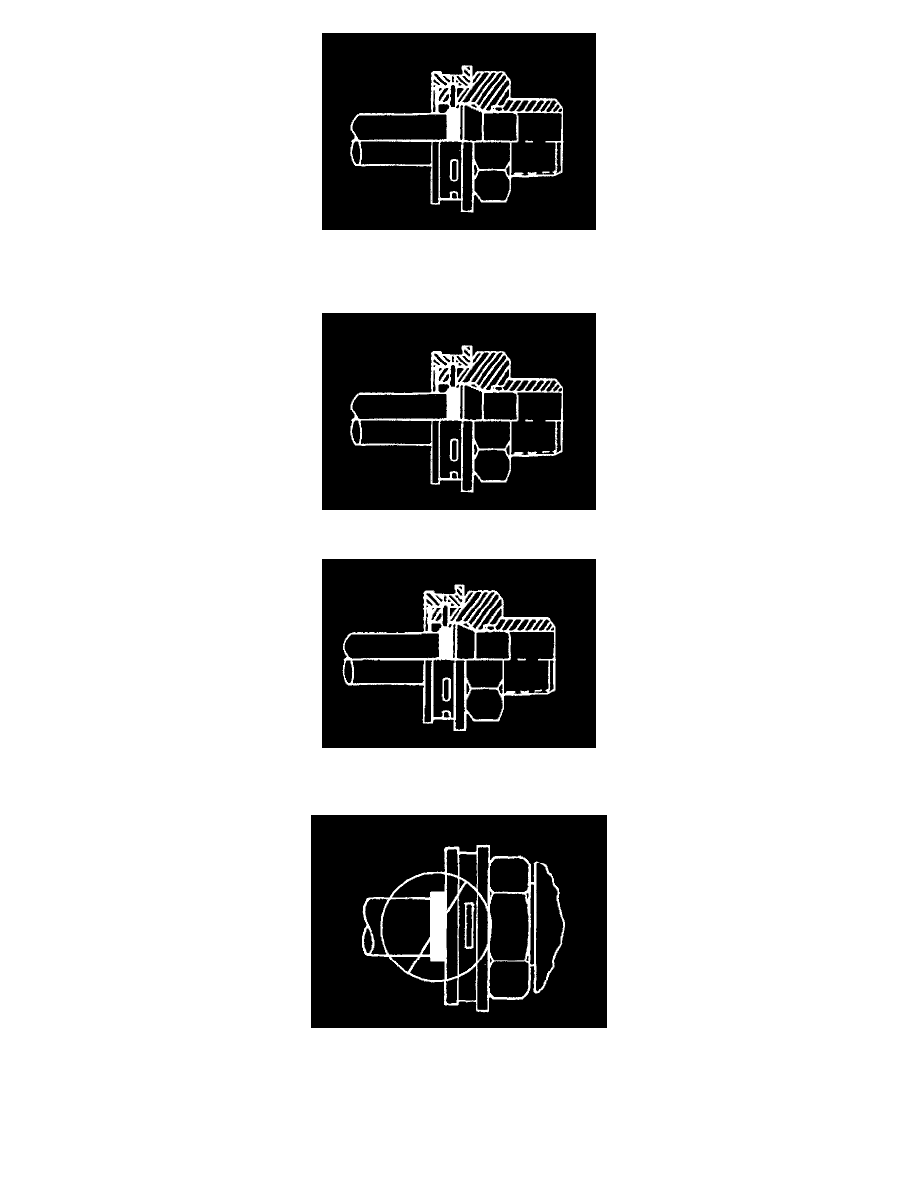
13. Position (snap) the plastic cap onto the fitting. Do not manually depress the retaining ring when installing the plastic cap onto the quick connect
fitting.
14. Ensure that the plastic cap is fully seated against the fitting.
15. Ensure that no gap is present between the cap and the fitting.
16. Ensure that the yellow identification band on the tube is hidden within the quick connect fitting. A hidden yellow identification band indicates
proper joint seating.
17. Do not install the cooler line end into the fitting incorrectly.
18. If you cannot position the plastic cap against the fitting, remove the retaining ring from the quick connect fitting per Step 5 of the cooler line
removal procedure. Check the retaining ring and the tube end in order to ensure neither is bent. Replace the cooler line or the retaining ring if
necessary, and reinstall per Step 2 of the cooler line installation procedure.
19. Install the cooler line into the quick connect fitting again in order to install the remaining cooler lines into the remaining quick connect fittings.
20. Install the engine or transmission cooler lines to the engine and transmission clips and brackets as applicable.