
C 1500 Truck 2WD V8-6.5L DSL Turbo VIN S (1997)
1. Install the piston to the connecting rod.
-
Install the piston with the piston crown indent on the same side as the connecting rod bearing tang slots.
-
When installing the piston in the cylinder, the piston crown indent on the top of the piston must be towards the outside of the cylinder.
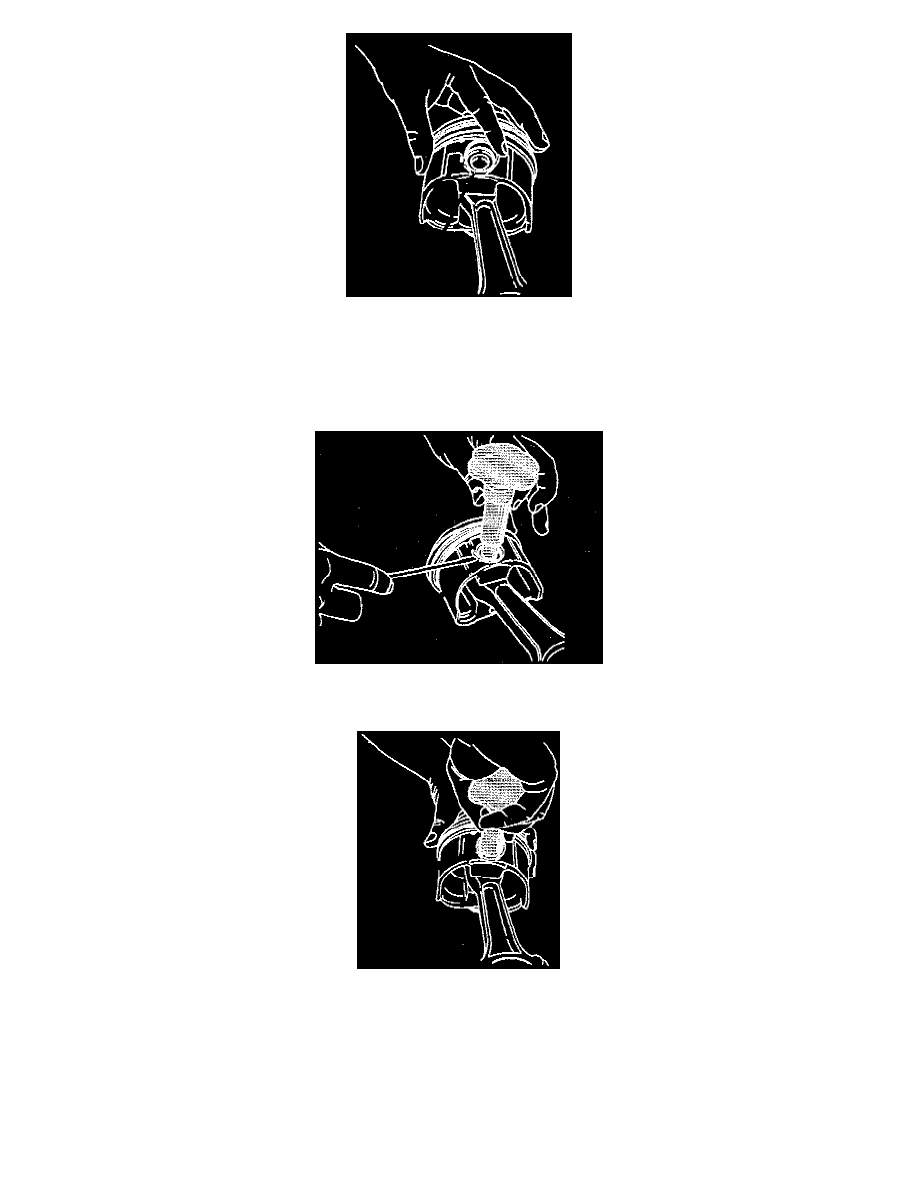
2. Install the piston pin by applying engine oil to the pin and pushing it into place.
3. Install the retaining rings, using the piston retaining ring installer.
4. Align the open end of the retaining ring toward the bottom of the piston.
5. Use a small screwdriver and start one end of the ring in the groove.
6. Install the piston retaining ring installer through the ring and into the piston pin.
7. Press down on the ring with the pin on the tool.
8. Turn the tool-to-seat ring in the groove.
9. Inspect the retaining rings for proper assembly.
-
Visually inspect the retaining ring in order to ensure that it is seated in the ring groove.
-
The opening in an installed retaining ring should face downward, toward the crankshaft.