
C 2500 Suburban 2WD V8-454 7.4L VIN J SFI (1998)
Intake Manifold: Service and Repair
Intake Manifold Replacement (Lower)
REMOVAL PROCEDURE
IMPORTANT: The lower intake manifold gaskets and seals are reusable. Replace only the gaskets and seals if they are damaged.
1. Open the hood.
2. Drain the cooling system.
3. Disconnect the battery negative cable from the battery.
CAUTION: Refer to Battery Disconnect Caution in Service Precautions.
4. Remove the upper intake manifold from the lower intake manifold.
5. Remove the discharge line from Air Conditioning from the A/C compressor.
6. Remove the suction line from Air Conditioning from the A/C compressor.
IMPORTANT: Mark the relationship of the distributor housing to the rotor for proper reinstallation.
7. Remove the distributor from the lower intake manifold.
8. Remove the MAP sensor from the lower intake manifold.
9. Remove the radiator outlet hose.
10. Remove the thermostat housing from the lower intake manifold from the engine block.
11. Remove the heater hoses from the heater core.
12. Remove the coolant bypass hose from the lower intake manifold and the water pump.
13. Remove the retaining bolts for the fuel rail.
14. Remove the fuel rail from the lower intake manifold.
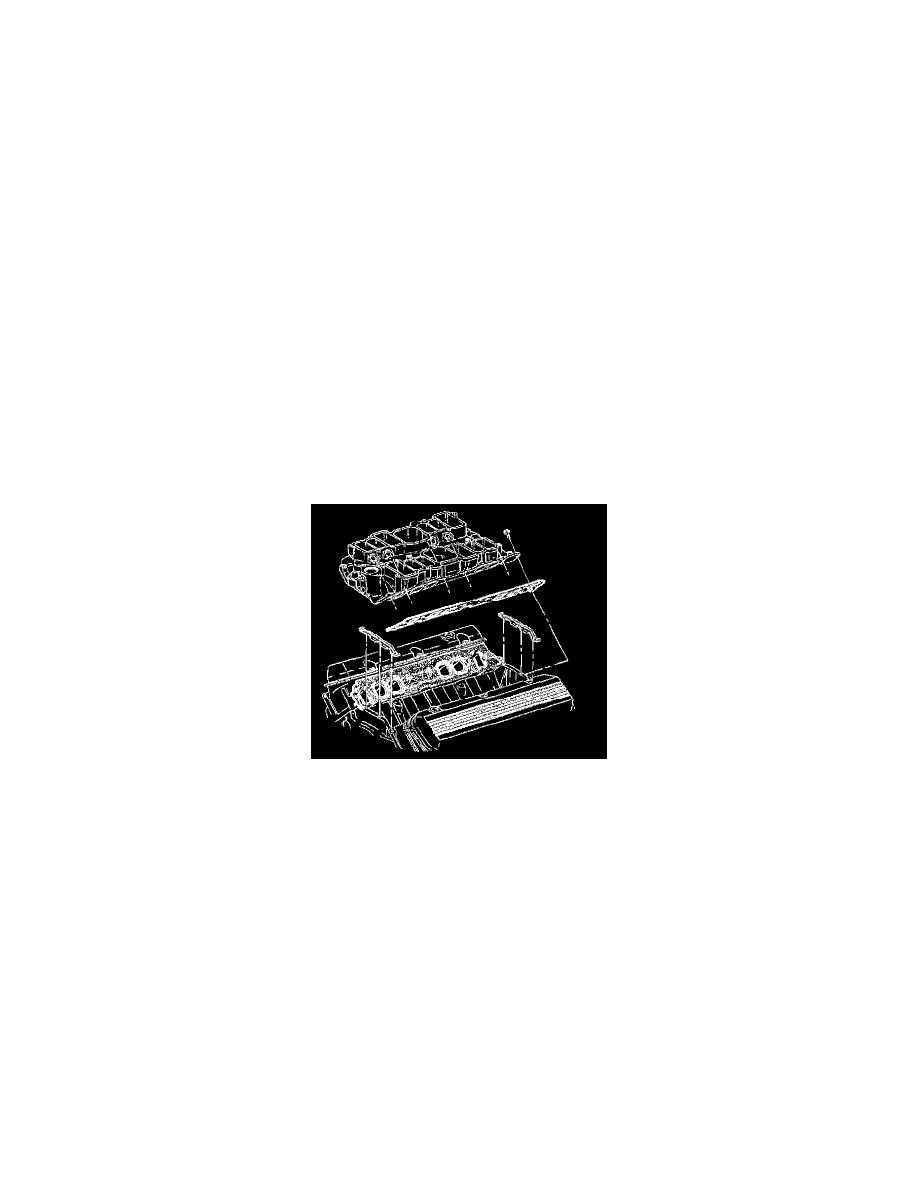
15. Remove the lower intake manifold bolts from the engine head.
16. Remove the lower intake manifold from the cylinder head.
17. Remove the lower intake manifold gaskets and seals from the cylinder head.
18. Clean all sealing surfaces of oil and grease. Refer to Intake Manifold Clean and Inspect under Engine Unit Repair.
INSTALLATION PROCEDURE