
C 2500 Suburban 2WD V8-454 7.4L VIN J SFI (1998)
Fuel System Cleaning (Purge Feed and Return Pipes)
REMOVAL PROCEDURE
1. Disconnect the fuel feed and return pipes at the fuel injection unit. Refer to Fuel Hose and Pipes.
NOTE: Inspect the in-line fuel filter for contamination. Replace the fuel filter if it is plugged.
2. Disconnect the in-line fuel filter. Refer to In-Line Fuel Filter.
NOTE: Use only oil free compressed air to blow out the fuel pipes.
-
If the in-line fuel filter is plugged, inspect the fuel tank internally and purge if necessary.
3. Clean the fuel lines by applying air pressure in the opposite direction of fuel flow.
INSTALLATION PROCEDURE
1. Install a new strainer (if necessary) on the fuel sender assembly. Refer to Fuel Sender Assembly.
NOTE: Do not fold or twist the strainer when installing the sending unit. This action restricts fuel flow.
2. Install the fuel sender assembly with a new seal into the fuel tank.
3. Install the fuel tank. Refer to Fuel Tank Assembly.
4. Disconnect the fuel feed pipe at the fuel injection unit.
5. Connect a hose to the fuel feed pipe at the fuel injection unit. Insert the other end of the hose into a 3.8 liter (one gallon) fuel can.
6. Connect the negative battery cable.
7. Add twenty-three liters (six gallons) of clean fuel into the fuel tank.
8. Purge the fuel pump and lines.
9. Using a fused jumper, connect the fuel pump test terminal to B+ to operate the fuel pump. Operate the fuel pump until 2 liters (1/2 gallon) flows
into the fuel can.
10. Remove the jumper.
11. Connect the fuel line at the fuel injection unit.
12. Check for fuel leaks
12.1.
Turn the ignition ON for 2 seconds.
12.2.
Turn OFF the ignition for 10 seconds.
12.3.
Again, turn the ignition switch to the ON position.
12.4.
Check for fuel leaks.
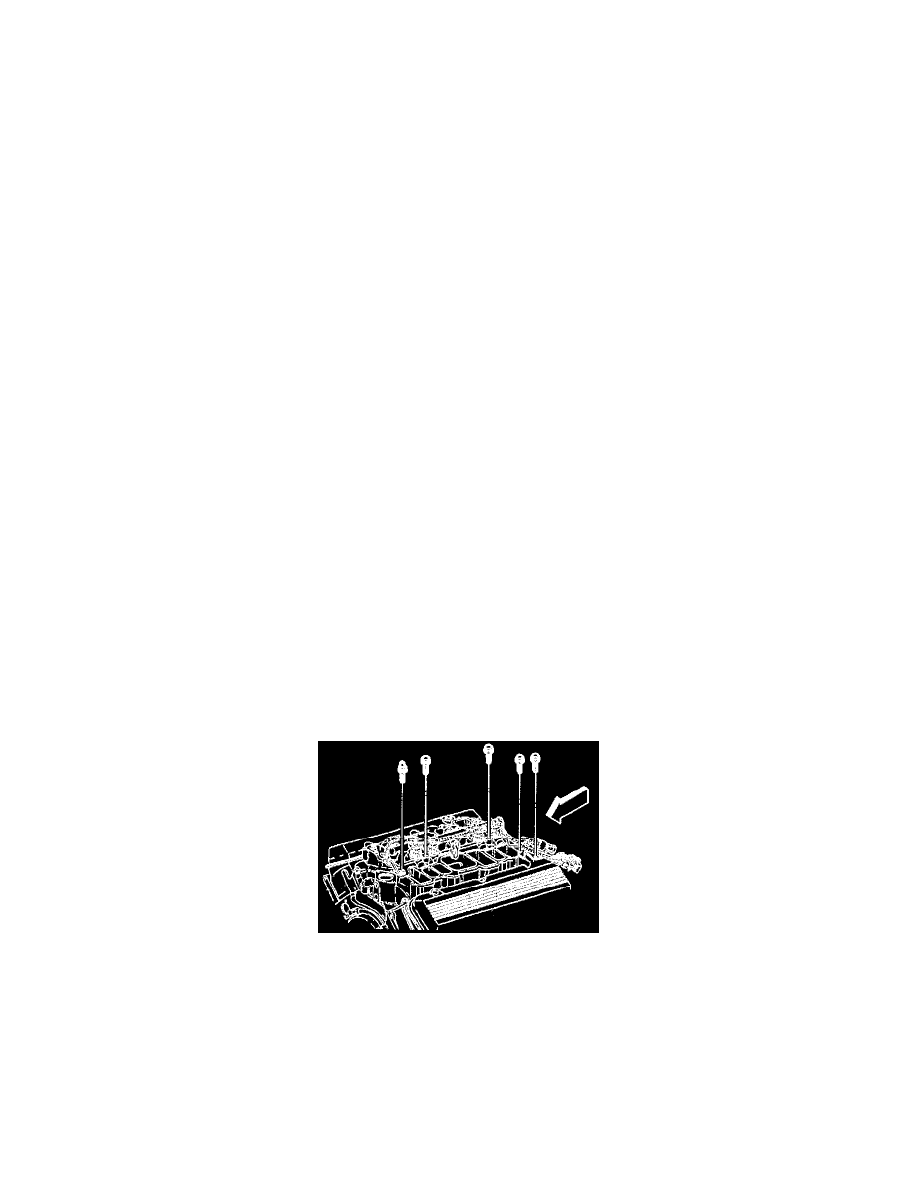
Engine Compartment Fuel Pipes
-
An eight digit identification number is located on the fuel rail assembly. Refer to this number if servicing or part replacement is required. Before
removal, the fuel rail assembly may be cleaned with a spray type engine cleaner, GM X-30A or equivalent, following package instructions. Do Not
soak fuel rails in liquid cleaning solvent.
Diagram
CAUTIONS:
-
Remove the 5 attaching bolts securing the fuel rail assembly to the lower intake manifold in order to prevent damage to the fuel rail assembly.
-
Carefully remove the fuel rail assembly in order to prevent damage to the injector electrical connector terminals and the injector spray tips.
-
Cap the fittings and plug the holes plugged when servicing the fuel rail in order to prevent dirt and other contaminants from entering open lines
and passages. Clean the fuel rail assembly with a GM X-30A spray type engine cleaner or the equivalent before removal. Do Not submerge the
fuel rail in a cleaning solvent
REMOVAL PROCEDURE
1. Disconnect the negative battery cable.