C 2500 Suburban 2WD V8-454 7.4L VIN J SFI (1998)

Vacuum Regulator Valve: Service and Repair
REMOVAL PROCEDURE
1. Disconnect the battery negative cable assembly from the battery negative terminal.
CAUTION: Refer to Battery Disconnect Caution in Service Precautions.
2. Raise the vehicle. Refer to Vehicle Lift Points.
3. Support the vehicle with safety stands.
4. Remove the transmission oil pan and the transmission oil filter.
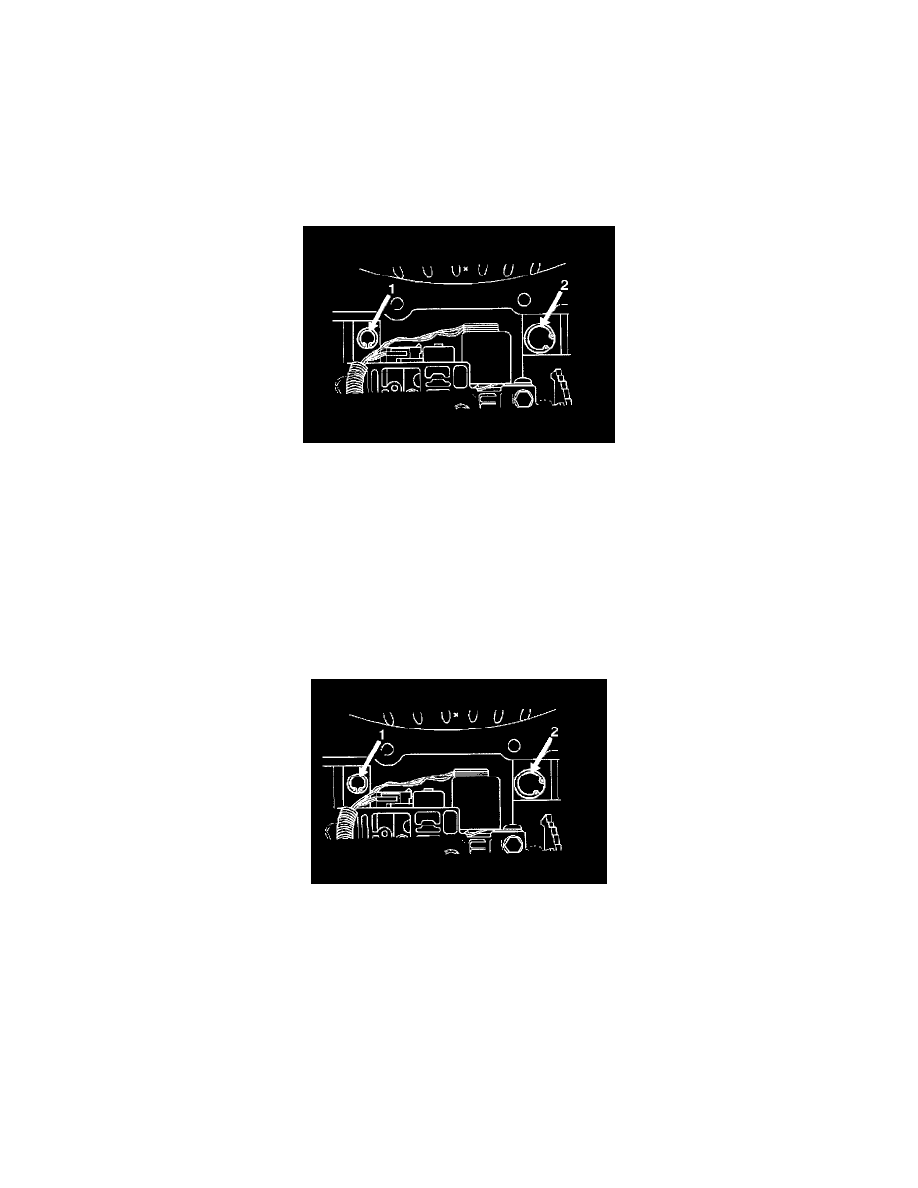
5. Remove the reverse boost valve bushing retainer ring.
6. Remove the following parts: (Refer to Pressure Regulator Valve and TCC Valve.)
6.1.
The reverse boost valve bushing
6.2.
The reverse boost valve
6.3.
The pressure regulator spring retainer
6.4.
The pressure regulator spring
6.5.
The pressure regulator valve
6.6.
The reverse boost valve bushing
INSTALLATION PROCEDURE
-
Tools Required
-
J36850 Transjel
1. Install the pressure regulator valve. Refer to Special Tools (On-Vehicle). Retain the pressure regulator valve in position with J36850
2. Pre-assemble the following parts: Refer to Pressure Regulator Valve and TCC Valve
2.1.
The reverse boost valve bushing
2.2.
A new reverse boost valve
2.3.
A new pressure regulator spring retainer
2.4.
The added isolator pressure regulator spring
2.5.
The pressure regulator spring
3. Install the preassembled parts into the pump bore.
4. Install the reverse boost valve bushing retainer ring while holding the reverse boost valve bushing in place. Ensure the retainer ring is in the
groove.
5. Install the transmission oil pan and the transmission oil filter.
6. Remove the safety stands.
7. Lower the vehicle.
