
C 2500 Suburban 2WD V8-6.5L DSL Turbo VIN F (1995)
14.
Coat the mating surface of the hinge with a medium body sealer.
15.
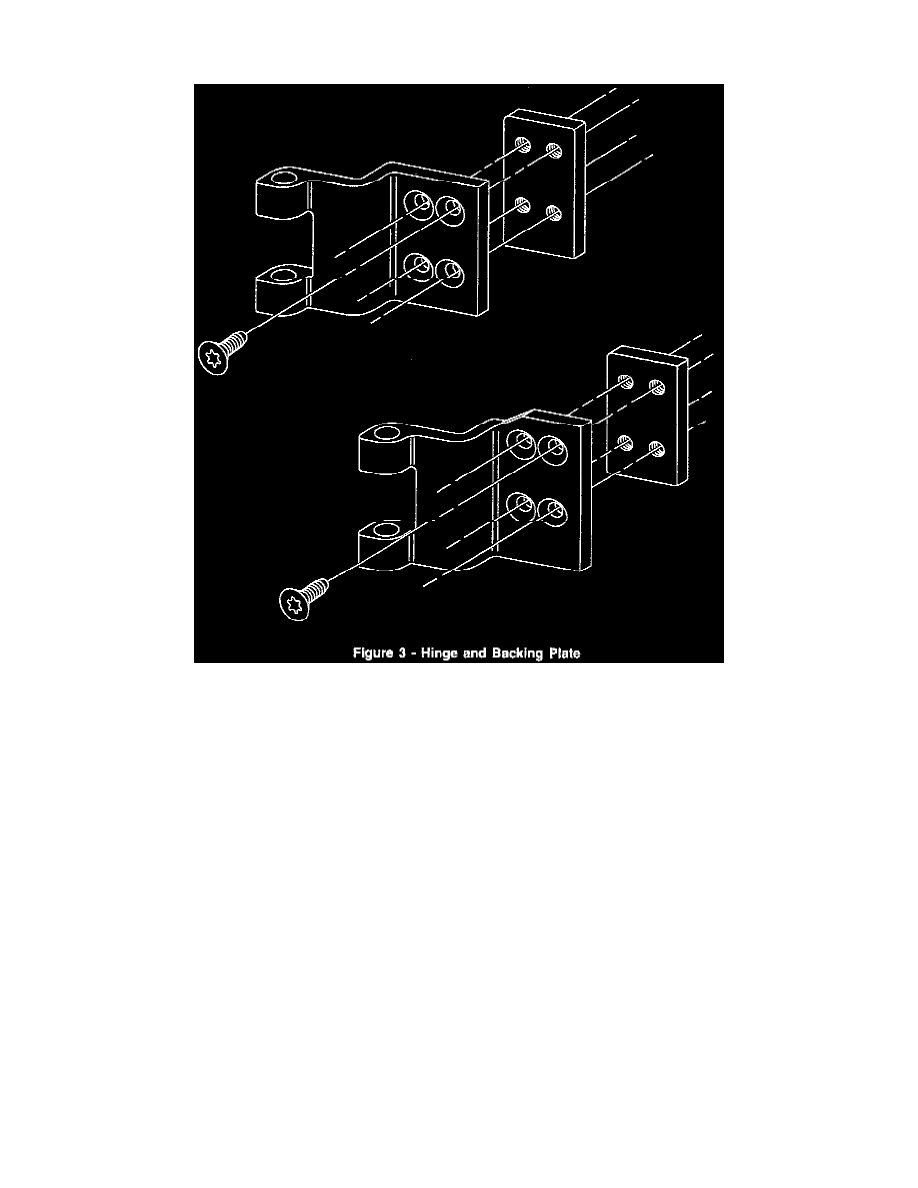
Attach the hinge to the door using the bolts and backing plate provided in the service hinge kit (see Figure 3). Snug the tour fastener bolts, but do
not tighten at this point.
16.
Install the door on the body by tapping in the new hinge pins in three fourths of their total length to hold the door in position.
17.
Align the door as necessary.
18.
Tighten the hinge fastener bolts to 25 N.m (18 lb ft).
19.
Install J 41226-4 protective template to the upper hinge.
20.
Install J 41226-1 drill fixture with J 41226-3 large bushing onto the hinge assembly and position the lower screw into the hinge and tighten the
screw to secure the fixture.
Important:
J 41226-1 fixture and J 41226-3 bushing will act as a guide to finish installation of the hinge pins when using J 41226-21 and an air driver
hammer.
21.
Using the air hammer and J 41226-21, install the hinge pin until the hinge pin bottoms on the upper hinge body.
22.
Repeat steps 19 through 21 on the lower hinge.
23.
Verity final fit and adjust if necessary.
24.
Clean off any excessive body sealer applied in step 14.
Refinish the hinge using the paint system utilized at your dealership.