
C 2500 Suburban 2WD V8-6.5L DSL Turbo VIN F (1995)
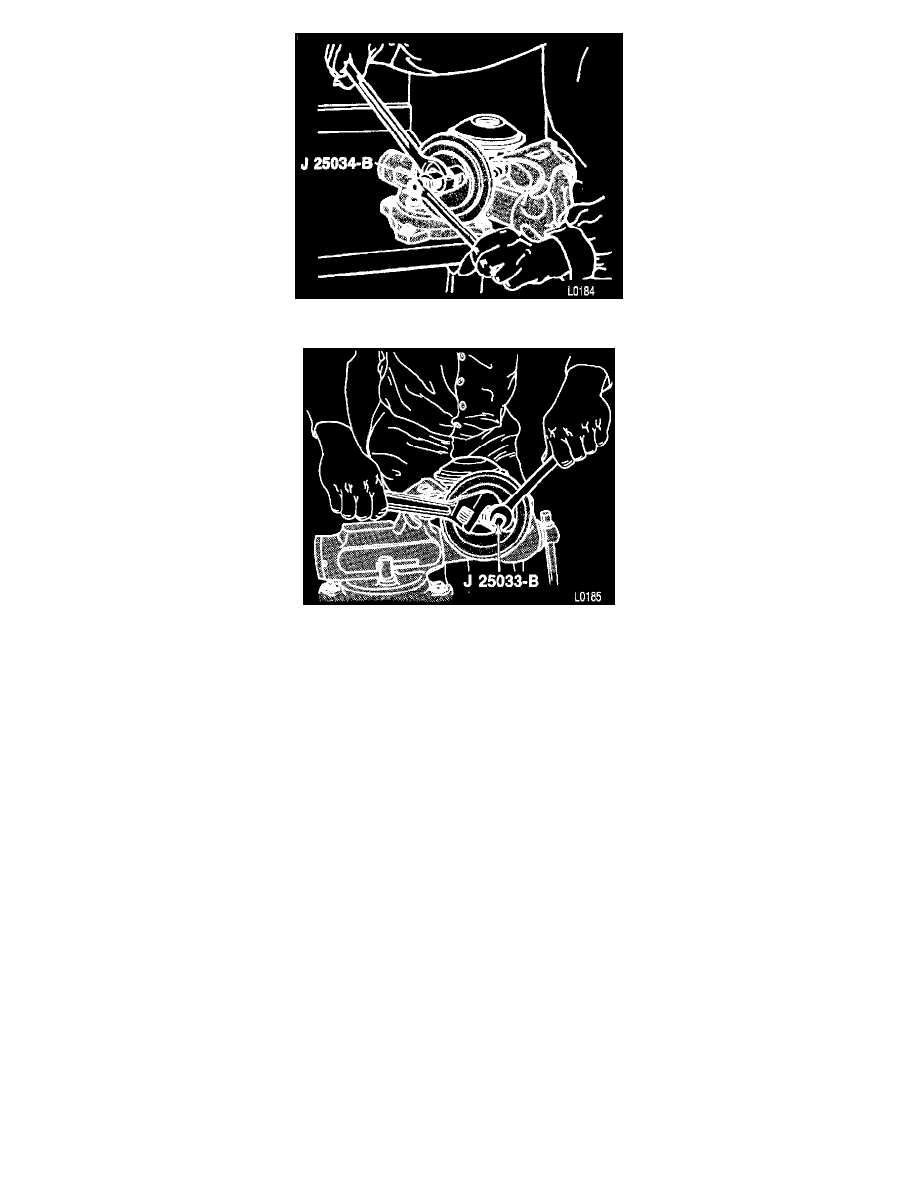
Removing Pulley
Installing Pulley
REMOVE OR DISCONNECT
NOTE: Make sure the engine control switch is off.
1. Drive belt.
2. Electrical connector at the A/C compressor.
3. Three through bolts (7) holding the A/C compressor (9) to the bracket (10).
NOTE: Do not remove the A/C lines.
4. A/C compressor out of the bracket and set it off to the right side.
5. Vacuum hose (15) off the vacuum pipe (14), leaving the hose attached to the pump.
6. One through bolt (12) and two nuts (3) holding the bracket (10) to the stud on the engine.
-
Access the lower nut through the hole in the vacuum pump pulley.
DISASSEMBLE
Tool Required:
J 25034-B Pump Pulley Remover
-
Clamp the vacuum pump bracket in a vise.
1. Vacuum pump hose (15) from the vacuum pump pipe.
2. Pulley (2) from the pump using tool J 25034-B.
CAUTION: Do not pry from the back of the pulley. Damage could occur to the pulley or pump.
3. Three bolts (11) from the back of the bracket.