
C 2500 Suburban 2WD V8-6.5L DSL Turbo VIN F (1995)
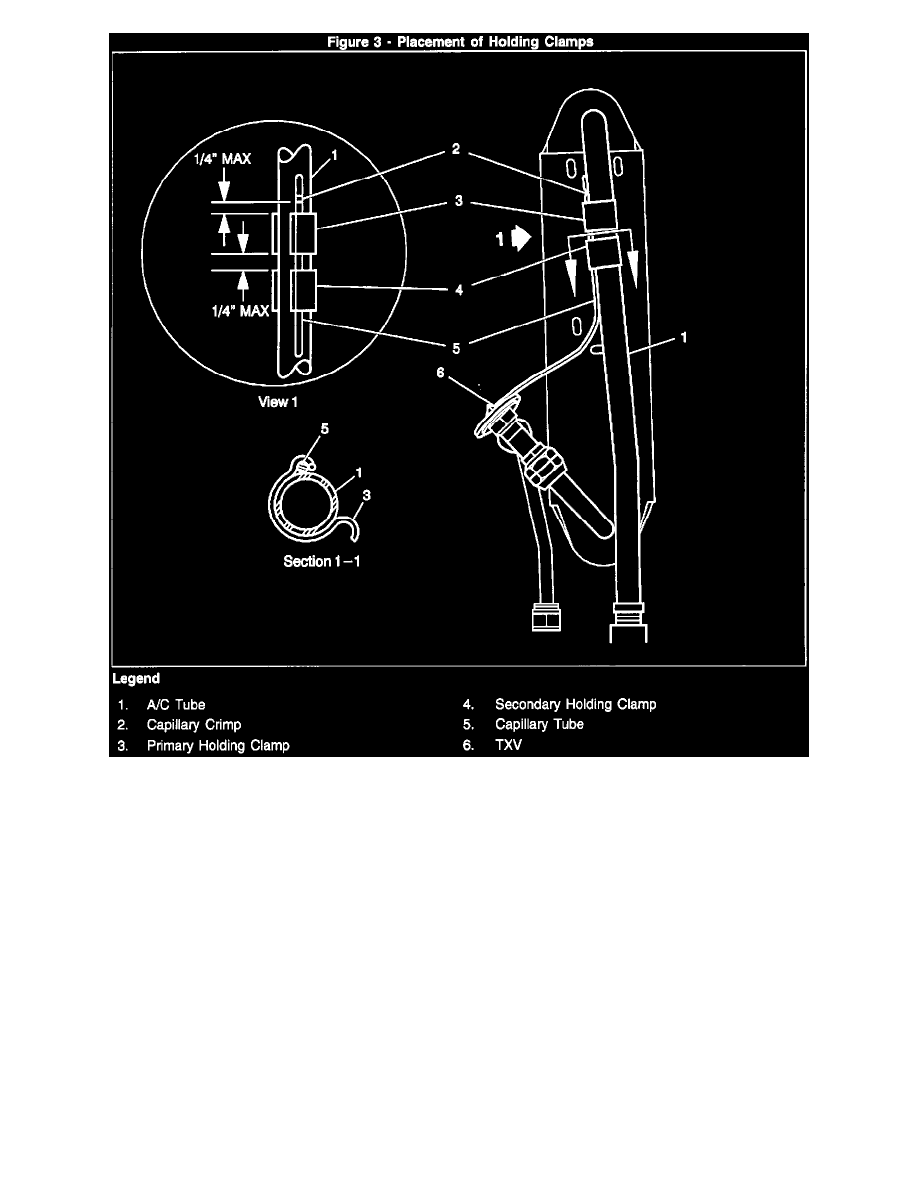
19. Pull back access door on the upper evaporator case carefully to prevent breaking the case (Figure 1). Align the TXV capillary against the evaporator
outlet tube being sure not to damage the capillary line. Place the first holding clamp so it is located 1/4" or less below the crimp in the capillary tube
(Figure 3). Install the second clamp 1/4" or less below the first clamp. Be sure the clamps are fully seated on the tube and that the capillary is retained
in the formed seat of each clamp (Figure 3, Section 1-1).
Notice:
After all components are installed, evacuate and charge the A/C system. Leak test all joints that were opened.
20. Using a heat gun to soften the plastic case, close both access doors and align the edges of the plastic. Using a soldering gun, melt both edges of the
case together along the full length of the cuts, as smoothly as possible.
21. Cover the soldered closures with duct tape to prevent air leakage.
22. Reinstall the right side trim panel, the D-pillar trim, the C-pillar trim, the C-pillar seat belt retainer and the rear bench seat.