
C 2500 Suburban 2WD V8-8.1L VIN G (2001)
Trim Panel: Service and Repair
Rear Quarter Trim Panel Replacement
Rear Quarter Trim Panel Replacement
Removal Procedure
1. Remove the coat hook.
2. Remove the seat belt.
3. Remove the jack cover, the jack, and the jack tray on the right side.
4. Remove the rear window lower garnish molding.
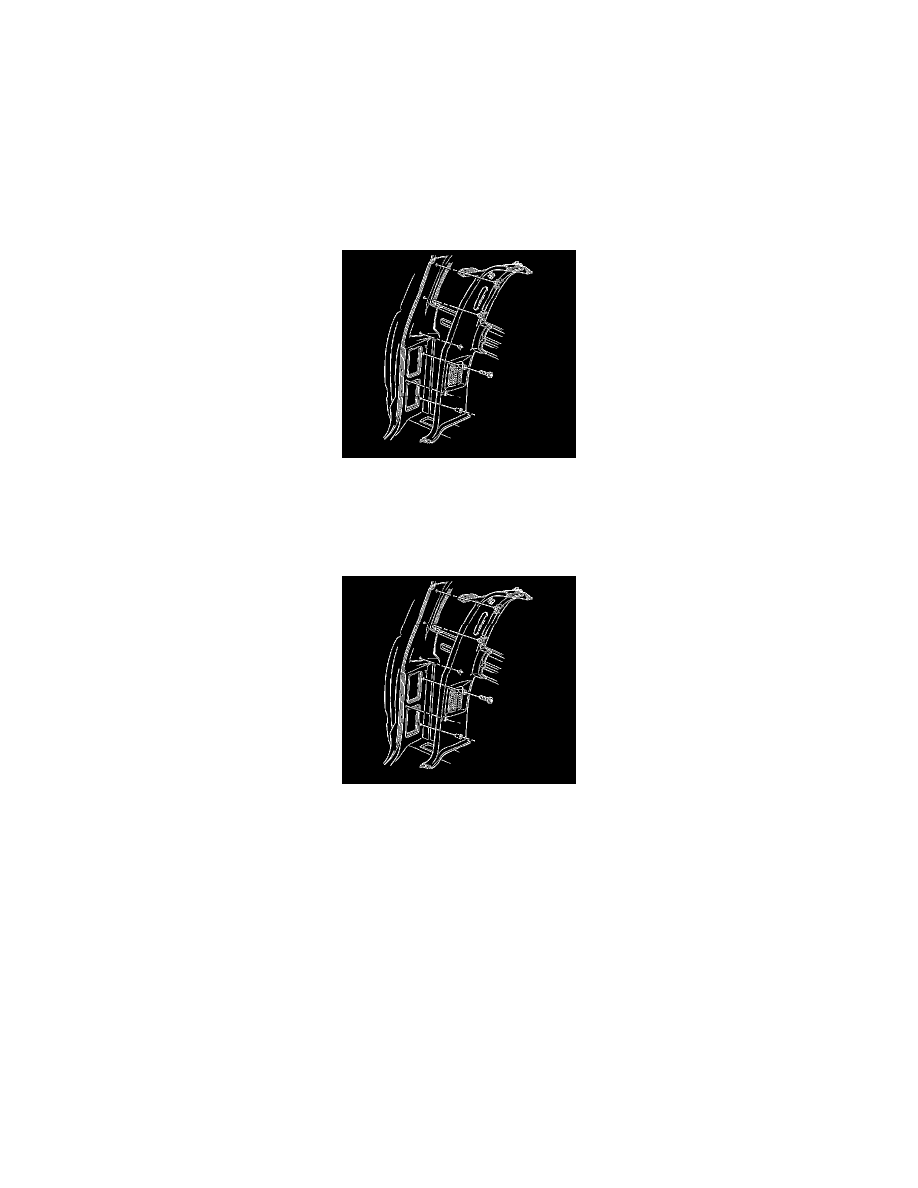
5. Remove the quarter panel trim screws.
6. Remove the rear screws from the sill trim plate.
7. Remove the quarter trim panel.
Installation Procedure
1. Install the quarter trim panel.
Notice: Refer to Fastener Notice in Service Precautions.
2. Install the panel screws.
Tighten the quarter panel trim screws to 2 N.m (18 lb in).
3. Install the rear screws into the sill trim plate.
4. Install the rear window lower garnish molding. Rear Window Lower Garnish Molding Replacement.
5. Install the jack tray, the jack, and the cover on the right side. Jack and Tool Stowage Replacement (Pickup and Crew Cab) in Trunk/Liftgate.
6. Install the seat belt.
7. Install the coat hook.