
C 30 1 Ton Pickup 2WD V8-454 7.4L VIN W 4-bbl (1983)
Ignition Control Module: Service and Repair
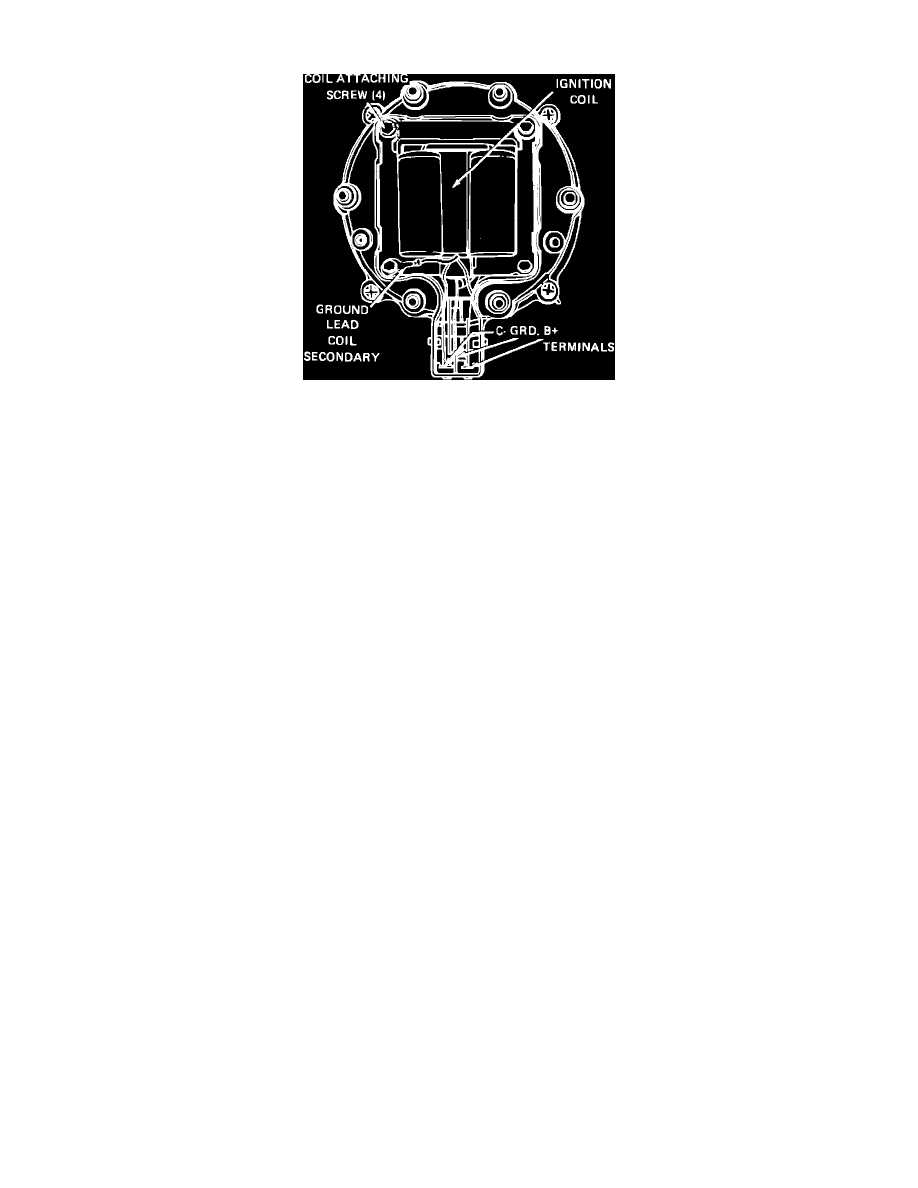
Fig. 13 Ignition coil installation. Models w/integral coil
IGNITION COIL, REPLACE
Units W/Integral Coil
1.
Remove harness connector and battery wire from side of distributor cap.
2.
Remove screws holding distributor cover to distributor cap and remove distributor cover.
3.
Remove four screws holding coil to cap, Fig. 13.
4.
Push coil leads out of position in cap and remove coil.
5.
Reverse procedure to install.
Units With Remote Coil
1.
Disconnect ignition switch to coil lead from coil.
2.
Disconnect coil to distributor leads from coil.
3.
Remove coil to engine retaining screws and remove coil.
4.
Reverse procedure to install.
IGNITION MODULE, REPLACE
1.
Disconnect wiring harness connector at side of distributor cap, if equipped, then remove distributor cap and rotor.
2.
Remove two mounting screws, then lift module upward.
3.
Disconnect electrical connectors from module noting installation position, then remove module.
4.
Reverse procedure to install. Prior to installation, coat bottom of new module with dielectric grease (furnished with new module) to aid in heat
transfer into distributor housing. Failure to apply grease will cause excessive heat at module and premature module failure.