
C 30 P/U 2WD V8-379 6.2L DSL (1985)
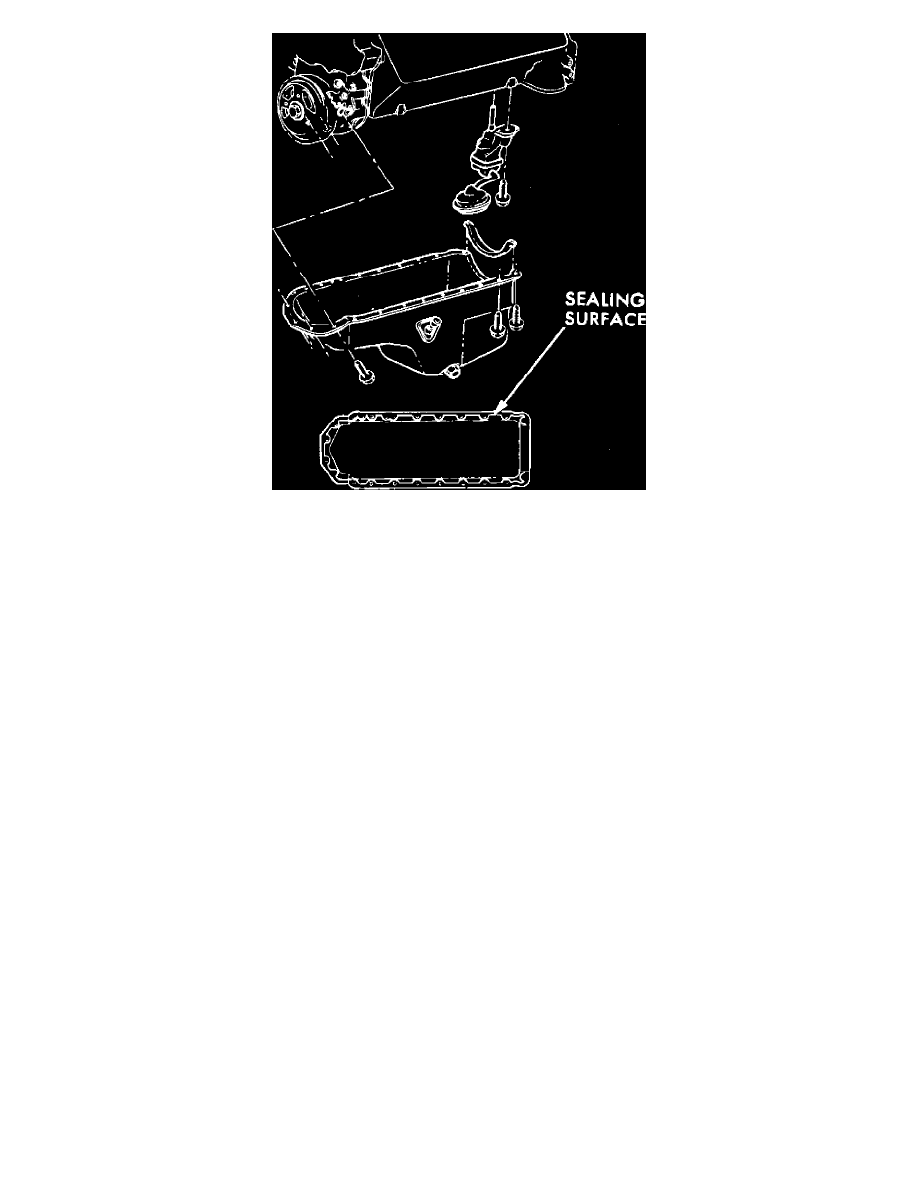
Fig. 28 Oil pan installation
A revised two-piece lip seal (part No. 23500417, two required) should be used to replace the rope seal installed during production whenever oil leak
conditions or engine service call for oil seal replacement. The new seal can be installed without removing the crankshaft using the following procedure:
1.
Raise and support vehicle, drain engine oil, then remove oil pan and oil pump.
2.
Remove rear main bearing cap, then the upper and lower rope seals, taking care not to mar the crankshaft.
3.
Clean upper and lower seal grooves, bearing cap slot, cylinder block and oil pan rails with chlorinated solvent such as carburetor cleaner.
Do not
use cleaners such as mineral spirits that leave a film, as RTV sealer will not bond properly. All surfaces must be clean and dry before
applying sealer.
4.
Check rear main bearing clearance using plastigauge. If clearance is not .0022---.0037 inch, correct as needed.
5.
Apply thin coat of oil to crankshaft contact lips of seal, then roll one piece of the seal into the cylinder block upper seal groove until one end of
seal projects 1/2 inch from block,
Fig. 26.
6.
Insert second half of seal into a 1/2 inch recess in upper cylinder block groove. Contact ends of seals should be located at 4 and 10 or 8 and 2
o'clock positions, with seal ring snug against crankshaft,
Fig. 26. Ensure seals are installed with ``outside'' marking facing flywheel.
7.
Apply thin coat of suitable anaerobic sealer to bearing cap contact surface,
Fig. 27, keeping sealer out of cap oil relief slot.
8.
Apply two drops of Loctite 414 sealer or equivalent to center of lower bearing cap seal groove.
9.
Install bearing cap as follows:
a. Position bearing cap on cylinder block, ensuring cap groove and seal are properly aligned, then tap seal into place using suitable mallet.
b. Lubricate cap bolts with oil, install bolts, then torque inner bolts to 110 ft. lbs. and outer bolts to 100 ft. lbs.
Do not draw cap into place
with retaining bolts, as cap may be damaged.
10.
Install oil pump and torque bolts to 66 ft. lbs.
11.
Apply 3/16 inch bead of RTV sealer to top and bottom surfaces of new rear pan seal and to each end of seal where it contacts block, and apply
3/16 inch bead of RTV sealer along pan rail inner edge and around all bolt holes,
Fig. 28.
12.
Install pan and rear seal while sealer is still wet, then torque all retaining bolts to 7 ft. lbs. except the two rear bolt. Torque rear retaining bolts to
16 ft. lbs.
13.
Reverse remaining procedure to complete installation.
14.
Allow 30 minutes for sealer to cure, fill crankcase to specified capacity and check for leaks.