
C 30 P/U 2WD V8-379 6.2L DSL (1985)
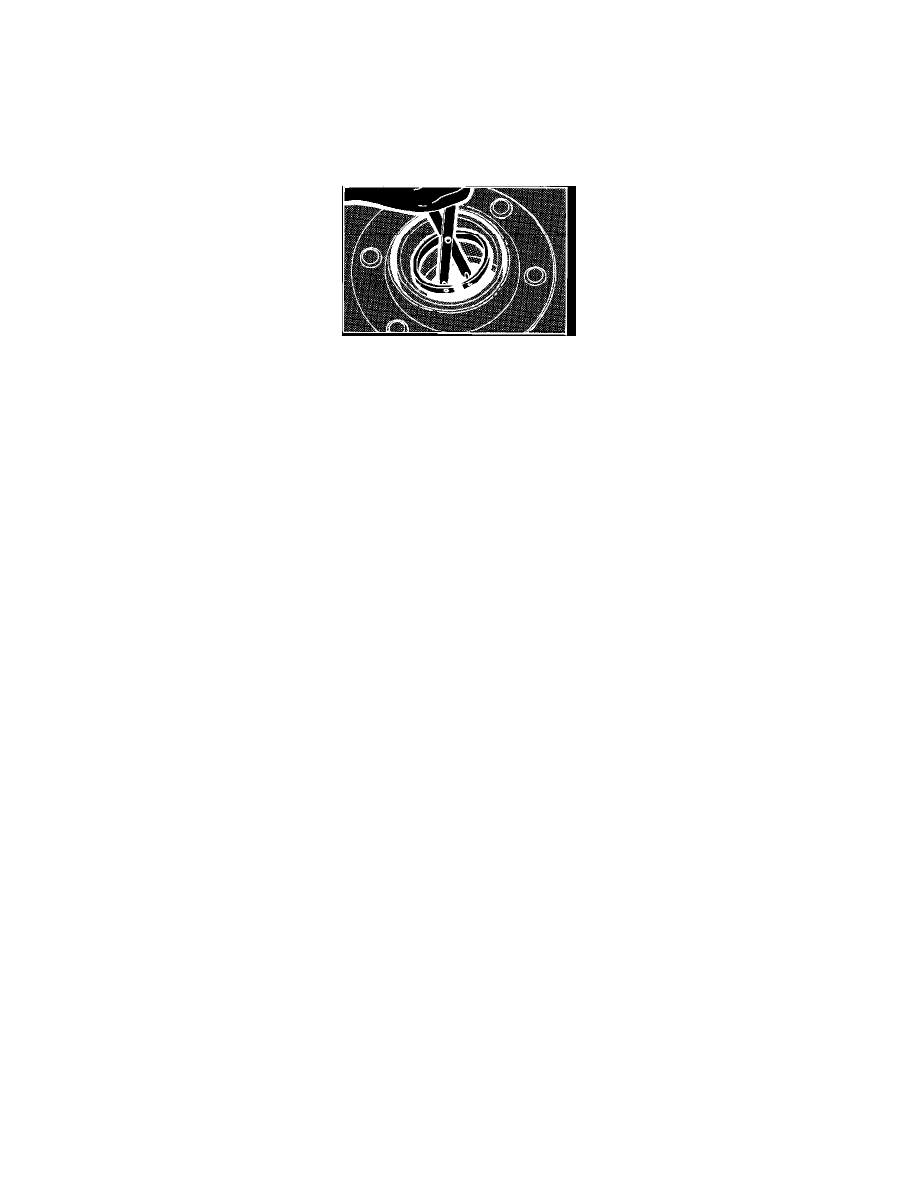
Fig. 6 Removing Or Installing Wheel Bearing Adjusting Nut
1.
Remove wheel and axle shaft.
2.
Disengage tang of retainer from slot or flat of locknut, then remove locknut from housing tube, Fig. 6.
3.
Disengage tang of retainer from slot or flat of adjusting nut, then remove retainer.
4.
Using tool shown in Fig. 6, remove adjusting nut from housing tube. Remove thrust washer.
5.
Pull hub and drum assembly off axle housing. Remove oil seal and discard.
6.
Using a suitable steel bar and an arbor press, press inner bearing cup from hub.
Removing bearing retainer ring
7.
Using a suitable pliers, remove outer bearing retaining ring, Fig. 10.
8.
Using an old axle shaft or equivalent, drive on axle shaft spacer to remove outer bearing assembly from hub.
9.
Position axle shaft spacer and outer bearing into hub, ensuring larger side of bearing faces outer end of hub.
10.
Position outer bearing cup into hub with thin edge facing toward outer end of hub, then press cup into hub.
11.
Install retaining ring, then press cup into contact with ring.
12.
Drive inner bearing cup into hub, then install new oil seal.
13.
Reverse Steps 1 through 5 to complete installation, then adjust wheel bearings as outlined in ``Wheel Bearing, Adjust'' procedure.
Axle Assembly
Rear Drive Axle
1.
Raise and support vehicle. Using a jack, support rear axle assembly.
2.
Drain fluid from axle assembly.
3.
Mark driveshaft to flange, then disconnect driveshaft and tie driveshaft to side rail or crossmember.
4.
Tape bearing cups to prevent loss of the rollers.
5.
Remove wheel and brake drum or hub and drum assembly.
6.
Disconnect parking brake cable from lever and brake flange plate.
7.
Disconnect and cap hydraulic brake lines from connectors.
8.
Remove shock absorbers from axle brackets.
9.
Disconnect vent line from vent fitting.
10.
Remove height sensing and brake proportional valve brackets.
11.
Remove nuts and washers from U-bolts.
12.
Carefully remove U-bolts, spring plates and spacers from axle assembly.
13.
Lower axle assembly from vehicle.
14.
Reverse procedure to install.
Axle Shaft Replace
REAR AXLE SHAFT