
C 3500 HD Truck 2WD V8-8.1L VIN G (2002)
5. Install the spring and the support key using a brass punch and a hammer to drive the support key into place.
Notice: Refer to Fastener Notice in Service Precautions.
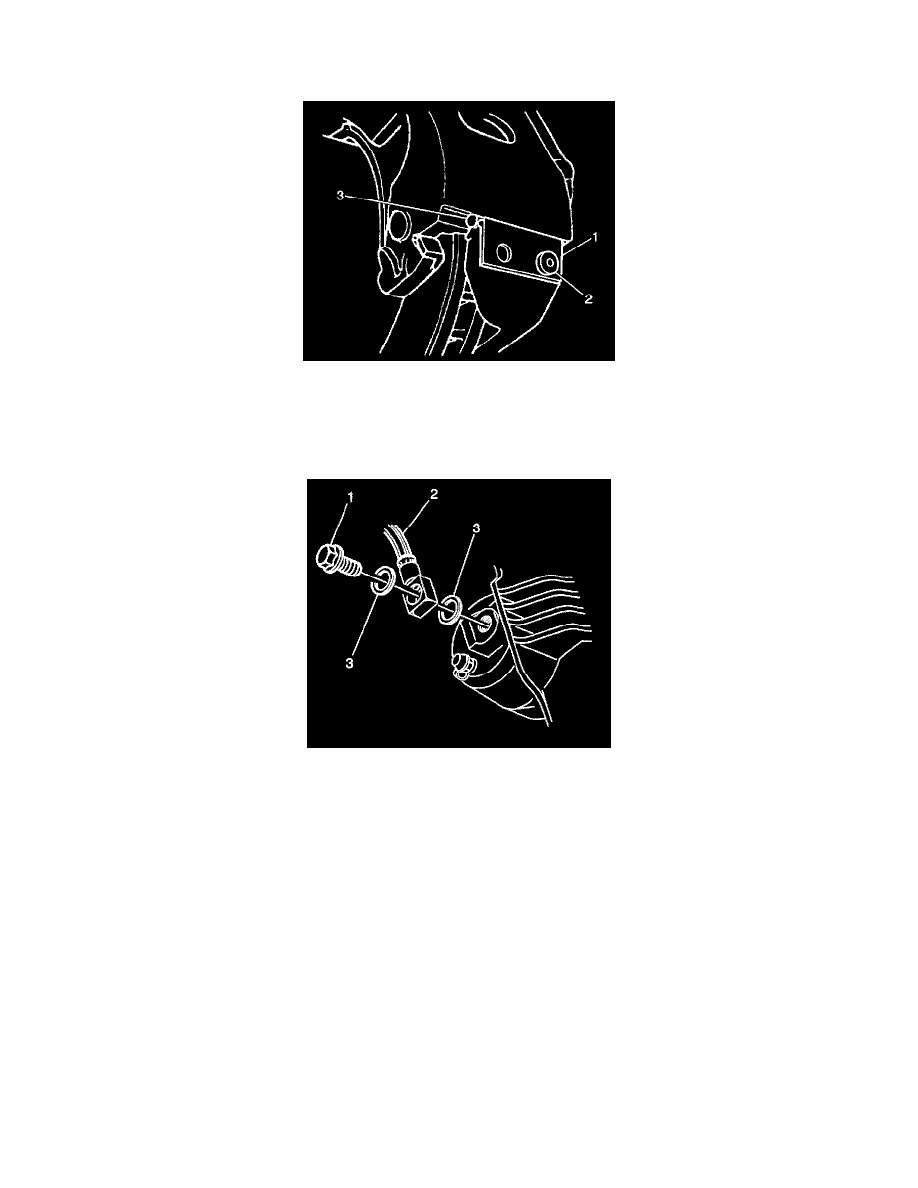
6. Install the caliper lock mounting bolt (2). The boss on the bolt must fit into the circular cutout in the key.
Tighten the caliper lock mounting bolt to 20 Nm (15 ft. lbs.).
7. Remove the rubber cap or plug from the exposed brake pipe fitting end.
Important: 2 new copper brake hose gaskets.
8. Assemble the 2 new copper brake hose gaskets (3), and the brake hose bolt (1) to the brake hose (2).
Important: The hose must not be twisted. Make sure the hose is not in contact with any suspension component.
9. With the weight of the vehicle on the suspension, install the brake hose to caliper bolt (1) and 2 new copper brake hose gaskets (3) to the brake
caliper.
Tighten the brake hose bolt to 40 Nm (30 ft. lbs.).
10. Ensure that the brake hose does not make contact with any part of the suspension or the wheel. Check the hose in extreme right and left turn
conditions. If the hose makes contact, remove the hose and correct the condition.
11. Fill the brake master cylinder to the proper level.
12. Bleed the hydraulic brake system.
13. Install the tire and the wheel assembly.
14. Lower the vehicle.