
C 3500 HD Truck 2WD V8-8.1L VIN G (2002)
Brake Rotor/Disc: Service and Repair
Brake Rotor Replacement- Front
Brake Rotor Replacement- Front
Removal Procedure
1. Raise and suitably support the vehicle. Refer to Vehicle Lifting.
2. Remove the tire and wheel assembly.
Notice: Support the brake caliper with heavy mechanic's wire, or equivalent, whenever it is separated from it's mount and the hydraulic flexible brake
hose is still connected. Failure to support the caliper in this manner will cause the flexible brake hose to bear the weight of the caliper, which may
cause damage to the brake hose and in turn may cause a brake fluid leak.
3. Remove the caliper from the mounting bracket and support the caliper with heavy mechanic's wire or equivalent. DO NOT disconnect the
hydraulic brake flexible hose from the caliper.
4. Remove the hub and brake rotor assembly.
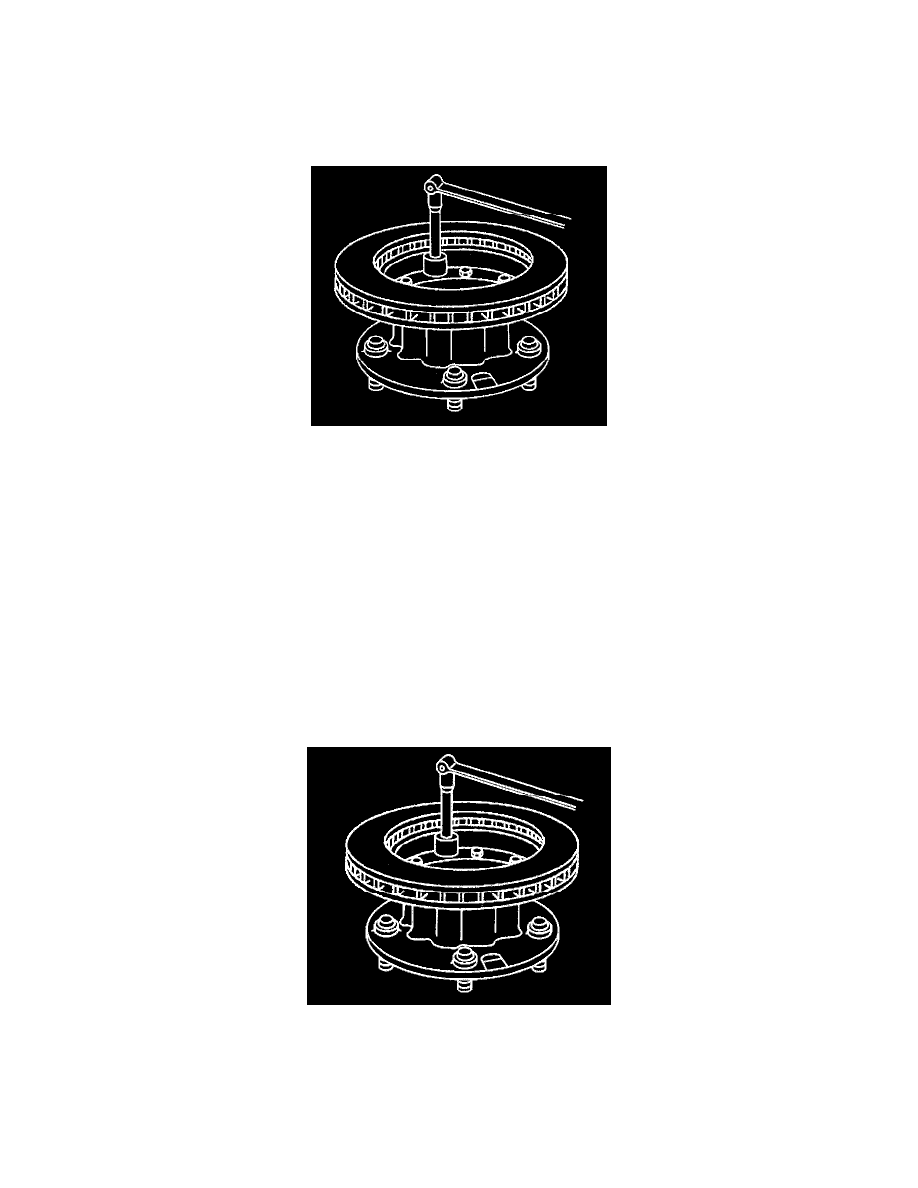
5. Remove the bolts that mount the front brake rotor to the hub.
6. Remove the brake rotor from the hub.
Installation Procedure
Notice: Any new rotor must have the protective coating removed from the friction surfaces before being placed in service. Use Goodwrench Brake
Parts Cleaner, GM P/N 123777981 (Canadian P/N 10953463), or the equivalent, and wipe the surface clean with clean cloths. Do not use gasoline,
kerosene, or other oil base solvents which may leave an oily residue. This residue is damaging to the brake lining and is flammable.
1. Install the brake rotor to the hub.
Important: Ensure that the threads are clean and greaseless before applying the thread locker.
2. Apply thread locker GM P/N 12345493 (Canadian P/N 10953488), or the equivalent, to the threads of each brake rotor bolt.
Notice: Refer to Fastener Notice in Service Precautions.