
C 3500 HD Truck 2WD V8-8.1L VIN G (2002)
4. Remove the valve rocker arm studs and pushrod guide plates, if necessary.
5. Clean and inspect the valve rocker arms and pushrods.
Installation Procedure
Important: Be sure to keep parts in order. Parts must be put back from where they were removed.
1. Apply sealer GM U.S. P/N 12346004, Canada P/N 10953480, or equivalent to the valve rocker arm stud-to-cylinder head threads.
Notice: Refer to Fastener Notice in Service Precautions.
2. Install the pushrod guides and valve rocker arm studs.
Tighten the valve rocker arm studs to 50 Nm (37 ft. lbs.).
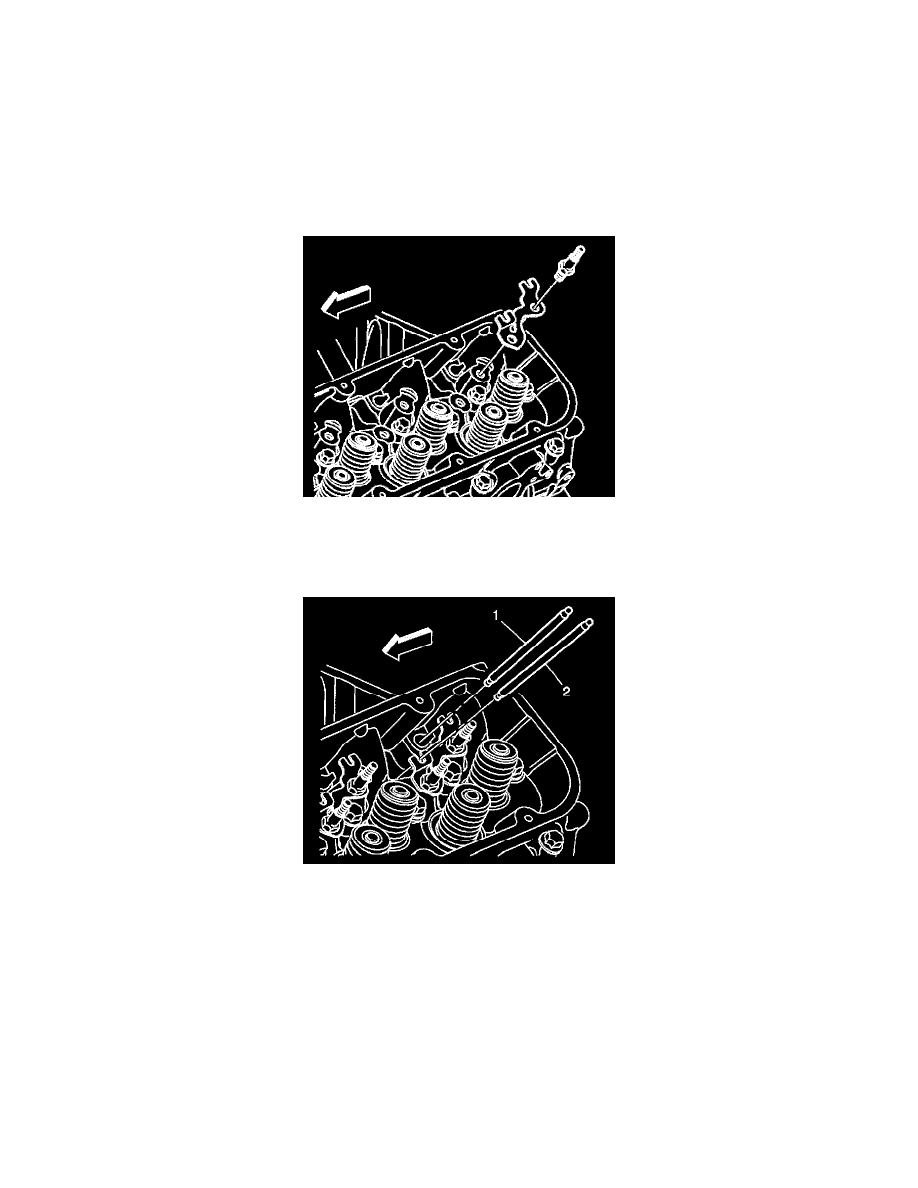
Important: The exhaust valve pushrods (2) are longer than the intake valve pushrods (1).
3. Install the valve pushrods.
4. Coat the valve rocker arm and valve rocker arm ball bearing surfaces with lubricant GM U.S. P/N 12345501, Canada P/N 992704, or equivalent.