
C 3500 HD Truck 2WD V8-8.1L VIN G (2002)
Housing Assembly HVAC: Service and Repair
HEATER/VENT MODULE REPLACEMENT
REMOVAL PROCEDURE
1. Remove the center floor air distribution duct.
2. Remove the retaining screw.
3. Remove the trim panel from the retainers.
4. Roll back the instrument panel. See: Body and Frame/Interior Moulding / Trim/Dashboard / Instrument Panel/Service and Repair/Instrument Panel
(I/P) - Assembly Rotating
5. Remove the coolant recovery reservoir. See: Engine, Cooling and Exhaust/Cooling System/Coolant Reservoir/Service and Repair
6. Remove the inlet heater hose clamp from the heater core.
7. Remove the inlet heater hose from the heater core.
8. Remove the outlet heater hose clamp from the heater core.
9. Remove the outlet heater hose from the heater core.
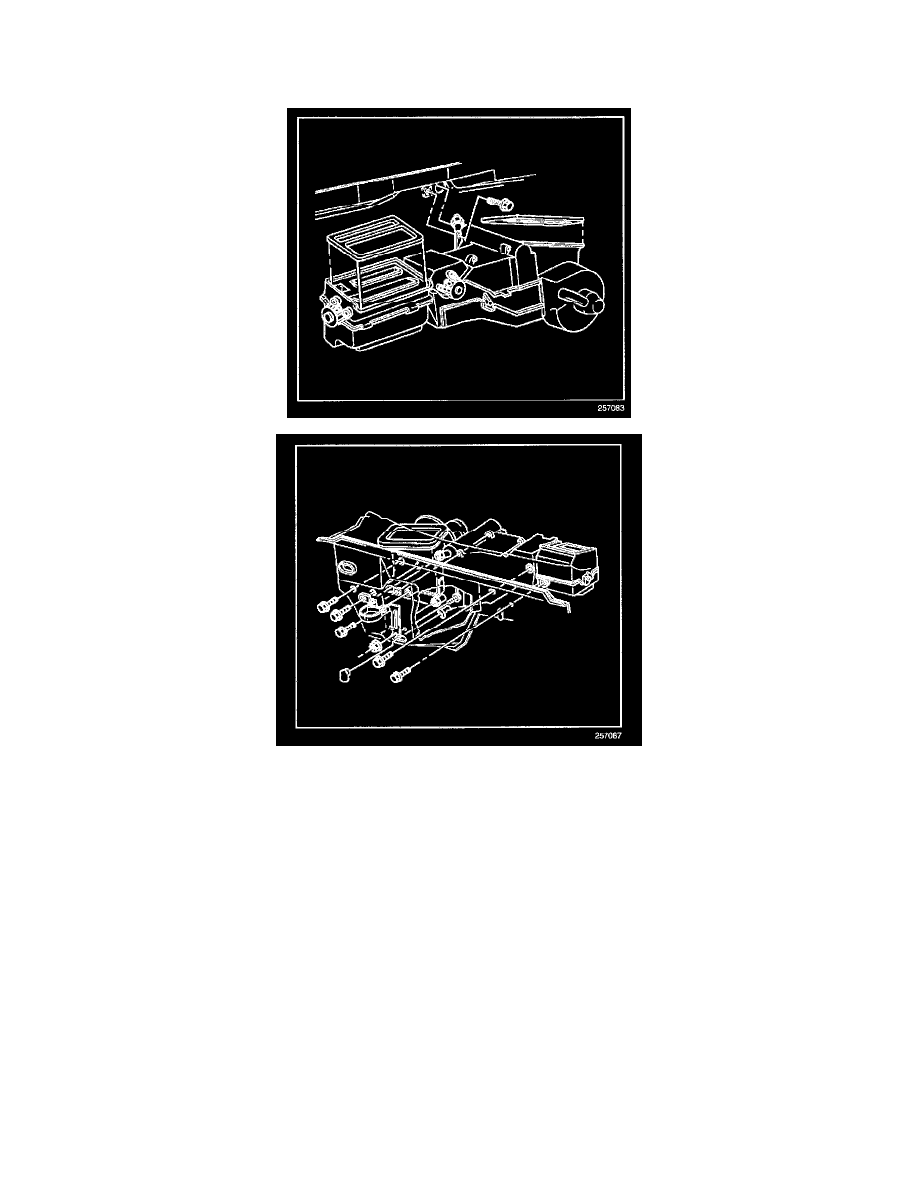
10. While holding the HVAC module to the cowl, remove the screw on the interior side of the cowl, near the evaporator pipe.
11. On the engine side of the cowl, remove the 4 screws that hold the HVAC module to the cowl.
12. On the engine side of the cowl, remove the 2 nuts that hold the HVAC module to the cowl.
13. Remove the HVAC module.
INSTALLATION PROCEDURE
1. Install the HVAC module.
2. On the engine side of the cowl, install the nuts that hold the HVAC module to the cowl.
3. On the engine side of the cowl, install the 4 screws that hold the HVAC module to the cowl.
4. On the interior side of the cowl, install the bolt.