
C 3500 Truck 2WD V8-5.7L VIN R (1996)
Intake Manifold: Service and Repair
Replacement (Lower)
Removal
Lower Intake Removal
Remove or Disconnect
1. Distributor. Refer to: See: Tune-up and Engine Performance Checks/Distributor/Service and Repair
-
Mark the relationship of the distributor housing and rotor for proper reassembly.
2. Upper radiator hose at the thermostat housing.
3. Heater hose at lower intake manifold. Refer to: See: Cooling System/Heater Hose/Service and Repair
4. EGR valve. Refer to: See: Powertrain Management/Emission Control Systems/Exhaust Gas Recirculation/EGR Valve/Service and Repair
5. Coolant bypass hose.
6. EGR valve.
7. Fuel Supply and return lines at rear of lower intake manifold.
8. Wiring harness and brackets.
9. Throttle cable and bracket.
10. Cruise control cable (if equipped).
11. Left valve rocker cover. Refer to: See: Cylinder Head Assembly/Valve Cover/Service and Repair
12. Transmission oil level indicator tube, (if equipped).
13. EGR inlet tube, clamp, and bolt.
14. PCV valve and vacuum hoses.
15. Air conditioning compressor and bracket. Refer to: See: Heating and Air Conditioning/Compressor HVAC/Service and Repair
-
Lay the A/C compressor out of the way. Do not kink the air conditioning lines.
-
Loosen the A/C compressor mounting bracket and slide forward, do not remove.
16. Power brake vacuum tube.
17. Generator rear bracket bolt, (if needed).
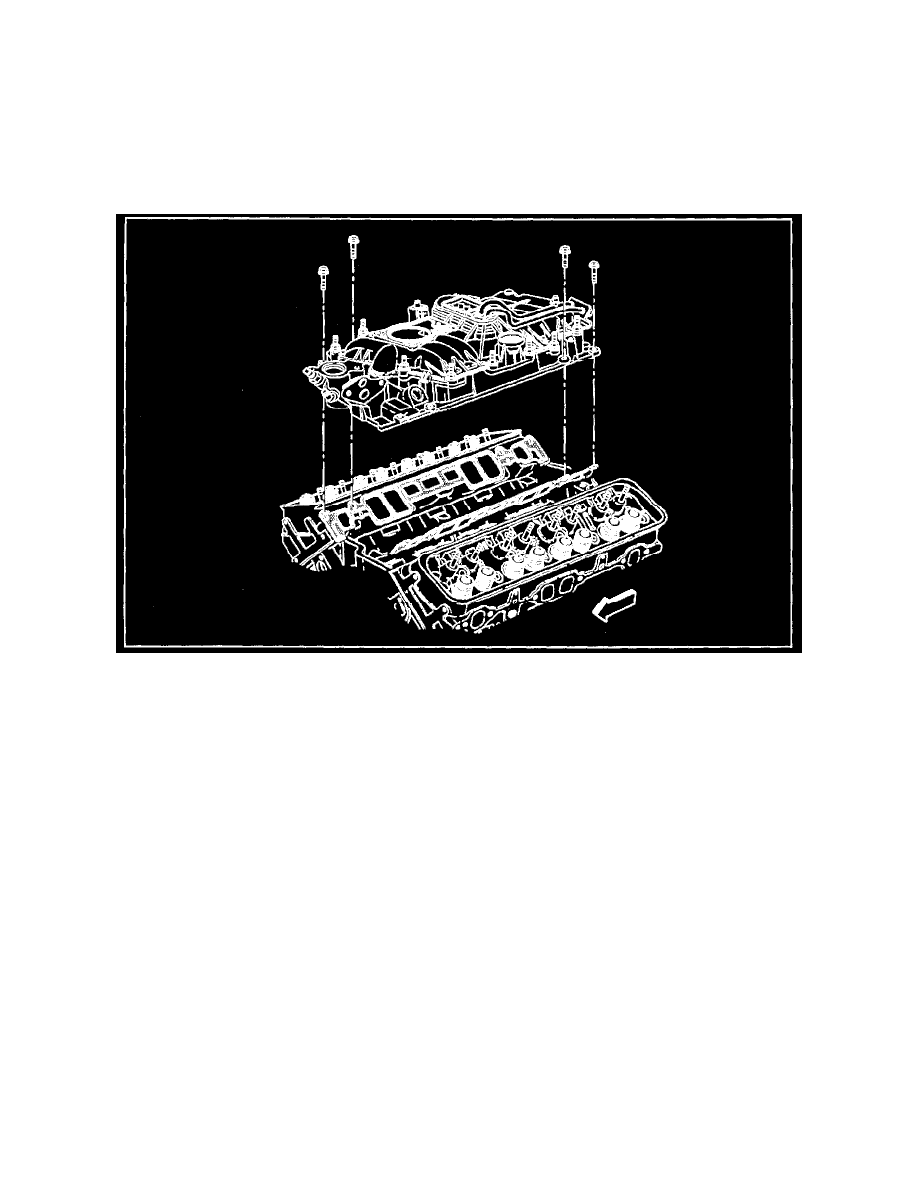
18. Lower intake manifold bolts.
19. Lower intake manifold.
Installation
Lower Intake Installation
Install or Connect