
C 3500 Truck 2WD V8-5.7L VIN R (1996)
EGR Valve: Service and Repair
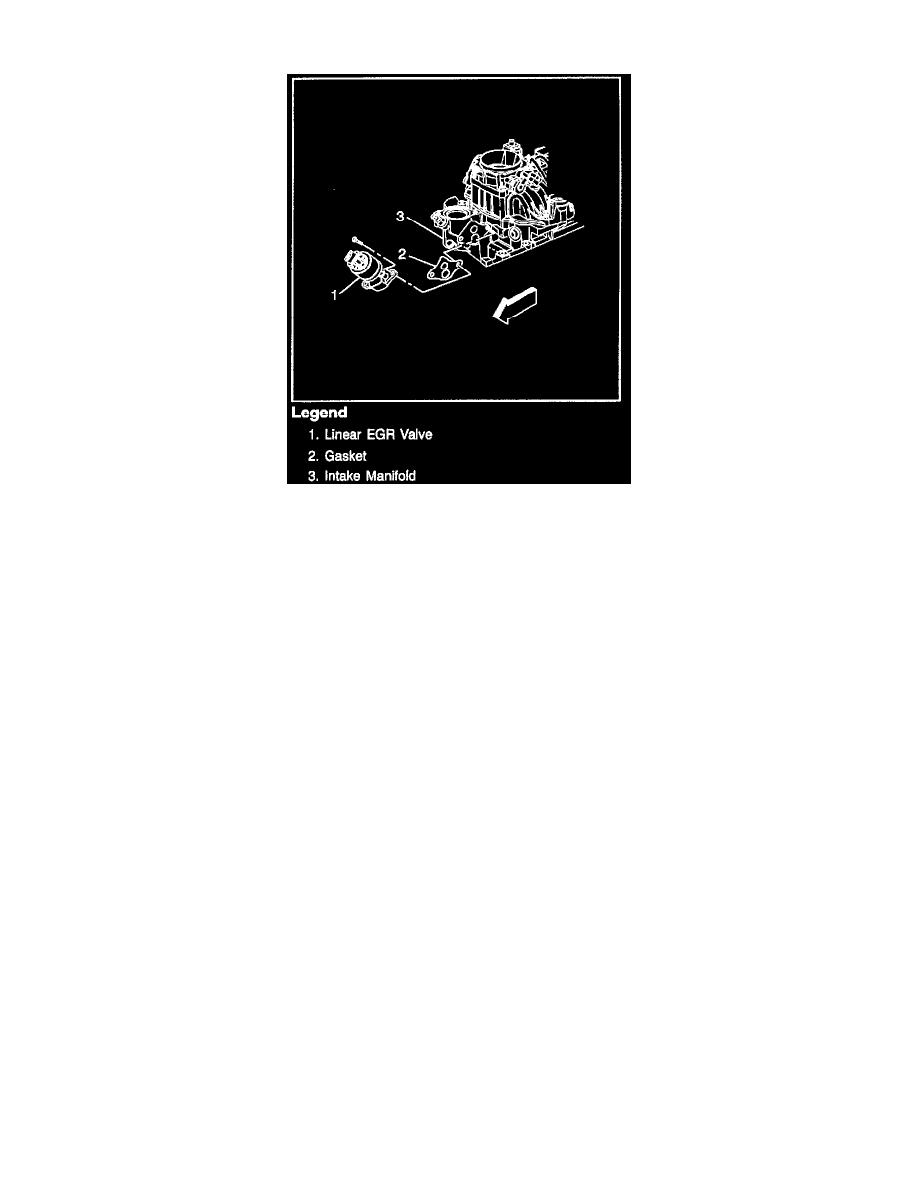
Linear EGR Valve
**THIS REPAIR PROCEDURE HAS BEEN UPDATED BY TSB 57-65-28**
REMOVAL PROCEDURE
NOTES
^
Do not try to disassemble the linear EGR valve. Service only as a complete assembly.
^
When installing Linear EGR Valves, take care to orientate the valve properly before installation. It is possible to rotate the Linear EGR valve
18O°, and then install it on the intake manifold.
^
Linear EGR Valves improperly installed do not function as intended. Possible driveability concerns include a rough idle and the setting of
code DTC 1406 (Pintle Position Error).
^
Linear EGR Valves improperly installed may respond to high vacuum conditions (at idle) by pulling the valve open, or high back pressure
conditions by pushing the valve open.
^
When replacing or re-installing a LEGR valve, install the valve (with a new gasket) in the correct orientation. A new insulated gasket for use
with this valve has been released for production and service.
^
The new gasket must be used whenever a LEGR valve is removed and reinstalled.
CAUTION: The Linear EGR valve is an electrical component. DO NOT soak in any liquid cleaner or solvent because damage may result.
1. Remove the electrical connector.
2. Remove the valve to flange attaching bolts.
3. Remove the linear EGR valve.
4. Remove the flange gasket.
INSTALLATION PROCEDURE
1. Install the new flange gasket
2. Install the linear EGR valve.
3. Install the Valve to flange bolts.
Tighten
3.1.
Tighten the bolts the first time to 10 Nm (89 lb. in.) each.
3.2.
Tighten the bolts a final time to 25 Nm (18 lb. ft.) each.
4. Install the electrical connector.