
C 3500 Truck 2WD V8-6.0L VIN U (2001)
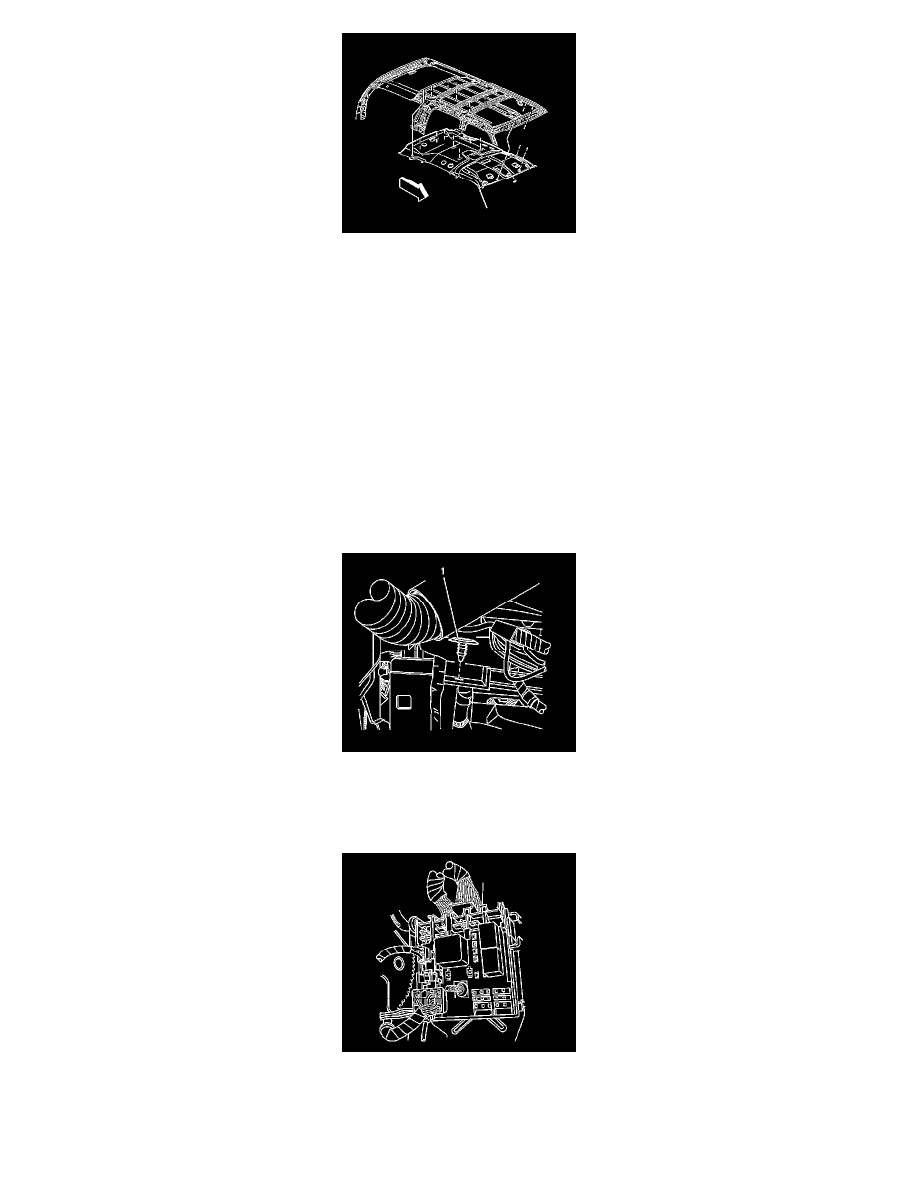
2. With the aid of an assistant carefully slide the headliner in through the rear of the vehicle.
3. Secure the headliner to the roof Velcro(R) retainers while aligning the air duct at the right of the third pillar.
4. Install the retainer through the air outlet louver
5. Install the air outlet louver by turning clockwise till it is seated in place.
6. Install the auxiliary climate control assembly.
7. Install the assist handles.
8. Install the interior dome lamp.
9. Install the rear coat hook, if equipped.
10. Install the sunshade holders to the headliner.
11. Install the front sunshades.
12. Connect the electrical connector to the rear view mirror, if needed.
13. Install the upper console.
14. Install the rear corner trim pillar moldings.
15. Install the third pillar trim moldings.
16. Install the center trim pillar moldings.
17. Carefully route the wire harness through the IP in order to connect the wire to the junction block located next the brake pedal.
18. Install the transfer case control module, if equipped.
Important: Please ensure that all of the wire harness retainers in the IP and the windshield pillar are all pressed into place in order to
prevent rattling during driving.
19. Press in the wire harness retainer (1) in order to secure the harness.
20. Connect the headliner electrical connectors to the junction block located next to the brake pedal.