
C 3500 Truck 2WD V8-6.6L DSL Turbo VIN 1 (2002)
5. At the pilot hole location, drill 11.5 mm (29/64 in) hole through the pillar.
Important: Prior to refinishing, refer to Publication GM 4901M-D-2000 GM Approved Refinish Materials for recommended products.
Do not combine paint systems. Refer to paint manufacturer's recommendations.
6. Apply an approved anti-corrosion primer to all bare metal surfaces.
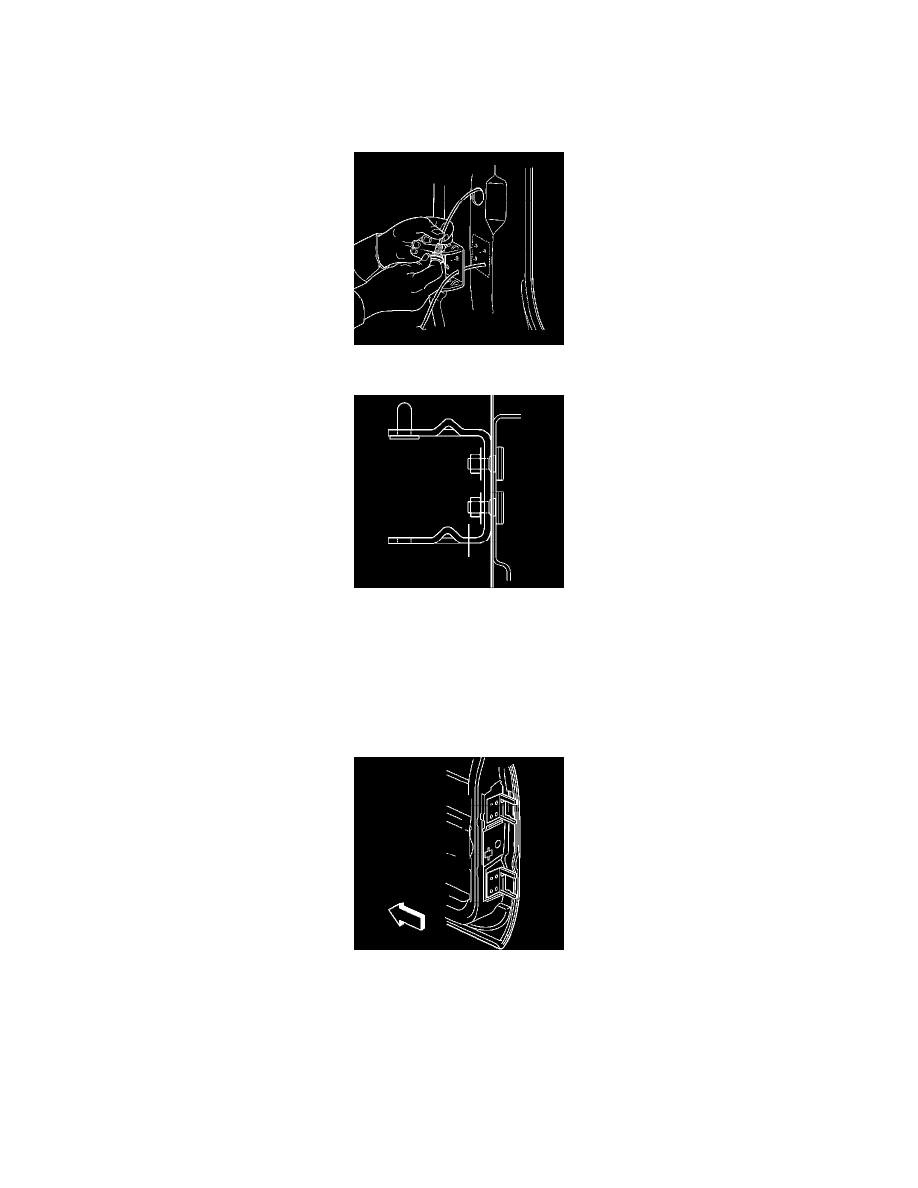
7. Feed fish wire GM P/N 15017229 through the hinge, the hinge pillar and out the conduit hole in the pillar.
8. Install stud GM P/N 15017230 into the end of the fish wire and pull the stud into position.
9. Hold the stud in position with the hinge and remove the fish wire.
10. Install nut GM P/N 11516746 on the stud and draw the stud through the pillar. This will seat the stud and prevent it from splitting.
11. Repeat steps 7-10 on the remaining stud locations.
12. Remove the nuts and hinge.
13. Apply a full-bodied caulk to the entire hinge mounting surface to ensure a proper seal.
14. Align the hinge and install using fasteners supplied.
15. Torque the hinge bolts to 25 Nm (18 ft lb).
16. Modify the door side hinge lower extensions (1), if installing the original access door without a door side service hinge or a used access door.