
C 3500 Truck 2WD V8-6.6L DSL Turbo VIN 1 (2002)
2. Install the rear window into the vehicle, if removed. Refer to Rear Window Replacement (Pickup) (See: Windows and Glass/Windows/Window
Glass/Back Window Glass/Service and Repair) in Stationary Windows.
3. Install the assist handles, if equipped. Refer to Front Assist Handle Replacement (See: Passenger Assist Handle/Service and Repair/Removal and
Replacement/Front Assist Handle Replacement).
4. Install the interior dome lamp. Refer to Dome Lamp Replacement in Lighting Systems.
5. Install the rear coat hook, if equipped. Refer to Coat Hook Replacement (See: Service and Repair/Removal and Replacement).
6. Install both front sunshades. Refer to Sunshade Replacement (See: Sun Visor/Service and Repair/Removal and Replacement).
7. Install the overhead console, if equipped. Refer to Roof Console Replacement (Short Length) (See: Console/Service and Repair/Roof Console
Replacement (Short Length))Roof Console Replacement (Full Length) (See: Console/Service and Repair/Roof Console Replacement (Full
Length)).
8. Install the rear quarter trim panels, if needed. Refer to Rear Quarter Trim Panel Replacement (Regular Cab) (See: Trim Panel/Service and
Repair/Rear Quarter Trim Panel Replacement (Regular Cab))Rear Quarter Trim Panel Replacement (Extended Cab) (See: Trim Panel/Service
and Repair/Rear Quarter Trim Panel Replacement (Extended Cab)).
9. Install the center trim pillar moldings, if equipped. Refer to Center Pillar Garnish Molding Replacement (See: Trim Panel/Service and
Repair/Center Pillar Garnish Molding Replacement).
10. Carefully route the wire harness through the IP in order to connect the wire to the junction block located next to the clutch or brake pedal.
11. Install the transfer case control module, if equipped. Refer to Transfer Case Shift Control Module Replacement in Transfer Case.
Important: Ensure that all of the wire harness retainers in the IP and the windshield pillar are all pressed into place in order to prevent
rattling during driving.
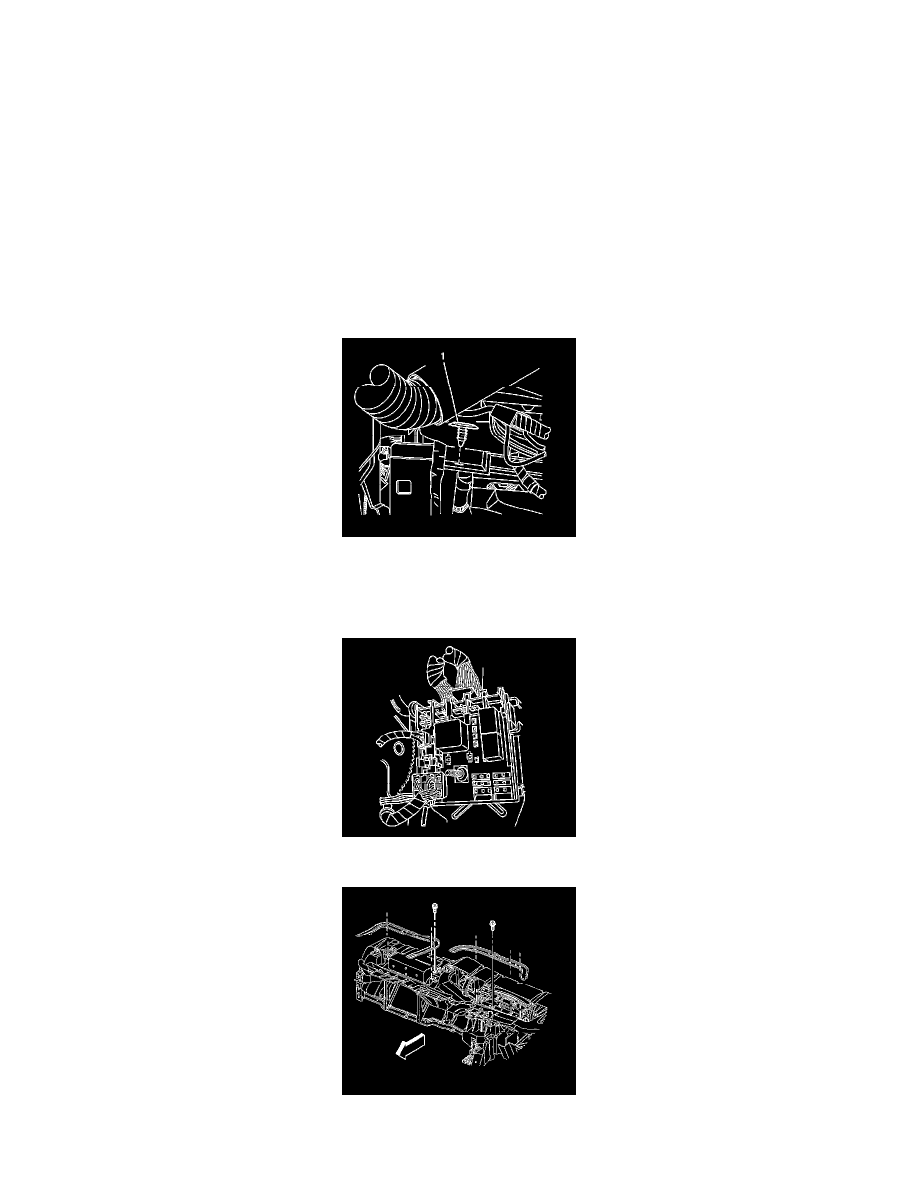
12. Press in the wire harness retainer (1) in order to secure the harness.
13. Connect the headliner electrical connector to the junction block located next to the clutch or brake pedal.
14. Install the IP upper brackets.